You installed Windows and went over your SteamOS installation, or perhaps you are eager to learn Linux and in the process you completely messed up your Steam Deck and would like to start from scratch. Valve got as covered in these situation – and since Steam Deck is a PC – you can reinstall it, you just need to know where to look and what to do – in this guide, we will go through entire process together.
Let’s assume you are not able to log on to your SteamOS installation anymore, or you are getting weird errors, or you installed Windows on your Steam Deck main drive, and now you finally saw, that you can boot Windows from MicroSD, and you want your SteamOS back.
Before we start – please be sure that you understand and know what you are doing – if not, let somebody who is specialist do this for you – this tutorial will lead to data loss, can potentially ruin your hardware and software – be aware of that – I cannot be responsible for any kind of damage be it software, hardware, physical of mental
Hardware prerequisites
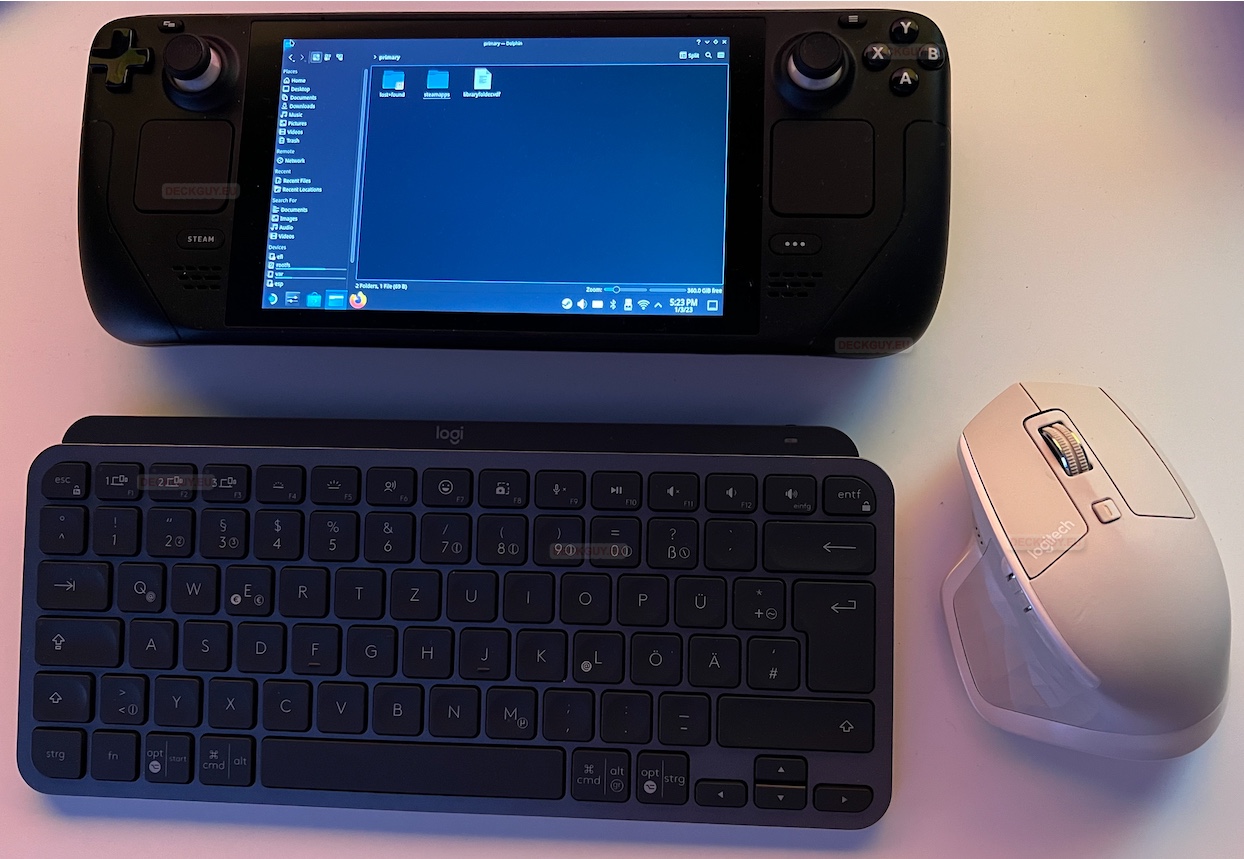
It would be easier in this process to have mouse and keyboard attached to your Steam Deck, optimally through some kind of hub/dock at the same time with USB stick
Use wired keyboard and mouse, or combo with dongle – bluetooth won’t work in boot procedure!
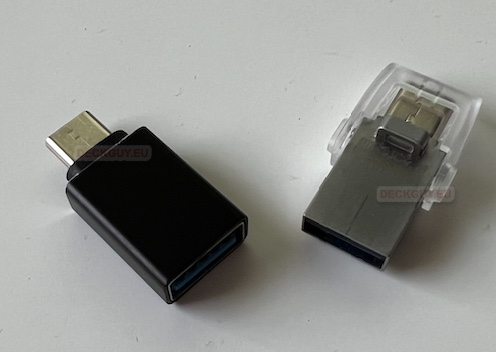
Ok, let’s go step by step – you will need access to Windows, Mac or Linux PC. You will also need at least 8GB USB drive and USB-C adapter or USB-C drive, or you can connect your USB stick though USB hub to Steam Deck. There is a tiny chance that Steam Deck won’t recognize your USB stick if connected through hub/dock – depending on what you are using – in my experience (I tried with three docks, non of them from Steam – it all worked)
Software prerequisites
If you are on Windows – you will prepare your USB stick with Rufus – you can find details about Rufus in my guide here – just instead Windows To Go under Image option there will be something else now – that is only difference.
If you are on Windows – to unpack Steam Deck Recovery Image from bz2 format – you will need something like 7Zip – so prepare that tool also – here is the link
If you are on Mac or Linux – we will use Balena Etcher – you can see how to prepare ISO image and USB and use it with Balena Etcher in my guide here – under preparing MicroSD section – only difference is that we will be using USB instead MicroSD – but that really is no difference.
I here will use Balena Etcher on Mac.
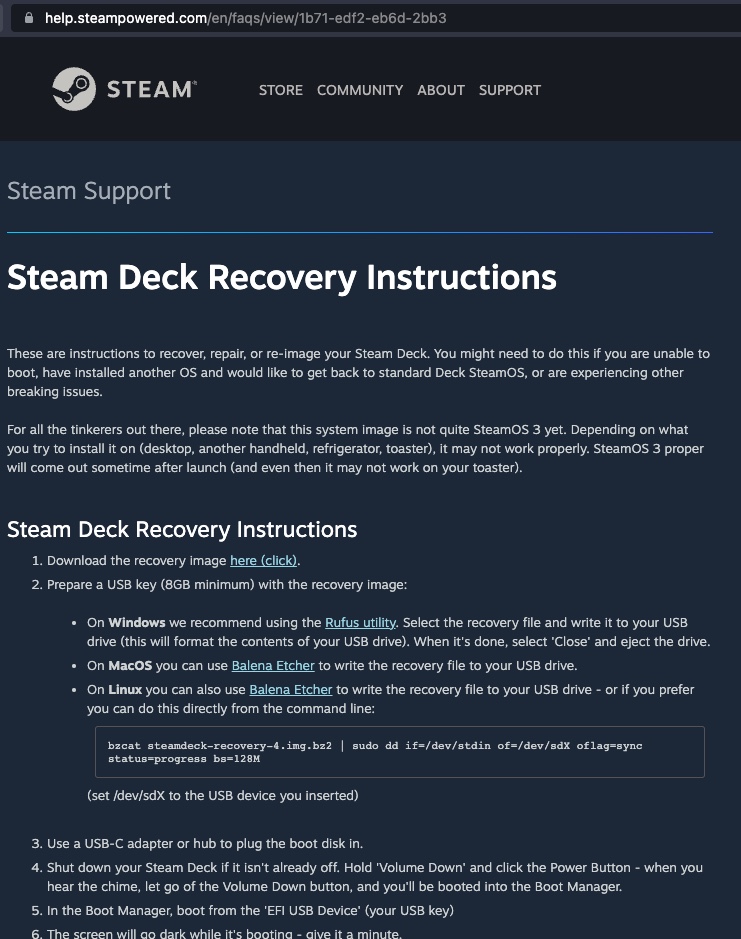
OK , Steam resource with recovery instructions are here.
SteamOS / SteamDeck Image can be found here
Download image and prepare everything so we can start.
Recovery preparation
Ok, so we will start from Steam Deck Recovery Instructions page and click on Download the recovery image here (click)
Agree to EULA and click on Download SteamOS Deck Image

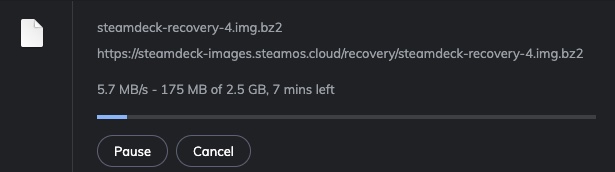
SteamDeck Recovery image download will start
After image is downloaded we need to unpack it – on MacOS I will do it just by clicking on it, in Windows you can do that with 7Z I already mentioned above, in Linux if you use Ubuntu Desktop you can just double click on the archive and then select Extract…
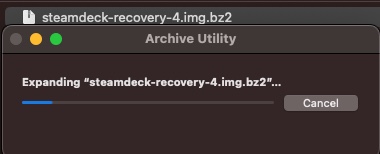
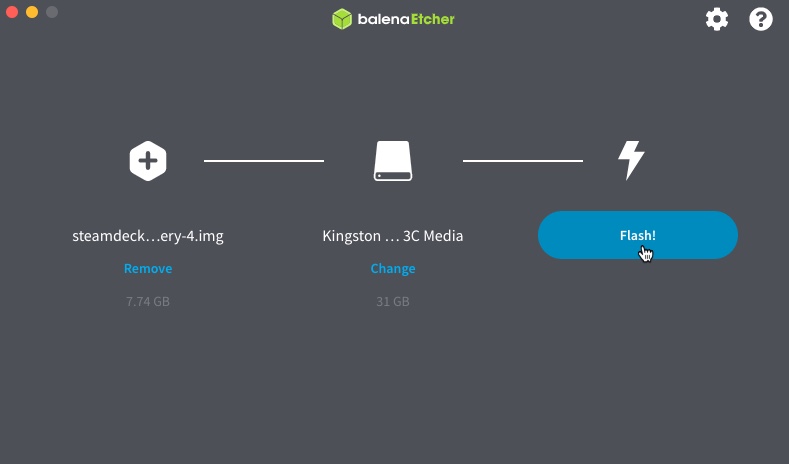
Image is ready now, and it is 7.74GB in size

I will now select steamdeck-recovery-4.img image and flash it to my USB device (you will lose all data on that USB) Flash
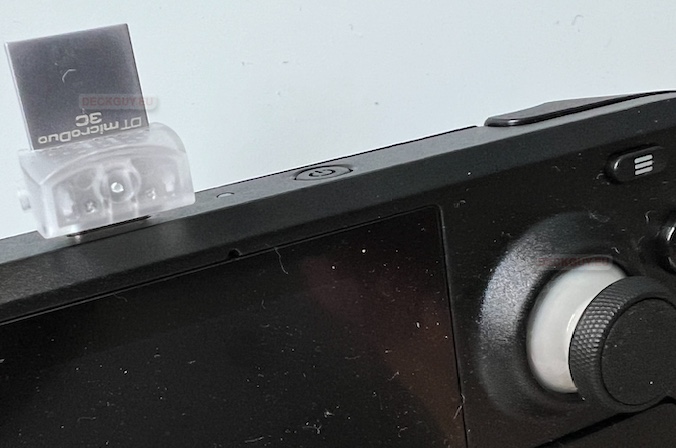
When you are done with flashing our USB with Steam Deck recovery – make sure that your Steam Deck is off and plug in the USB.
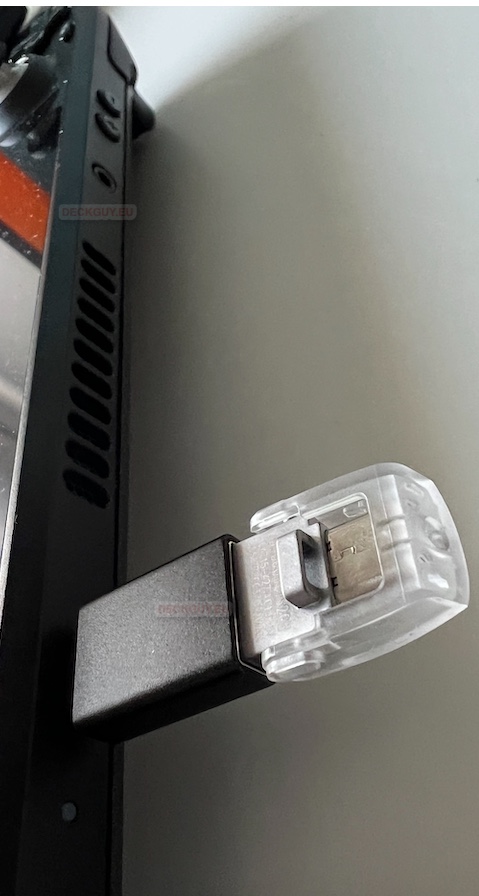
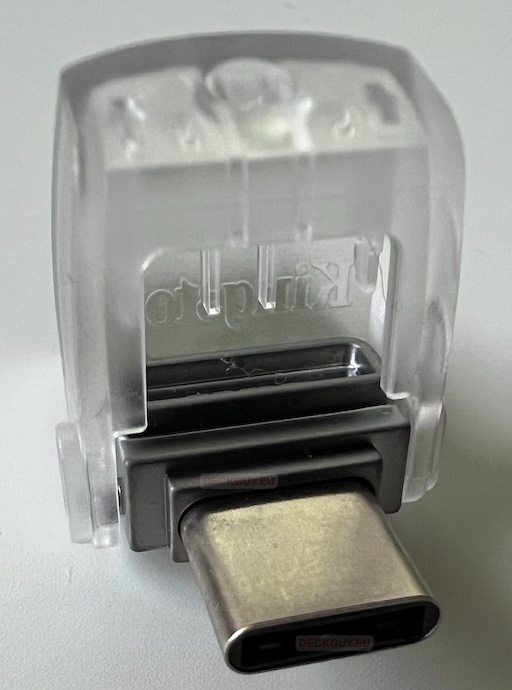
or if you have USB-C stick it will look like this
Ok, now is the time to boot into recovery mode and do our Recovery
Recovery Mode
Ok, to go into recovery you will need to make sure Steam Deck is turned off – press and hold Volume Down button – and then press and briefly hold Power button just until you hear chime sound – when you hear first chime – let go of both buttons. I have also article on that here
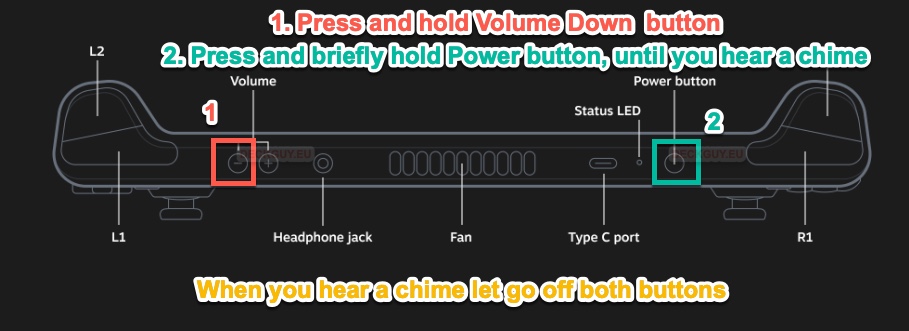
This isn’t so hard, I was surprised that I got it very quickly
Ok, so, you managed to boot to Boot Manager – we will now select our USB drive – press A
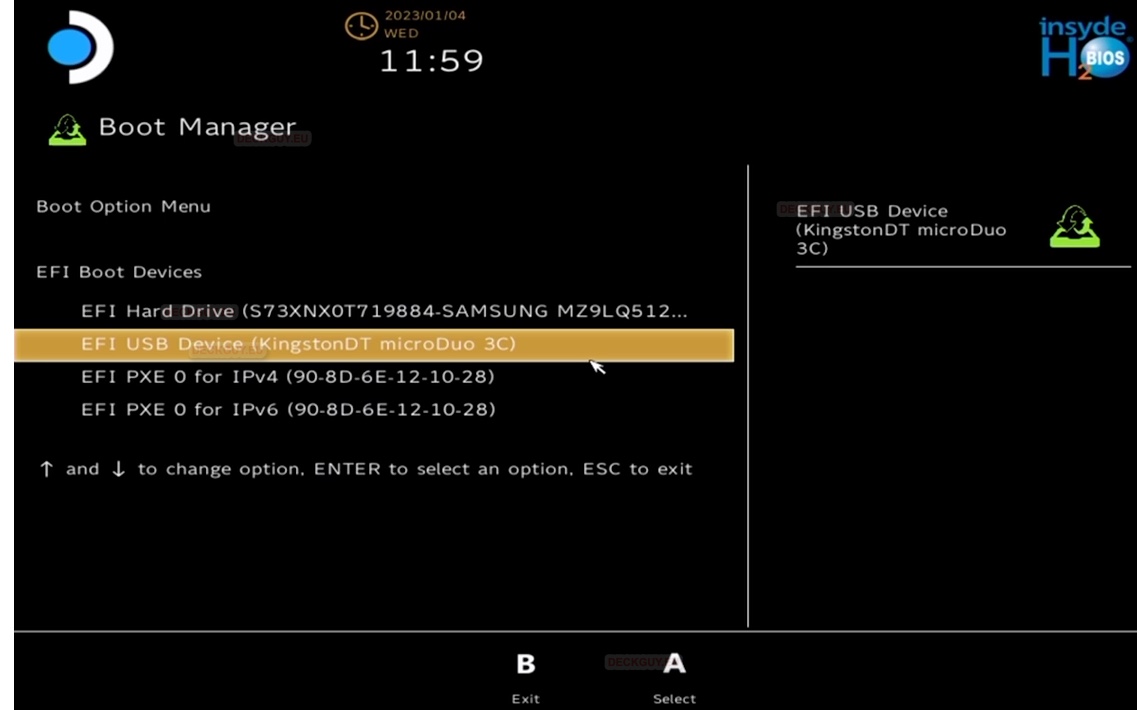
If you used lousy slow USB stick like I did – you may wait a more than couple of minutes until next screen shows – be patient, that is the key
I tested this with couple of USB sticks and in the end with portable SSD drive as recovery USB – results in boot were completely different – I got into Recovery mode in 10 minutes, 40 minutes or three minutes – quality USB or external SSD drive is the key if you want to do this quickly.
In the end, to make this fast I just used 1TB external SSD drive as Recovery Image USB – just to be done as fast as possible.

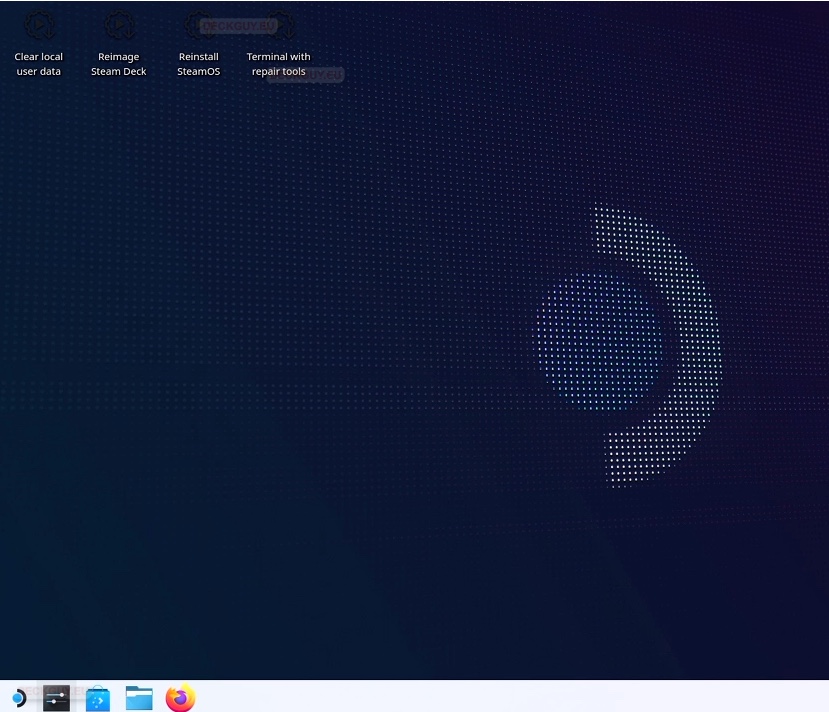
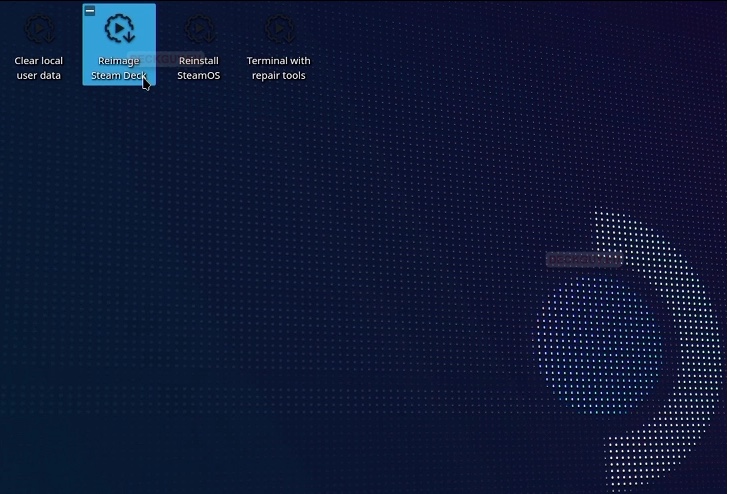
Depending on the speed of your USB storage you will eventually get to the SteamOS Recovery OS main screen, and as you can see on a Desktop there are four options
- Clear local user data
- Reimage Steam Deck
- Reinstall SteamOS
- Terminal with repair tools
Here is a c/p from Steam Deck Recovery instructions you can find here
In the recovery environment, there are four different options to choose from.
Re-image Steam Deck – This performs a full factory reset – all user info, installed games, applications, or operating systems will be wiped and replaced with stock SteamOS.
Clear local user data – This reformats the home partitions on your Steam Deck, which will remove downloaded games and all personal content stored on this Deck, including system configuration.
Reinstall Steam OS – This will reinstall SteamOS on the Steam Deck, while attempting to preserve your games and personal content.
Recovery tools – This opens a prompt with the ability to make changes to the Steam Deck boot partition.
Ok, for this guide, I will go with the “destructive” option – Re-image Steam Deck – this will completely wipe my Steam Deck and I will have to reinstall all the games, setup my Steam Deck once more… If you don’t want to follow – you can just scroll down and see experience of the process – how it looks like.
Clear local user data could be good if your Steam Deck is changing ownership.
Reinstall Steam OS could repair things with your installation, so you don’t have to start from scratch.
Recovery tools should give you options and tools to repair something that is wrong with your SteamOS without reinstalling or re-imagining.
Ok, so I will go with clean slate – Re-image Steam Deck.
If you are following me with this option – be aware – everything will be wiped!!! Your Steam Deck will be completely reset and everything will be lost!!! Do not proceed if you do’t want to lose data
Ok, let’s go
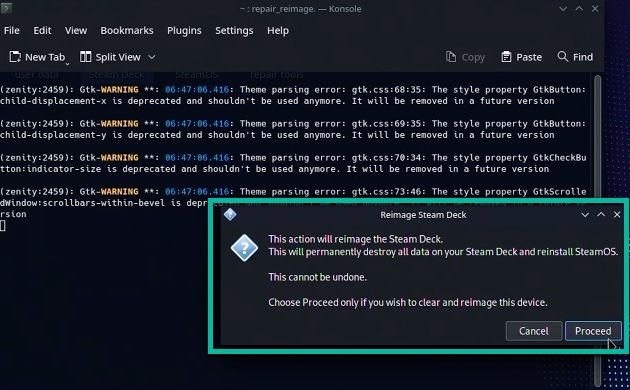
I will double click on Reimage Steam Deck
You are warned once more – everything will be destroyed and all data lost – I will Proceed
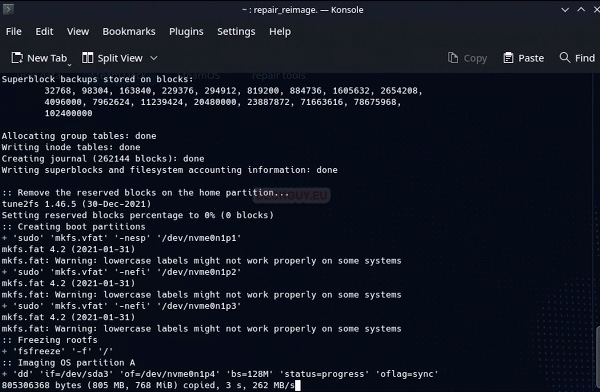
Process is starting
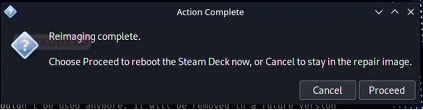
Reimaging was done – in my case it took 3-4 minutes (with fast external SSD on which recovery image was) – I will now Proceed
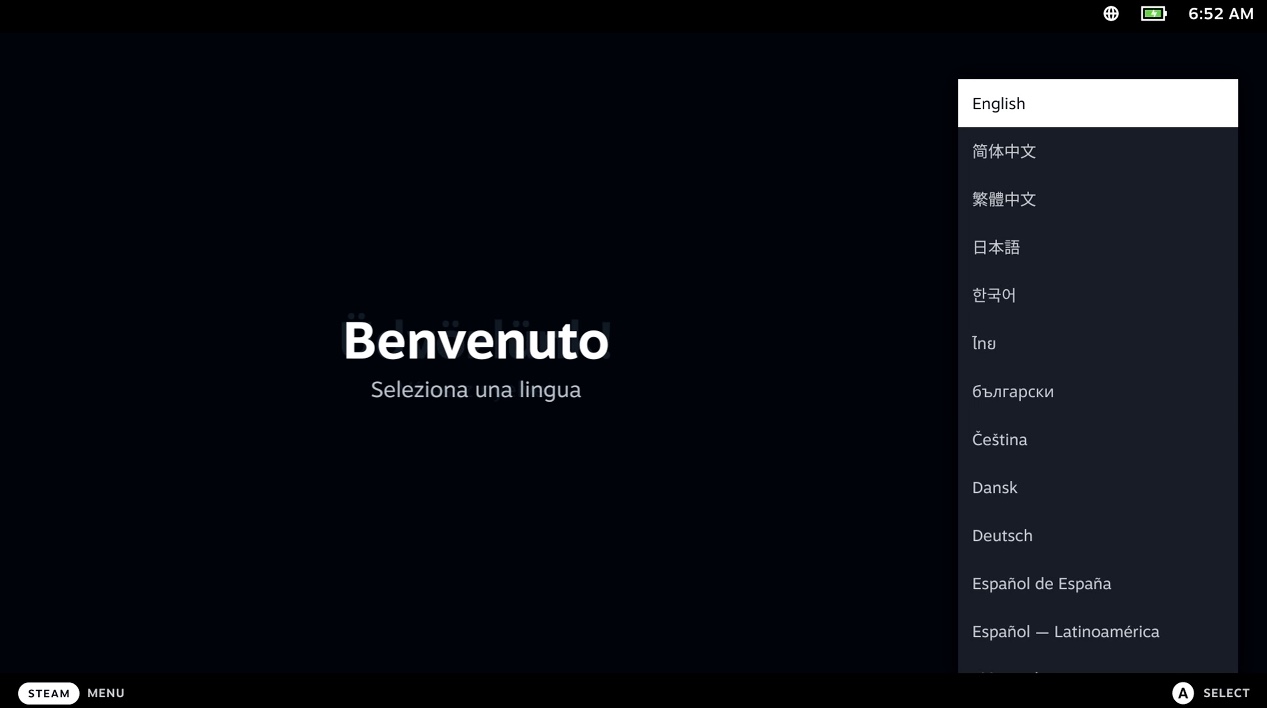
Next screen I got was startup screen with Initial Setup of the Steam Deck – you can follow my guide here
This can take some time because SteamOS will do installation and update – so half and hour more from this part… Image I restored was SteamOS 3.1, and after installation and update was latest (at the time of writing) 3.4.4
I won’t now test other options – it is pretty clear what they are doing. On my Steam Deck I used most destructive – to show you the process or recovery, so you can get familiar and help yourself if you need.
Process or Reimage of my Steam Deck is a complete success and I now have clean installation