Disk space is something that is always missing – let’s get familiar with disk management on Steam Deck. We will also see how to format drives, and safely remove / attach them.
With the size of today’s games every disk is small. Even if you have 512GB model, you will need MicroSD or external SSD at some point.
Let’s see how to manage disk space, and our storage options.
I already went through Storage Settings in my – Configure Steam Deck Part 1 guide , but we will here focus on the topic, and go through our options both is Gaming and Desktop mode.
We will play with storage here – so there is possibility that something will go wrong – data lost, cards/disks bricked – please don’t do or click on stuff if you are not sure and knowledgeable on the topic – I cannot take responsibility for any form of damage you do, following this guide
Storage in Gaming Mode
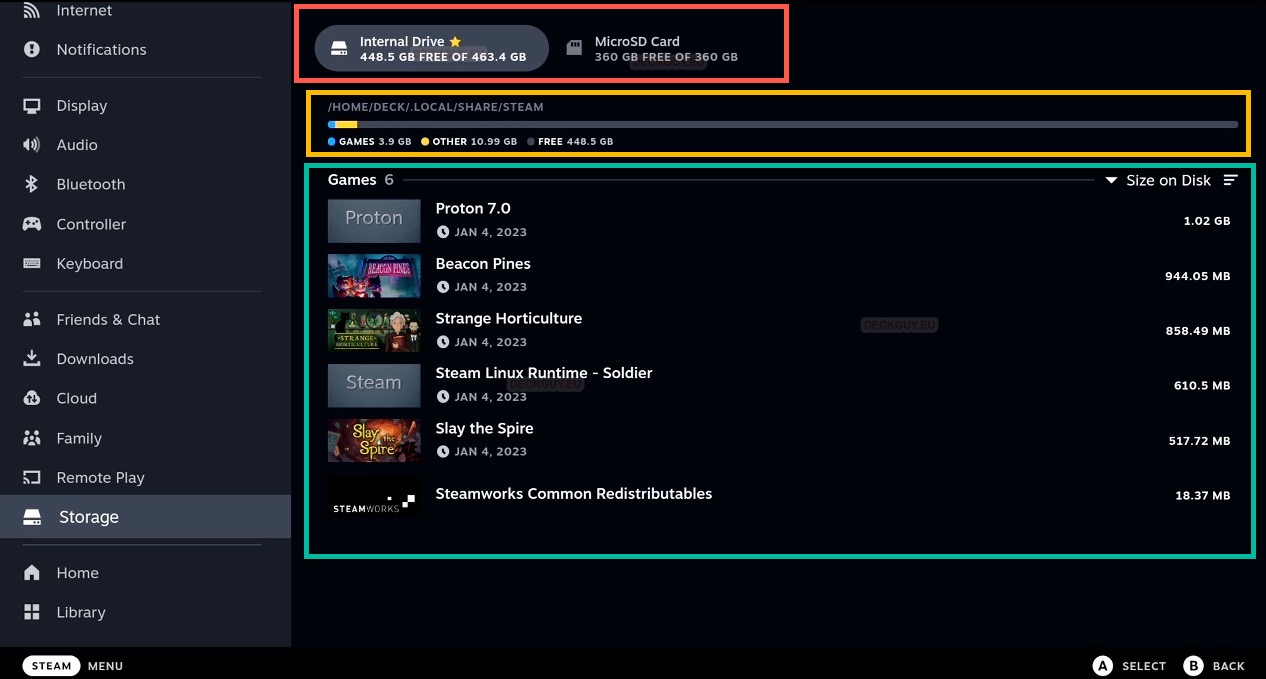
If you press Steam Button – go to Settings, and scroll down to storage, you will see more than few information here – what disk do we have in system (internal SSD and MicroSD card) – although I have external SSD also attached to the system in time of writing this – it is not shown here – we will see it in Desktop Mode. Also, when you select your internal, or external storage you will see how much disk is taken, and what takes the space.
Internal Drive
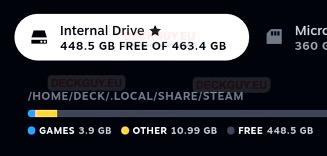
Let’s start from things that are inside red painted square. Internal Drive and MicroSD Card – when you select one or another – you will see how much disk space it has, both free and taken, and what is on that drive.
Let’s start with Internal Drive – it has yellow start beside “Internal Drive” so that means it is default storage for the Steam Deck – everything we install will be on it.
Below it we see that we have 3.9GB of games, 10.99GB of “other” (in other category there would be non-steam games that are uninstalled, but not cleaned properly, cache shaders, files…)
You can also see path where the storage is mounted – /home/deck/.local/share/steam
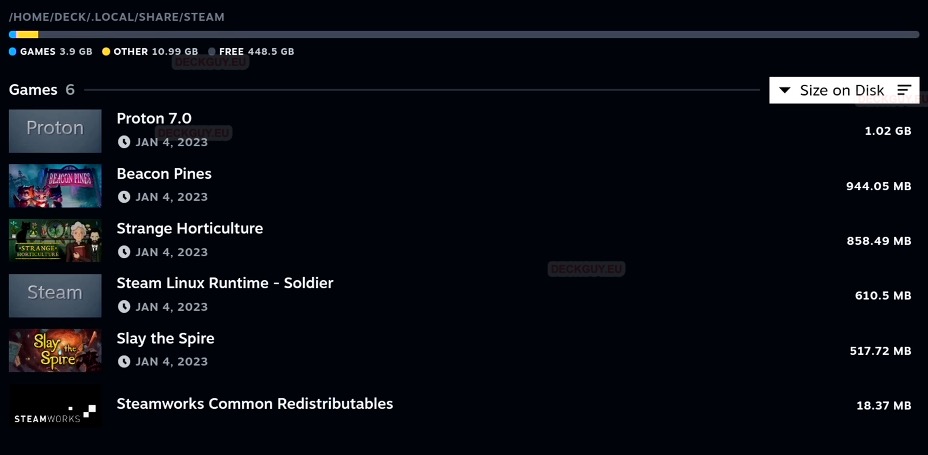
If we move down the screen, we have Games installed on our Internal Drive and we have filter options
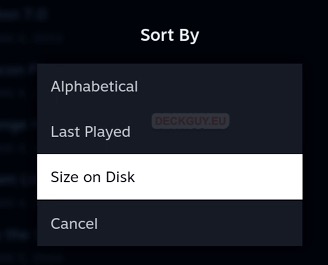
By default we see on the right top corner that “Size on Disk” if we select that and click on it – we will see Sort By options – we can sort window by Alphabet, Last Played or Size on Disk.
Lastly, if we click on Game on the list – we get two options – Uninstall or Move Content
By pressing X button you will deinstall the Game from your Steam Deck
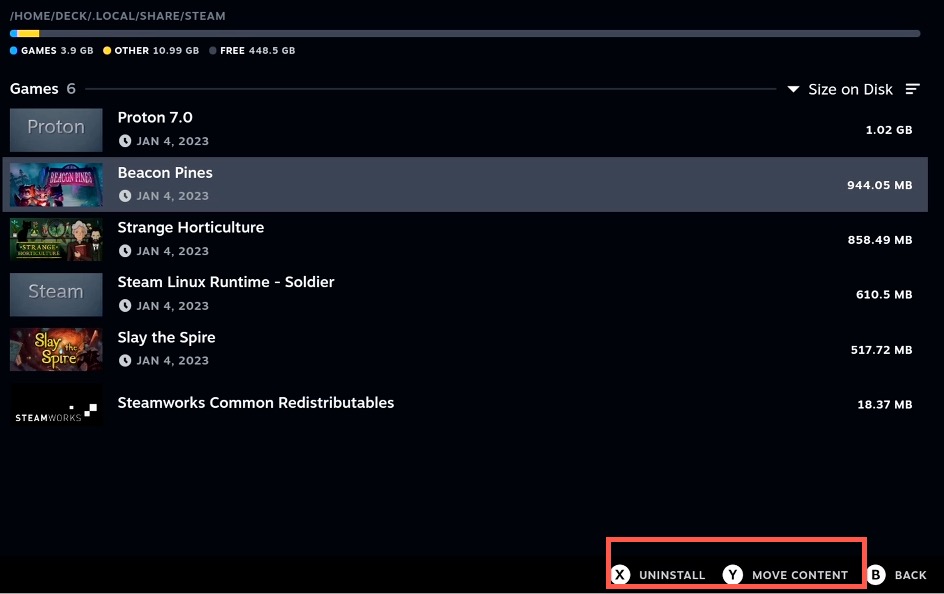
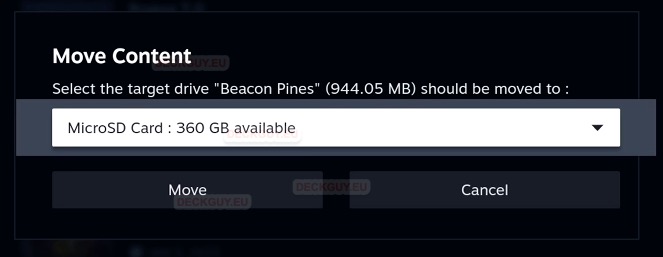
By pressing Y you will get option to move this installation to MicroSD card – again, although I have external SSD attached and mounted to the Steam Deck, it is not recognized in Gaming Mode an I’m not able to move games to it.
MicroSD Card
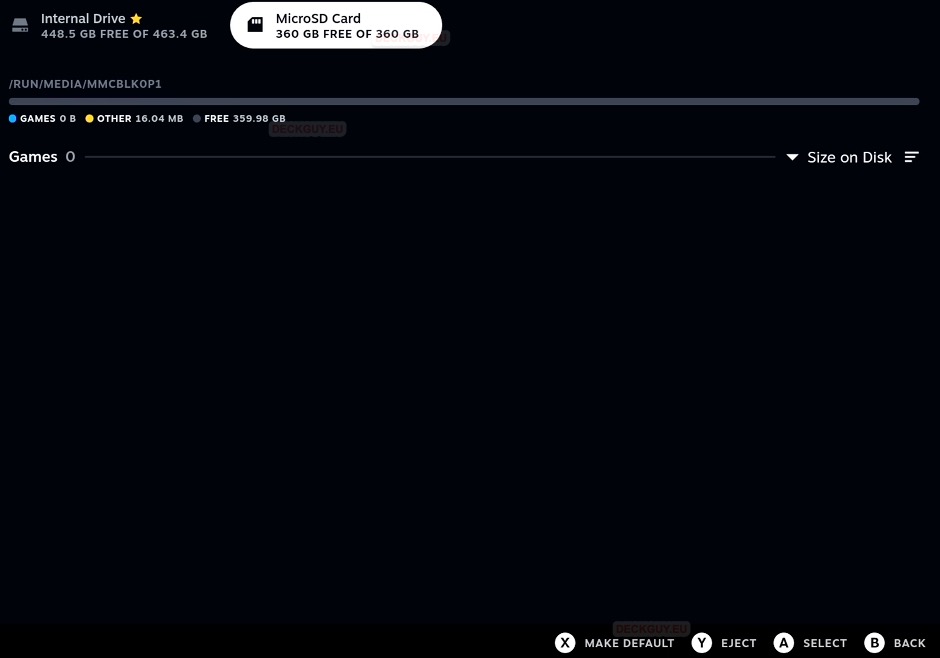
From the screen we can see that there is still nothing on my MicroSD card, location of MicroSD card is /run/media/mmcblk0p1
At the bottom of the screen you can see that we have option with X to make it default storage, so that the games are installed to MicroSD and not internal drive – great option if you have 64GB Steam Deck.
By pressing Y you will eject MicroSD from the system and then you can safely remove it. Ejecting MicroSD card first is the only right way to remove it from Steam Deck!
While we are in Gaming Mode, one more option regarding storage that is worth mentioning
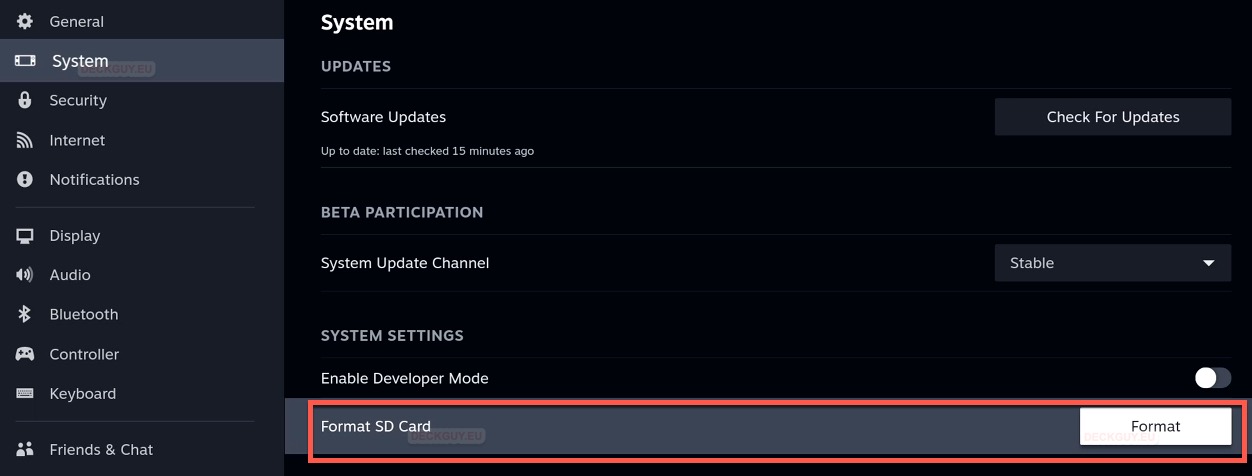
Steam Deck – Settings – System – under System Settings there is option Format SD Card – when you put fresh MicroSD in your system, this is the place to Format it before usage.
Storage in Desktop Mode
Mounting / Removing External Storage
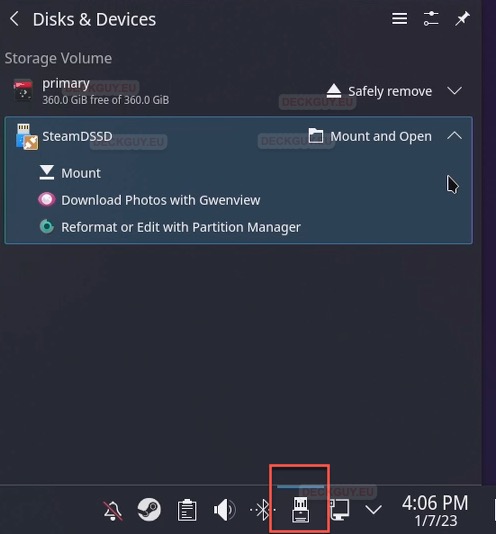
First thing we are going to cover is system tray – there is a little USB sign. For the purpose of this guide, I unmounted external SSD, so you can see what is the procedure of mounting external USB/SSD to Steam Deck – You will click on Mount and Open dialog, dialog will be expanded and you will click on Mount. Above external SSD (SteamDSSD -> meaning SteamDeck SSD) you will see primary – which is our MicroSD – you can also safely remove it here.
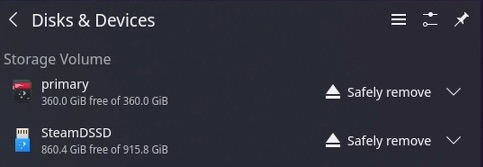
both storage devices are now mounted
Deleting / Partitioning External Drive
Ok, here stop and take and deep breath! If you don’t understand what you are doing, just read, don’t test on your Steam Deck – we will here delete and format here one of my storage devices – external SSD – by following this you will lose all your data, your disk will be completely wiped, also, there is a tiny possibility – never happened to me, but anyway – if your disk is in bad shape, this may finish/brick it.
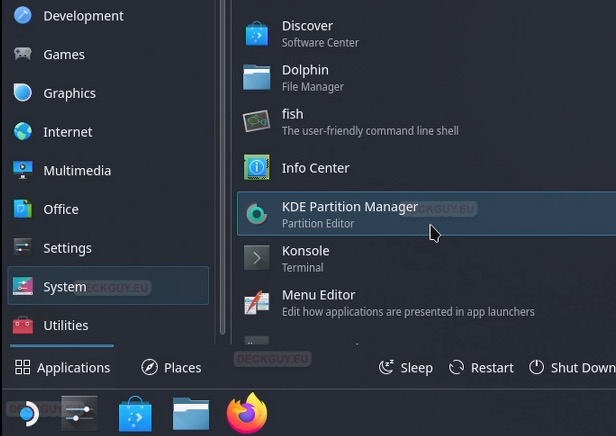
OK, let’s go – click on Steam Orb in left bottom part of the screen – select System and then select KDE Partition Manager
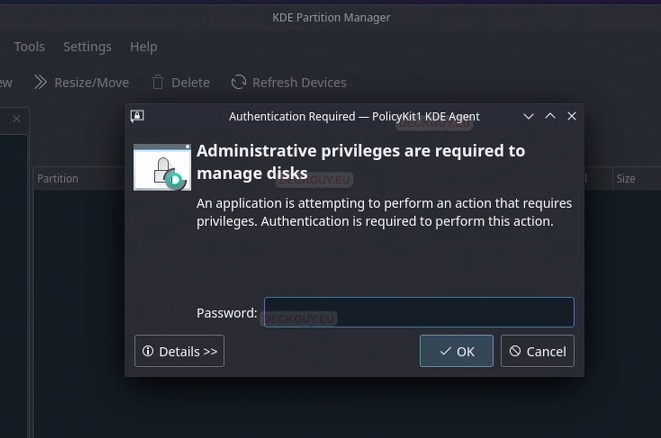
You will be asked for your Steam Deck user password (if you set one)
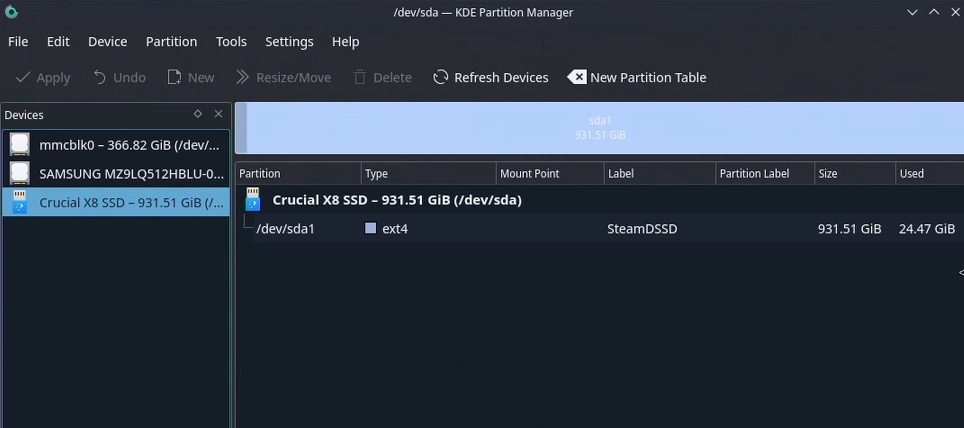
There are three devices on my system
mmcblk0 is MicroSD card
Samsung MZ9LQ512… – is my Steam Deck internal Storage
Crucial X8 SSD is my external SSD we are going to play with today
Last warning, following steps will destroy and delete your data on storage you wish to play with – stop now if you don’t know what you are doing!!
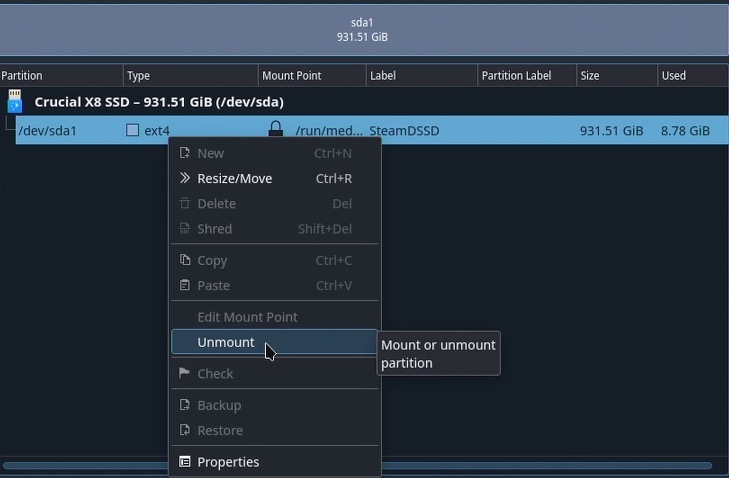
We will unmount Crucial X8 SSD now, so we can Delete it
Unmount
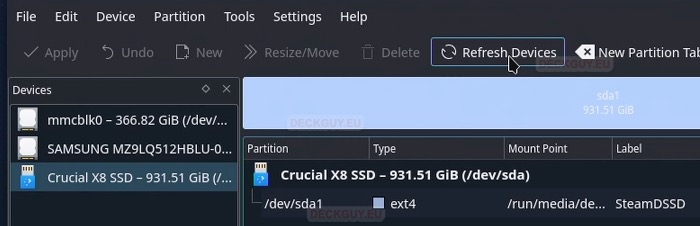
Click on Refresh Devices
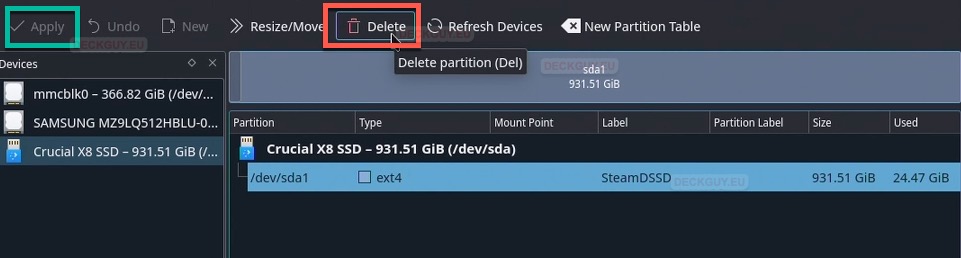
After it is unmounted I will now click on Delete to remove current partitions and data from it
This will delete all my data from Crucial X8 SSD (and your too if you are doing this)
Click on Delete, and after that click on Apply (in green square)
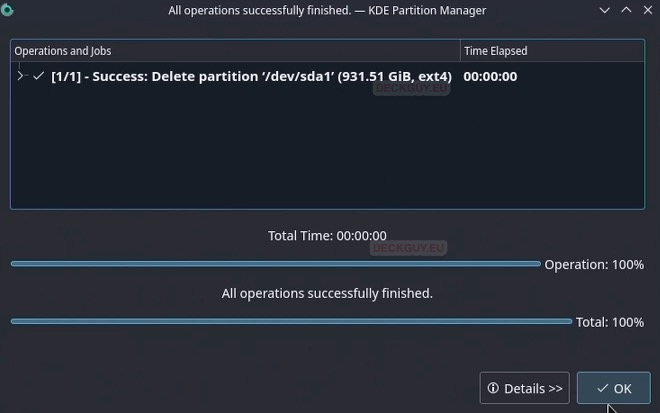
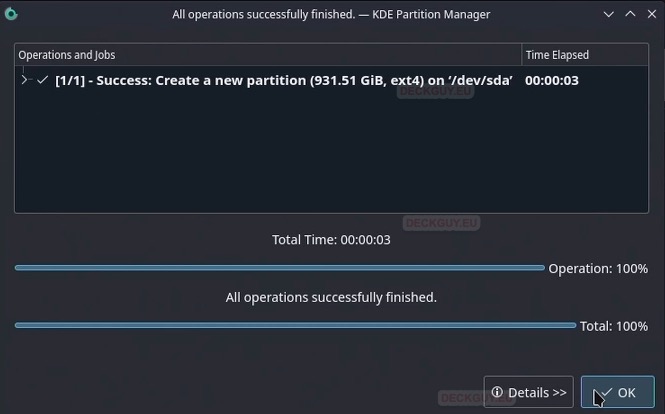
Apply Pending Operations
Everything went fine – OK
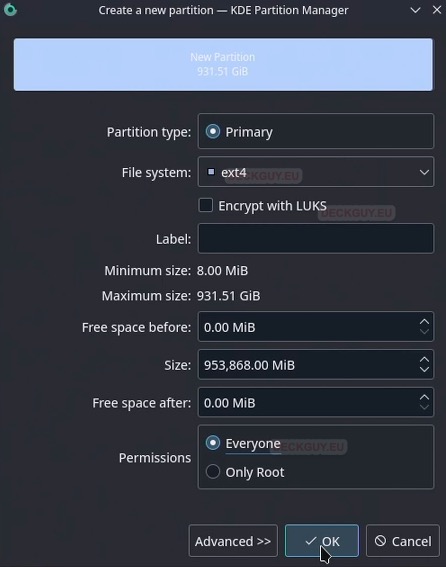
Now, we will create a new partition for our Crucial X8 SSD – I will create ext4 partition, Steam Deck is on ext4 filesystem, and so I will also format that way my external SSD. Be aware that natively, Windows or MacOS doesn’t know how to read ext4. You can also partition your external drive as NTFS, there is option on partition list.
In my How to Network Share files/folders on Steam Deck I mentioned and used solution for reading ext4 formatted drives in Windows – check it out.
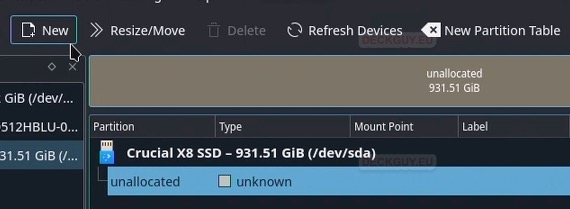
Select now empty partition and click on New
I will only select ext4 under File system and change Permissions to everyone – OK
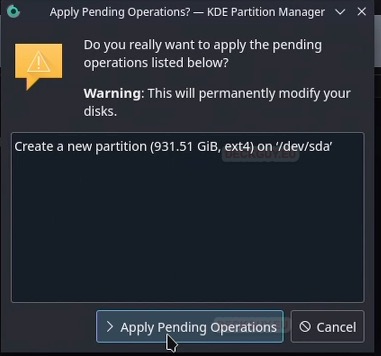
after that click on Apply again, in main window
Apply Pending Operations
Ok, partitioning is done
We again have partitioned external drive on our Steam Deck – we are done. We need to mount it and use it.

For MicroSD card, best practice is to format it through Gaming Mode , of course yo ucan do it here, but if yo uare not sure what you are doing, best way is through Gaming Mode.
Managing Disk Space in Detail
I like to see what is using my Disk Space in detail, by folder. For that, in Windows I’m using WinDirStat app, on Linux I’m using usually QDirStat. Since there is no easy way (GUI) to install QDirStat on SteamOS, and I tend these guides to be simple and user friendly, we are going to use tool named Disk Usage Analyzer
Start Discover (App Store) in Steam Desktop – in search enter Disk Usage Analyzer

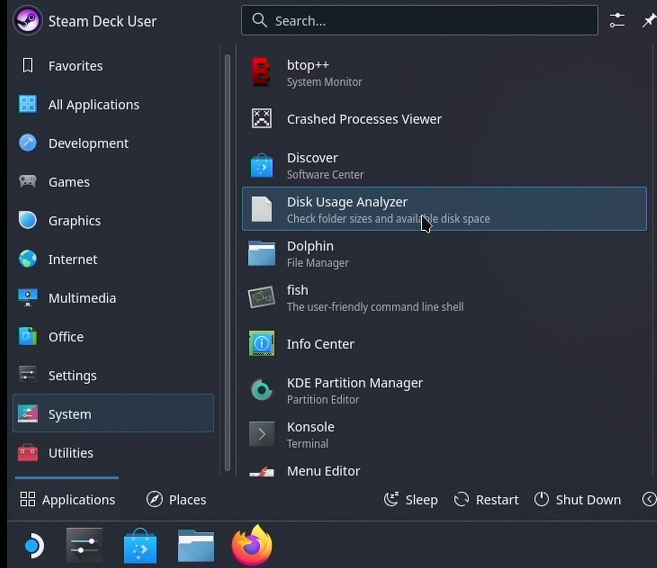
After it is installed – click on Steam Orb in bottom left part of the screen, select System and then select Disk Usage Analyzer
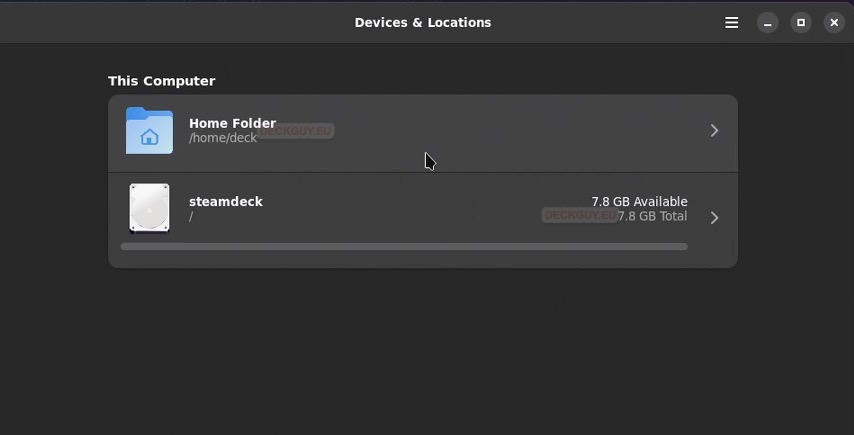
Press on Home Folder to Analyze it
In the left pane, you will get list of directories sorted by size, you can expand every directory to last file, and see what is taking your disk space – and then manage it.
On the right pane, you can see in a pie, what is taking your disk space, at the center is biggest directory/file that is taking your space.
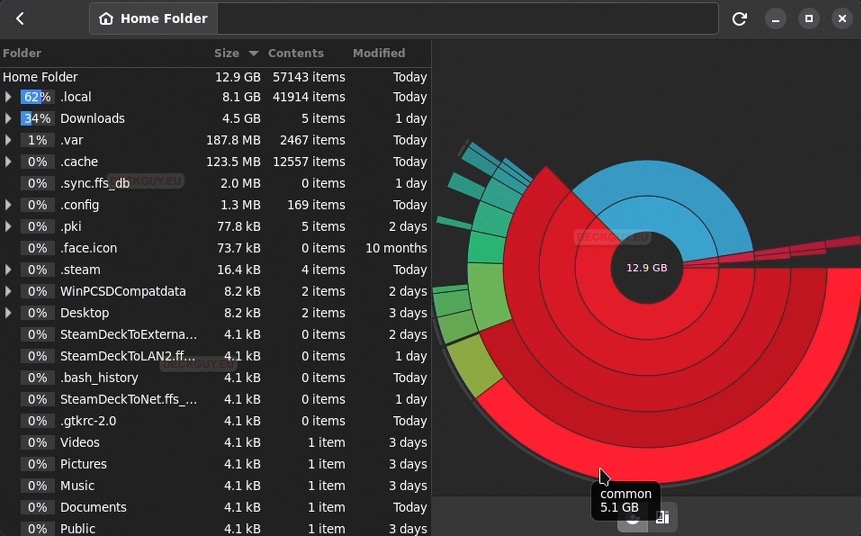
This is extremely useful tool, I use tools like this all the time on my other systems, since I can precisely pinpoint on what is taking my disk space. On Steam Deck, this is invaluable tool because of how much disk space we will consume with games and media.
With this tool we are finishing this quick tutorial, Storage Space is very important on Steam Deck, and to learn and master Disk tools is important skill.