In part one of Backup on Steam Deck we went through syncing/backing up folders from Steam Deck to external SSD or via network. Today, we are going to image whole Steam Deck drive and restore it.
Things to check out, skills we need for today guide:
Before you start, if you are not sure what this is, please stop – read through, but don’t touch anything – with this procedure you will may lose your data or damage hardware or ego (again, if you are not technical or skilled) – I cannot be responsible for any type of damage, examples – data loss, hardware/software damage, injuries, property or emotional damage.
In part one I shown how to backup important Steam Deck folders to external SSD or via network to your Windows (or NAS) file share. You can read more in details here
And that is recommended method – to get your games and saves – saved. Also, any media if you have on disk. You can then always use restore your Deck – I wrote about that here – and then return your saved data to it.
Today we are going to use Balena Etcher or Rufus again, I shown also how to use these tools in my previous articles.
Rufus here (just don’t select Windows To Go, leave it as is for this guide)
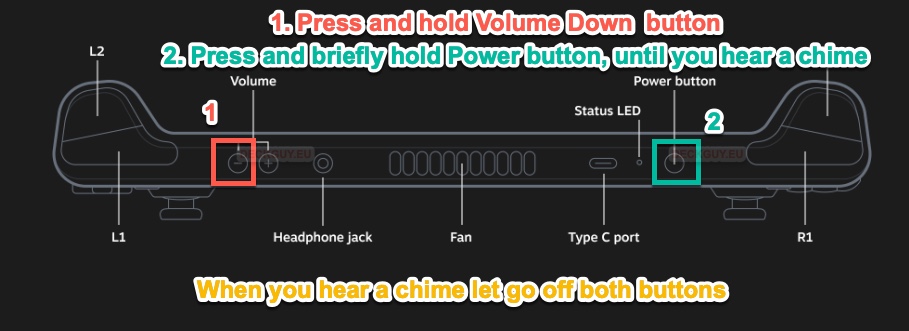
How to boot Steam Deck into Boot Manager
Also, a good prerequisite is WIRED keyboard and mouse – or the model with dongle (like Logitech Unifying I’m using) – bluetooth model won’t work in Boot section
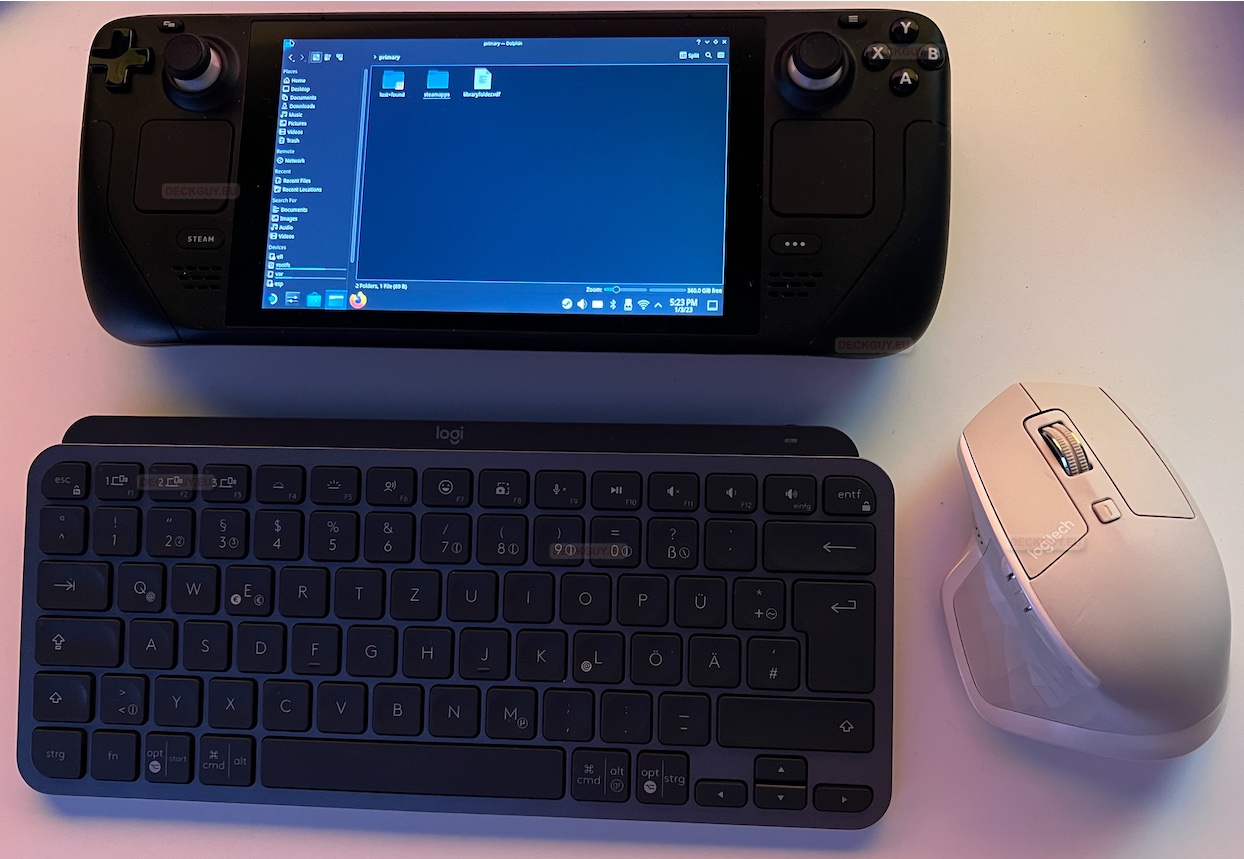
Ok, let’s start.
What is the plan?
Plan is simple – I will try to use Clonezilla (I’m very familiar with the tool) to make an image of my Steam Deck to external SSD – then we will completely format my Steam Deck and try to restore that image. This is a complete backup of the device, not just files or folders.
Prerequisites
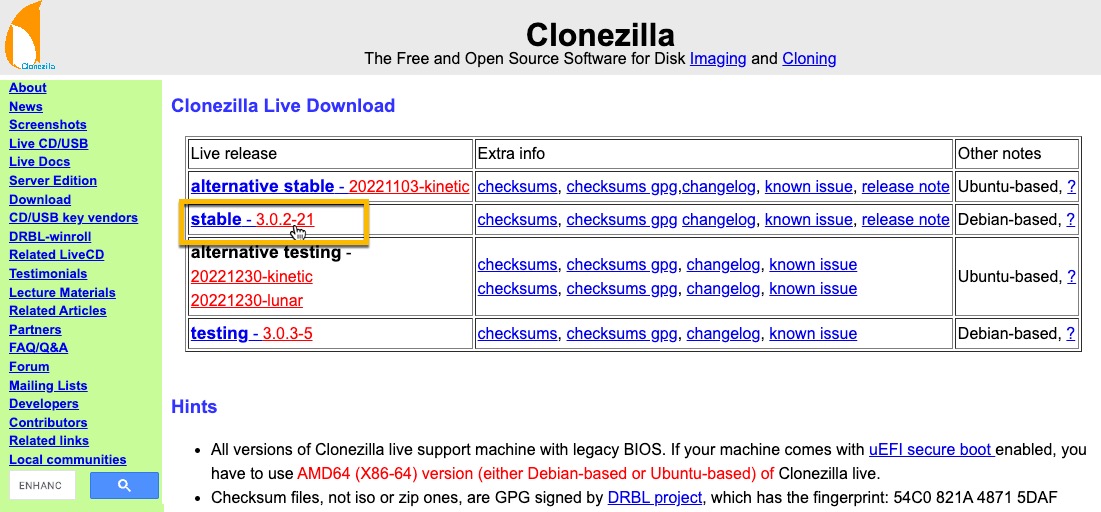
Clonezilla Live ISO download – get stable version and get iso file. This whole guide is done with Clonezilla stable-3.0.2-21 and SteamOS v3.4.4
Disk to clone my Steam Deck to.
My internal Steam Deck Storage is 512GB. We cannot image Steam Deck to smaller disk, so I will use my 1TB Crucial X8 to image my Steam Deck to.
I will make bootable Clonezilla install onto 128GB MicroSD (in reality, USB drive of 8GB is enough).
You don’t have to do this the way I’m doing it – If you have larger MicroSD than your internal Steam Deck drive – use that for image, and put Clonezilla app to the small USB stick, we need it just for booting, imaging and restoring…
To recap:
128GB MicroSD – bootable Clonezilla application. (USB or MicroSD of 8GB is enough for this)
512GB Steam Deck disk – Drive we are imaging
1TB Crucial X8 disk – backup drive on which we are saving Steam Deck image. Disk has to be same size or bigger then drive we are imaging
These three different sizes will also help us distinguish what is what – what is installer (128GB), what we are imaging(512GB), and where we are imaging (1TB).
I will be putting Clonezilla onto my MicroSD with Balena Etcher. If you are on Windows you can use Rufus – you can learn how to use both by reading guides I linked at the beginning of this guide in “Things to check out part”.
Keep that Clonezilla installation somewhere with your image – so you have everything at hand if you need to restore.
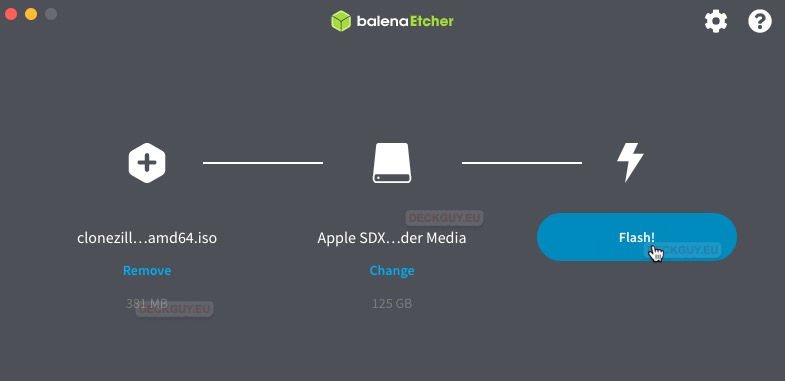
When we have bootable Clonezilla we can proceed and boot from it. I will put my bootable MicroSD in Steam Deck, external SSD is attached, so we can start.
Backing up your Steam Deck – Create Image
Turn off your Steam Deck – make sure MicroSD is in slot, unplug device you are going to image to – in my case Crucial X8 is unplugged!!! Plug it in when Clonezilla asks for device!
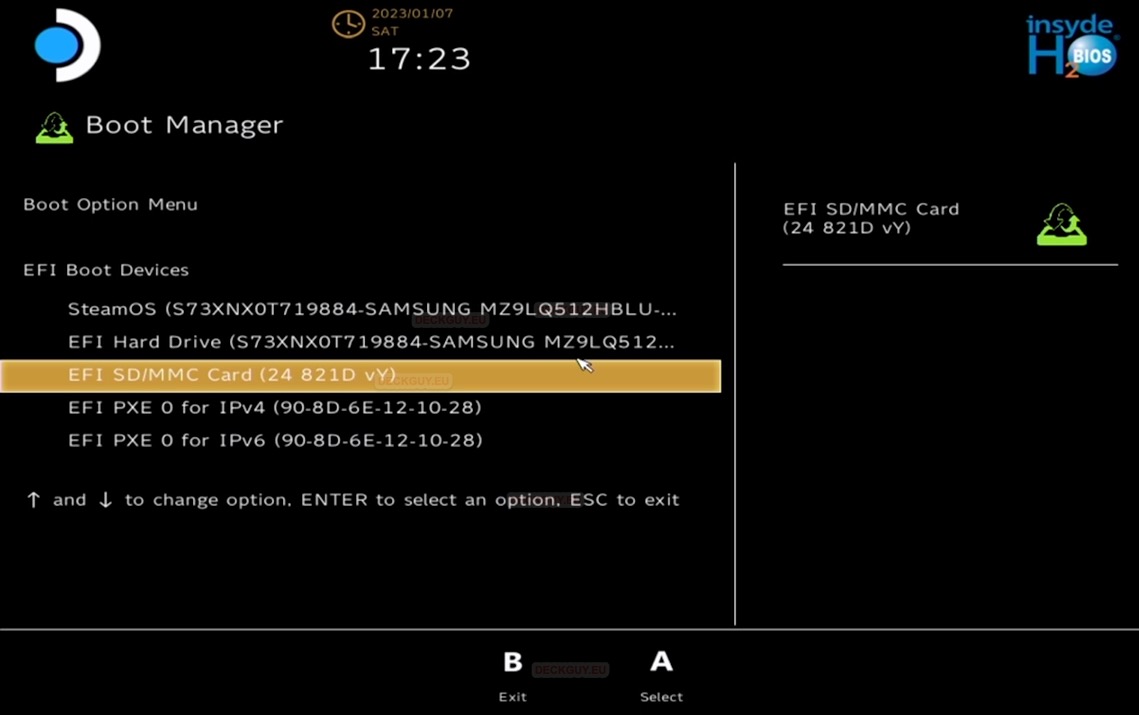
Put your Steam Deck in Boot Manager, check links at the top of this guide, if the picture below is not enough.
I will select my MicroSD I installed Clonezilla to – and hope that I made good bootable drive
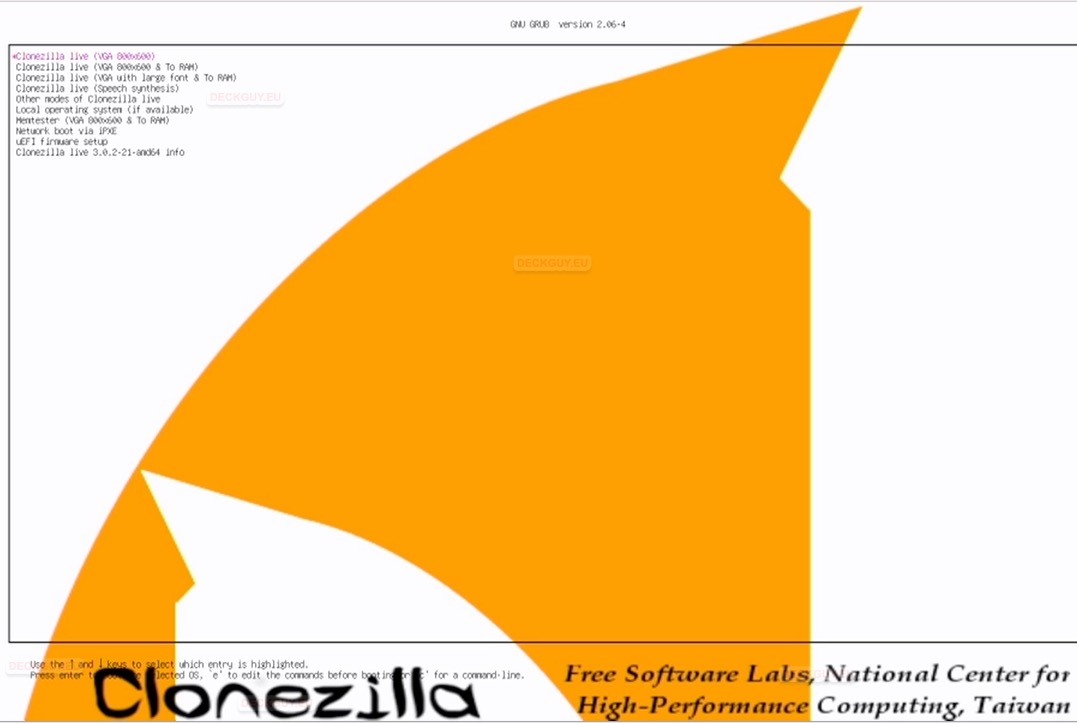
I will select Clonezilla live (VGA 800x 600)
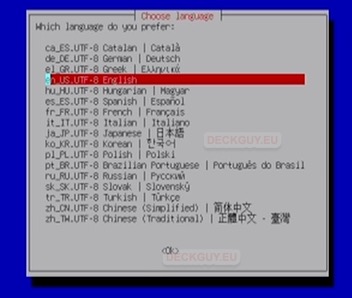
English is ok for me – OK
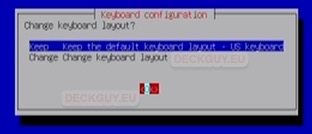
Keep the default keyboard layout
Start Clonezilla – OK
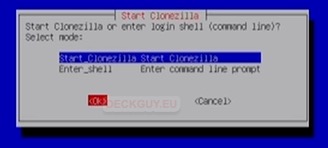
Select device-image – OK

local_dev – OK

Now is the time to plug in device you are going to backup to – in my case Crucial X8. Press Enter when you are done.

Both drives are detected – press Ctrl+C and wait terminal text to pass…

sda1 (Crucial X8) is the device we need to select in next screen, that will be the destination for image – ok

I will skip disk checks in this case – no-fsck – ok

I will just select done, I have no directories on my external SSD, and I don’t want save in lost+found (and neither do you)

This is acceptable – Enter

We will select beginner and press Ok

We want savedisk option – OK

I changed the name for the image and will now press OK

Now, we are selecting what to clone – I will select my nvme0n1 – 512GB Samsung SSD – that is internal Steam Deck drive

I will go with default z1p and select OK

I will skip checking/repairing resource file system – sfsck – ok

However, on next screen we want to check saved image – Yes, check the saved image – ok

Encryption in real life is good scenario, and I encourage you to use this options, this way your images will be safe from prying eyes, but now, we are going to select -senc – Not to encrypt the image – ok

I will select to shutdown my machine after I create image – you can select reboot if you wish – ok
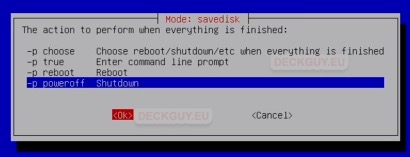
We can check our command and press Enter to continue

Check everything through and type Y if everything is correct and you want to continue
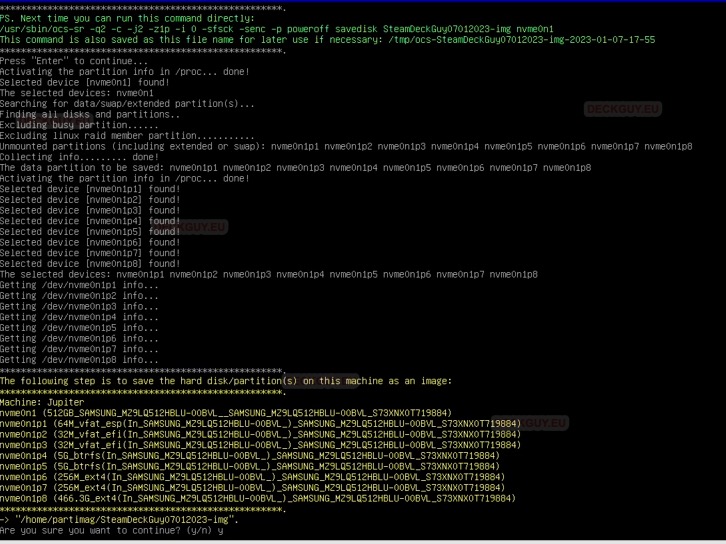

Process is underway… Will take some time depending on amount of data and speed of the device you are imaging to.
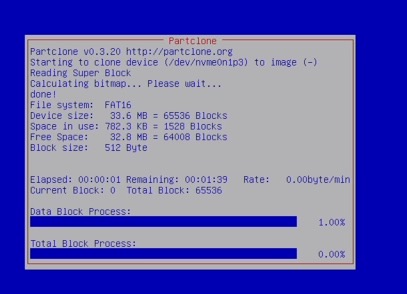
Process will go through every partition on disk.
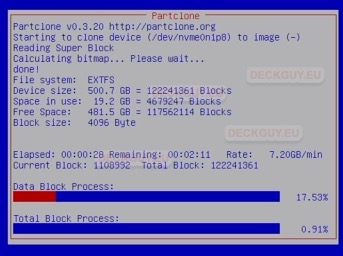
We are done – eject your Clonezilla USB and press enter – my Steam Deck is now shut down. It took about 25minutes in my case.
Keep that Clonezilla installation next to your image – so you have everything at hand if needed.

OK, let’s just check on Windows how our image looks like
Folder with image name I set is here
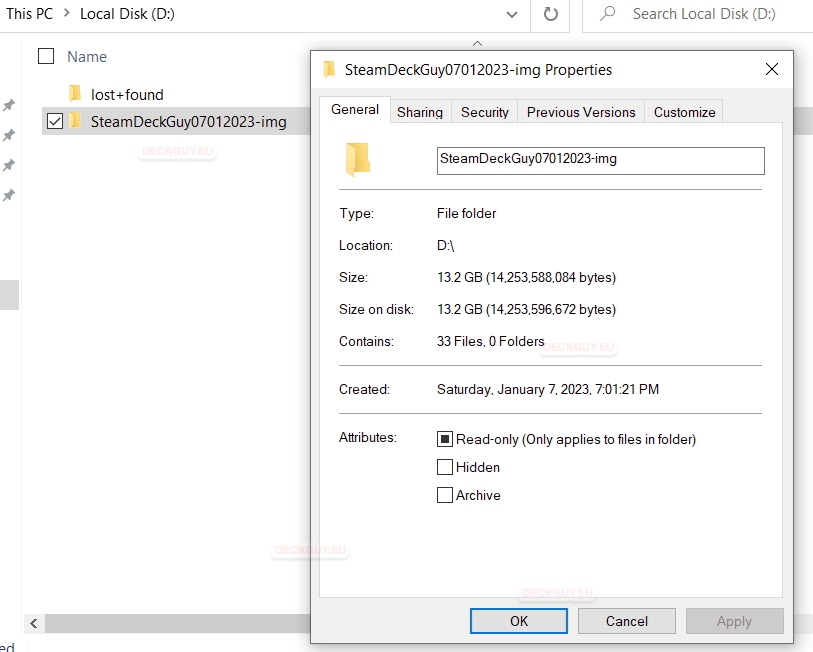
and inside folder there are some files, that look legit 🙂
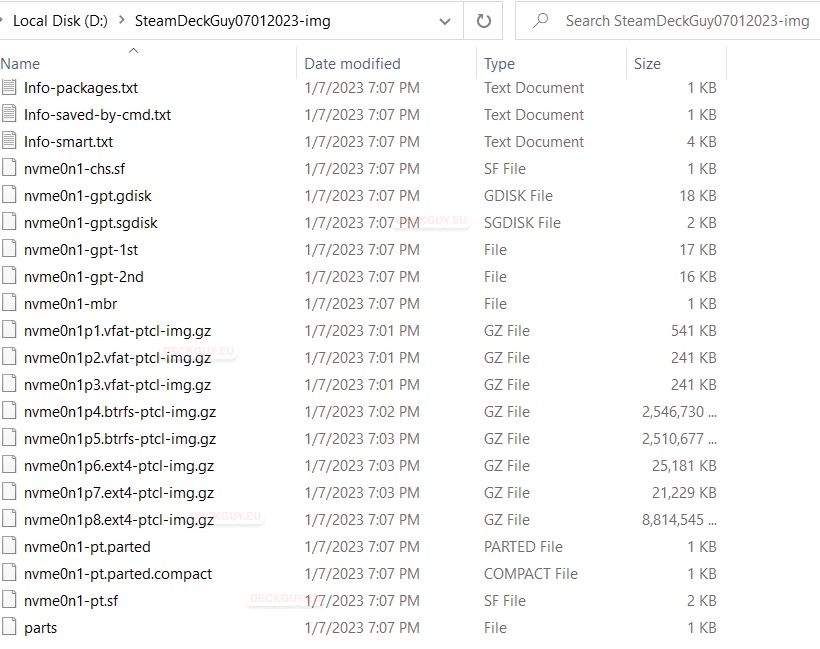
Ok, we are done with imaging our Steam Deck.
Restore Image to Steam Deck
Let’s say the worst happened – something is wrong, SteamOS is messed, and you wish to return your Steam Deck Image.
Remember – you always have choice to backup your important files and folders – read here
I also shown you how to reinstall your Steam Deck – so you can go that route – reinstall SteamOS from scratch and then return your media/folders you have in backup.
But, let’s say you want to do this – bring back full image.I will do scary stuff to my Steam Deck to check this out – I will boot to Windows 10 from my other MicroSD and completely delete my Steam Deck internal storage. Did you notice that we have a lot of options to pull ourselves from tricky situations – restore Steam Deck image, boot from Windows 10 MicroSD, backup our files, folders individually… If you get familiar and test these tools, you don’t need to be scared of tricky situations with your Steam Deck. You will know how to pull out of mess.
DON’T DO THIS, I’M DOING THIS ONLY FOR TESTING PURPOSES TO SEE IF OUR IMAGE IS WORKING – DON’T DO THIS ON YOUR DECK
Of, course if your Steam Deck is messed, you may want to format it, but otherwise, don’t do it without reason.
I formatted complete Steam Deck internal Storage in Windows – ONCE MORE, DON’T DO THIS!!

I now have constant boot loop with “Rebooting into firmware…” message on my Steam Deck.
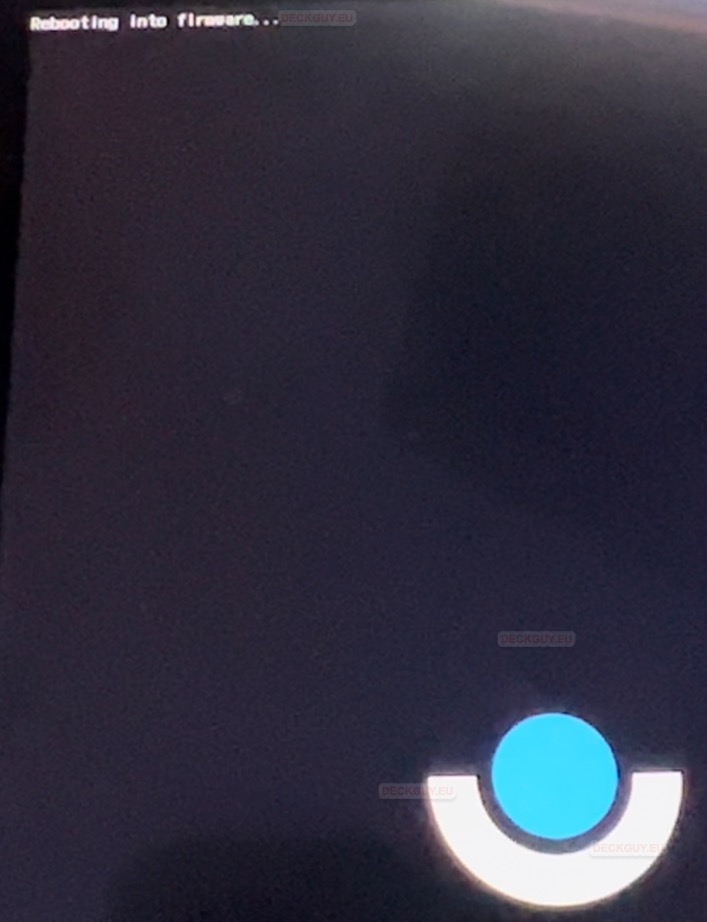
Ok, let’s put our Clonezilla MicroSD into device and boot from it
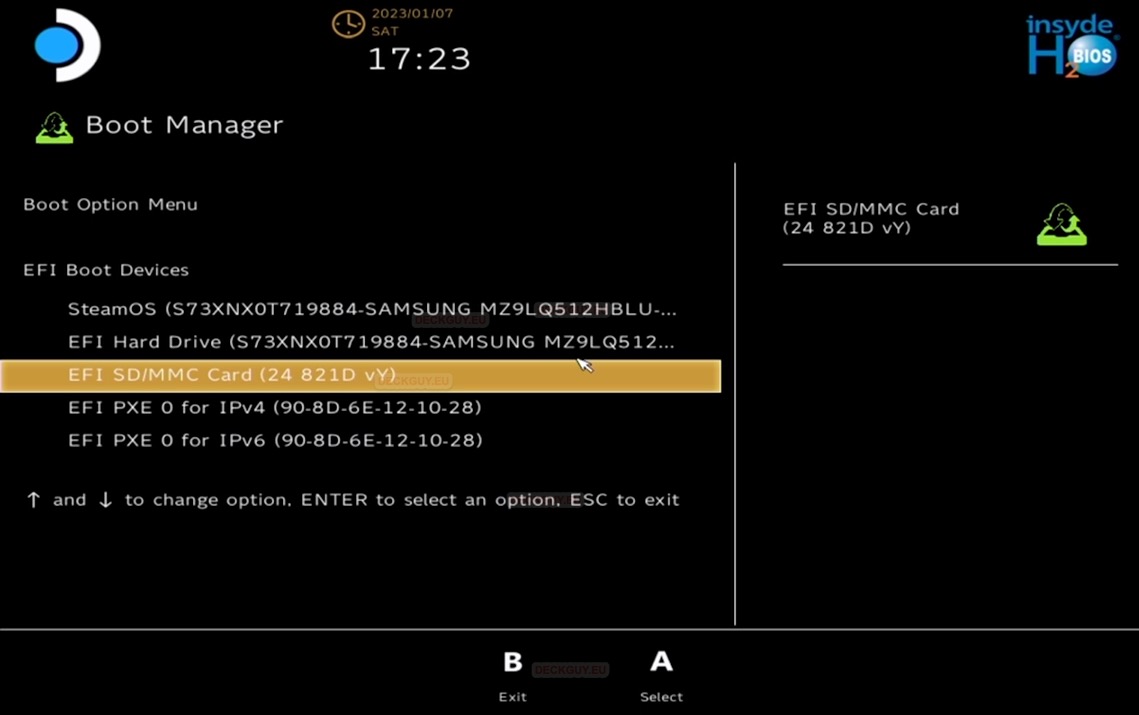
Boot Manager

Select MicroSD with Clonezilla Bootable image
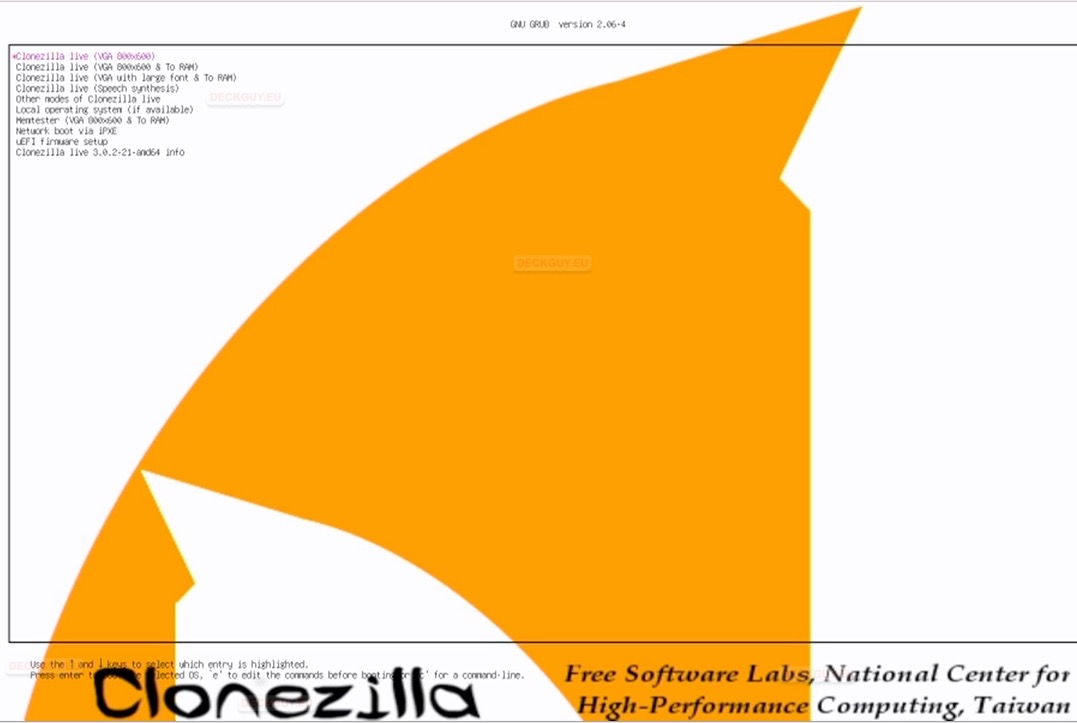
Select Clonezilla live (VGA 800×600)
I will skip part with language selection and few more details – it is same as above – I will select English, I will keep the default keyboard layout, I will select Start_Clonezilla
We will again select device-image

Again local_dev

We will plug in our external SSD (Crucial X8) where my image is residing and press Enter

Again, both Samsung and Crucial are recognized – Ctrl-C

Again, we will select sda1 (Crucial X8) ok

Skip checking – no-fsck – ok

We will now select image we saved *SteamDeckGuy07012023-img and click done
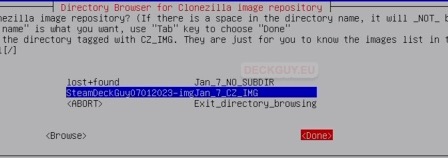
Enter to continue

Beginner again

HERE IS THE DIFFERENCE – select restoredisk !!!!
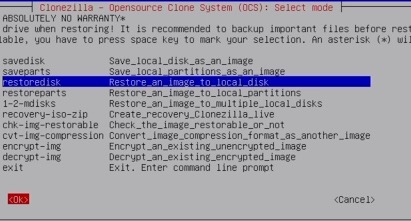
We will now select image to restore and press ok

And now we will select the disk to restore to – our Steam Deck internal 512GB SSD – ok

I will try with -k0 – Use the partition table from the image – ok

Check the image before restoring – OK

I will again select poweroff after image is restored
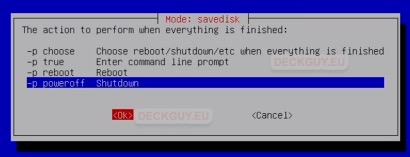
Here is our command for next time – Enter

We are on the way, let’s hope to fully restore our device…
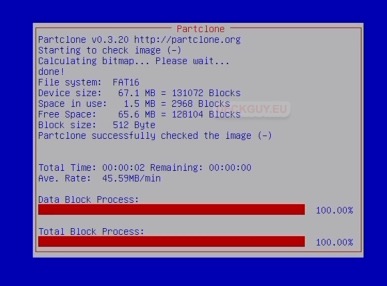
All images are restorable, check all the details and confirm with Y, in my case, everything is going good (so far)

You will maybe be prompted once again to confirm with Y and the process will continue
After 15 minutes… I will remove MicroSD and external SSD and hope for the best

Steam Deck turned off – I will power it up. I eagerly wait for the result…
All done, image is up and running!!
So, everything is good, we can now verify that this process works!!!
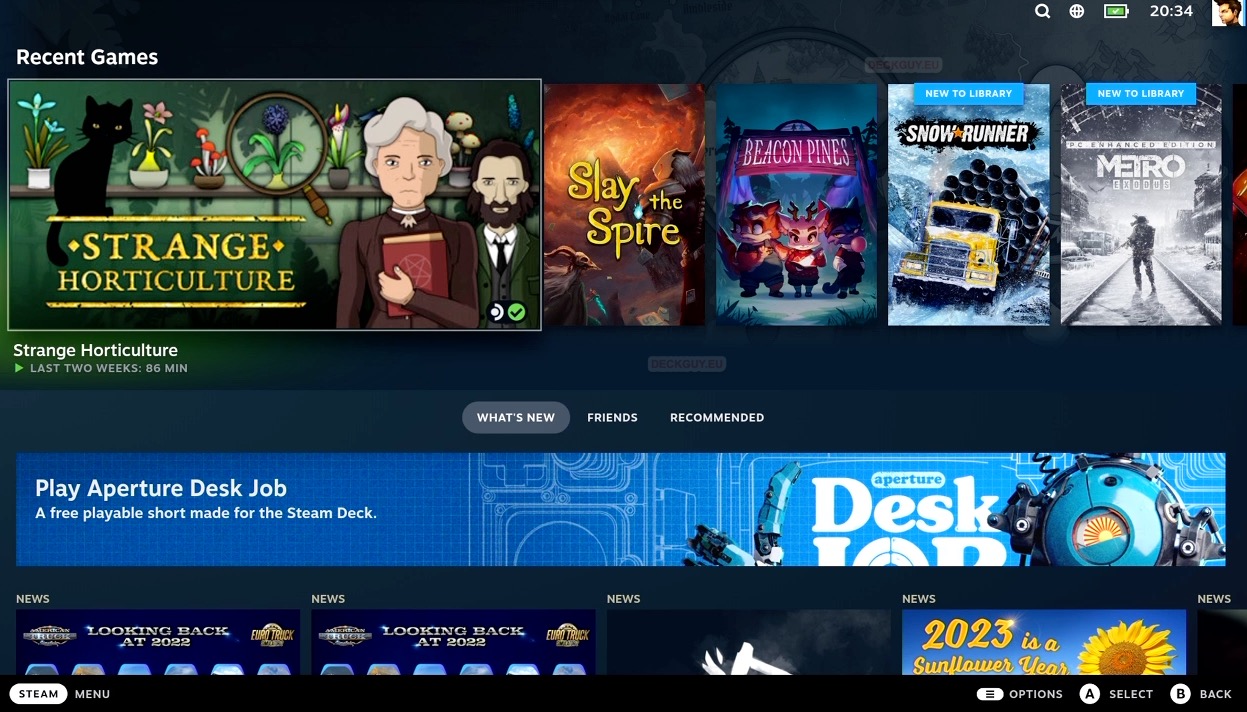
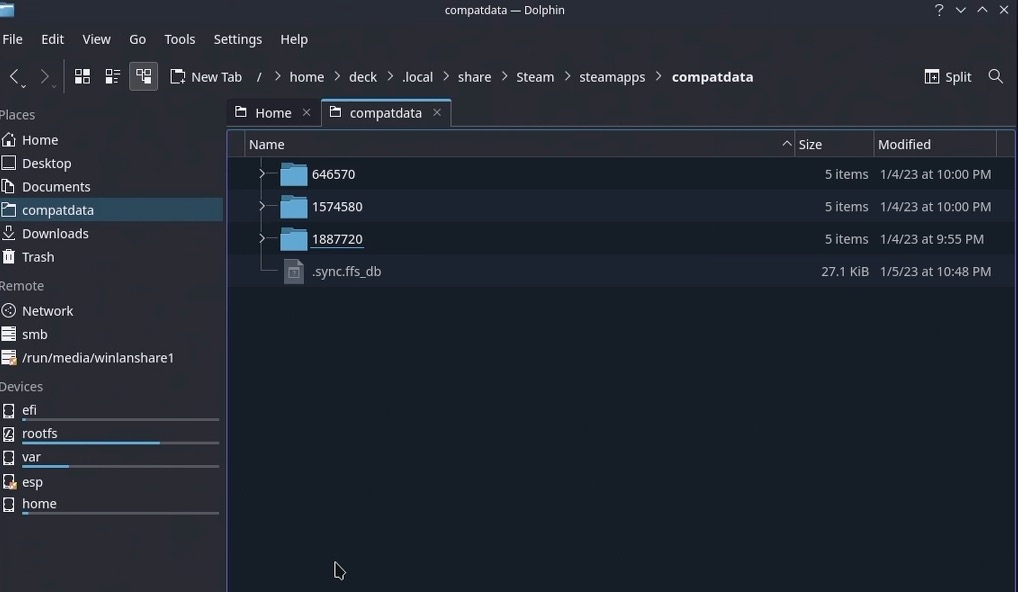
My File Explorer modifications are also fine, system is as it was
So, there you go, you have one more tool in your sleeve to rescue your device.
You can select if you want to backup your files/folders or image whole system – just in case.