
Because Steam Deck is a PC you can install and customize it however you want. That also means that you don’t have to install game only from Steam Store – you can install your own game from other sources. Let’s see how.
Where to get games you can install without launchers?
Besides Steam, I love GOG as my source of games. GOG Launcher can be installed on Steam Deck – I will show that in my other guide, but you can also install games bought on GOG without GOG launcher.
I love GOG because of open policy of the service. In todays software/hardware world, where everything is restricted, monitored and closed – GOG has a philosophy of openness – you bought a game – here it is – download it, install it, use it.
It is service worth supporting, so that is why some of my games are on GOG.
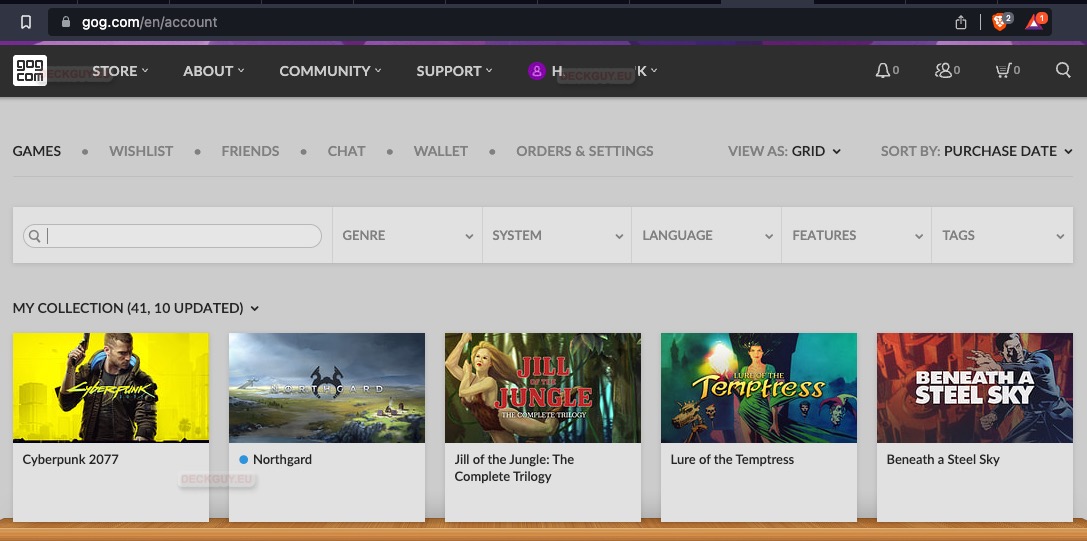
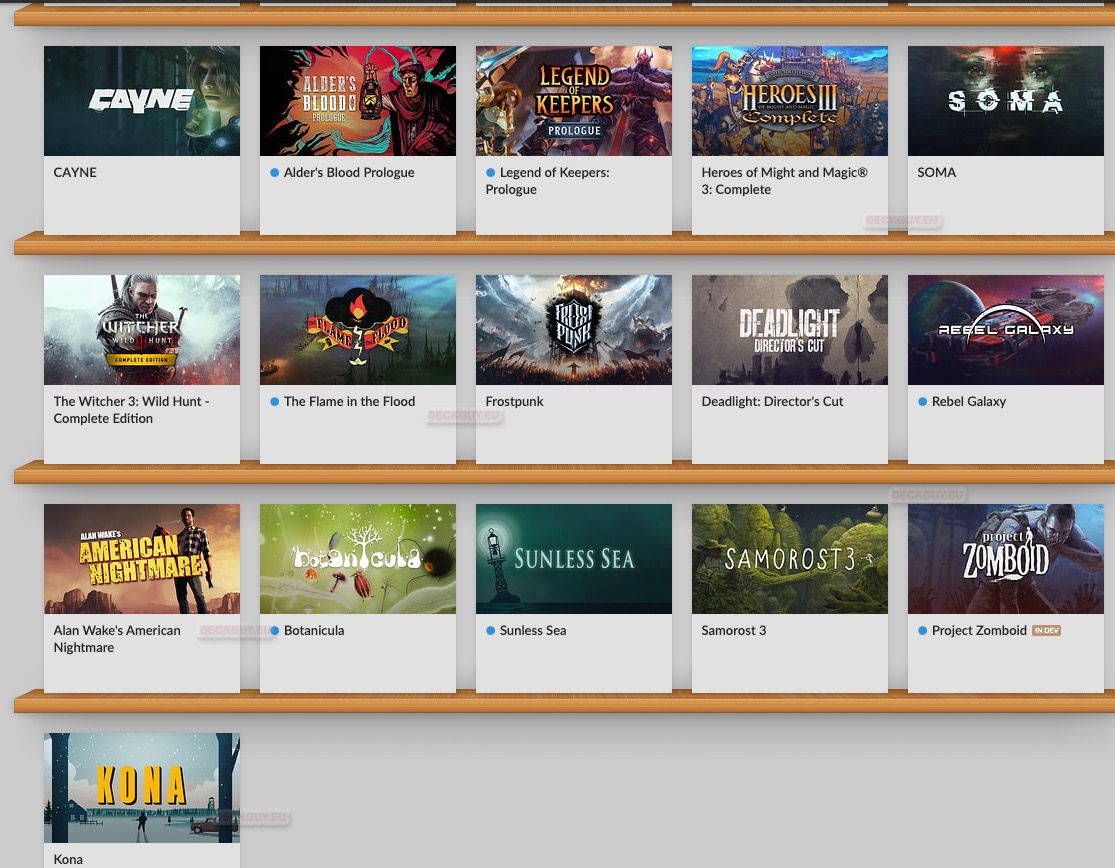
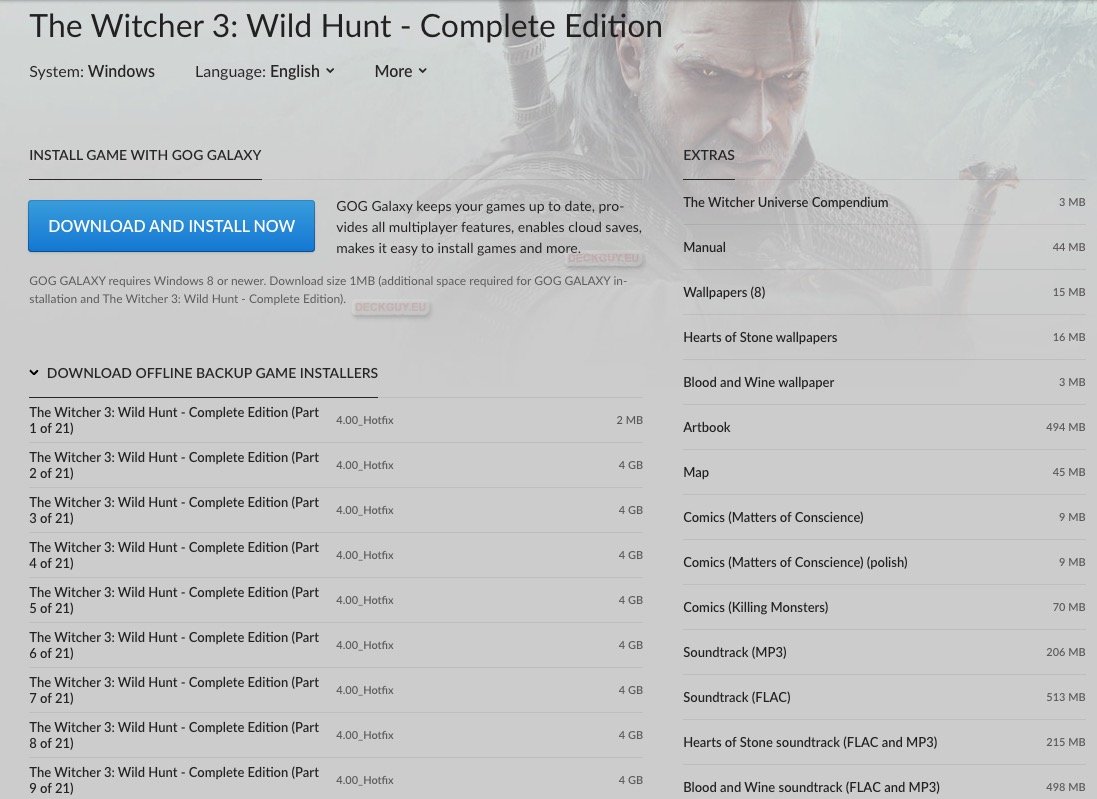
You can easily download your games from GOG and keep them where you wish…
I would also like to use this opportunity and say – Please, stay fair – don’t pirate and share excessively your installers – in PC gaming world, there are often sales, and games can be bought real cheap. So, stay fair, and support great services and hardware such is GOG and Steam Deck.
Useful resources if you are still learning about Steam Deck
Here are few guides I done on the Desktop Mode topic, if you are completely new and need help
How to enter Desktop Mode – https://www.deckguy.eu/steam-deck-how-to-enable-desktop-mode-how-to-return-to-gaming-mode/
How to navigate Desktop Mode – https://www.deckguy.eu/steam-deck-buttons-in-desktop-mode-how-to-navigate-desktop-mode-in-steam-deck/
How to get keyboard in Desktop Mode – https://www.deckguy.eu/how-to-get-keyboard-in-desktop-mode-on-steam-deck/
This one is pretty important – how to navigate File Explorer in Steam Deck – https://www.deckguy.eu/how-to-navigate-steam-deck-file-system-basics-of-dolphin-file-manager/
Here you can learn how to manage storage and mount/unmount external storage – https://www.deckguy.eu/disk-management-on-steam-deck-check-free-disk-space-format-unmount/
What is Proton – https://www.deckguy.eu/what-is-steam-deck-proton-how-to-change-proton-version-for-a-game/
Game installer
This guide will be done in Desktop Mode, and we will go through the process together.
I will install Cyberpunk 2077 – I have it on my external SSD I attached to Steam Deck – i talked about my setup in previous guides.
I will install from it directly from external SSD to my Steam Deck – I won’t copy installer to Steam Deck. I use Crucial X8 1TB external SSD
I will install it onto my internal 512GB drive on Steam Deck.

Installation
It is a bit tricky and complicated, I will try my best to make it right. Important to note is that not every game will work and can be installed this way – so have that in mind
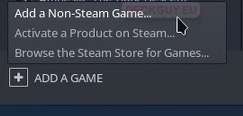
Bring up Steam by either clicking on it on Desktop or system tray – select Add a Game from the bottom left part of the screen – it doesn’t matter on which menu you are – Add a Game is always at the bottom ribbon.
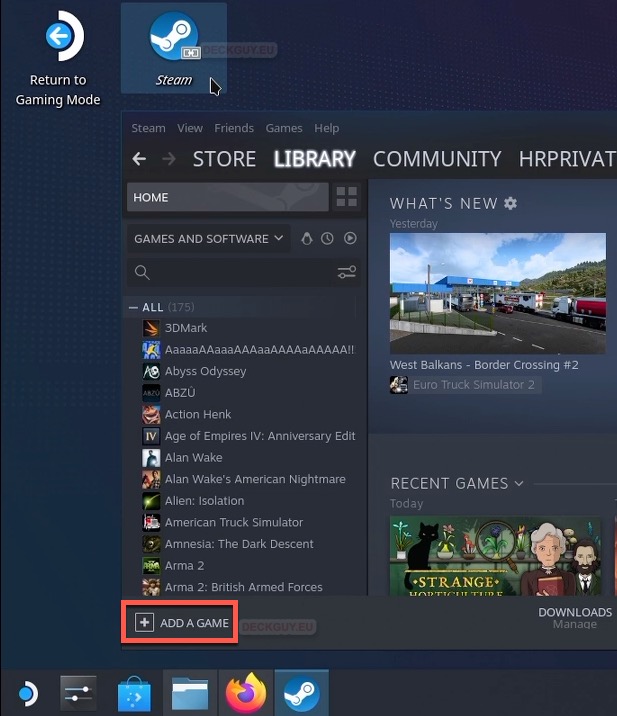
Click on Add a Non-Steam Game…
New window will open – click on Browse… at the bottom of the screen

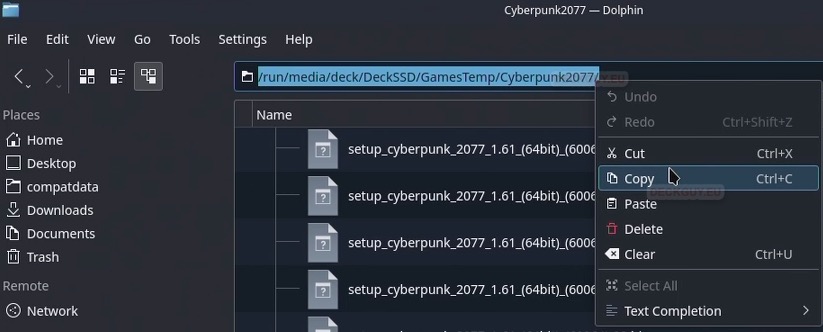
Now, quickly back to Dolphin file explorer (check it in details on the links I posted above, it is described how is done what I’m doing now)
Go to location where your game installer is and copy path to it
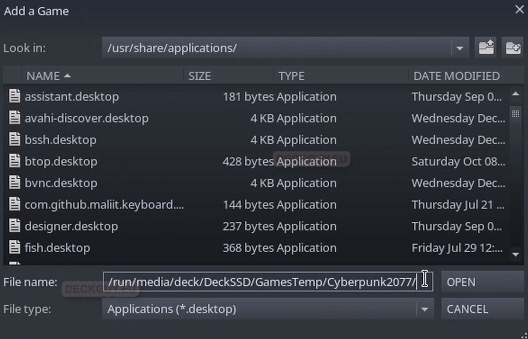
Back to the Steam and Add a game dialog
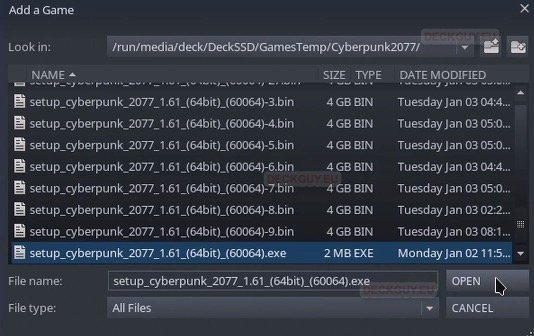
Browse dialog is opened – click on File name: and paste link from your file browser – right click and paste might not work, so press Control+V on your keyboard while you are in that field to paste path to installer
Click on Open
You will now see empty screen – click on File type: at the bottom of the screen and select – All Files
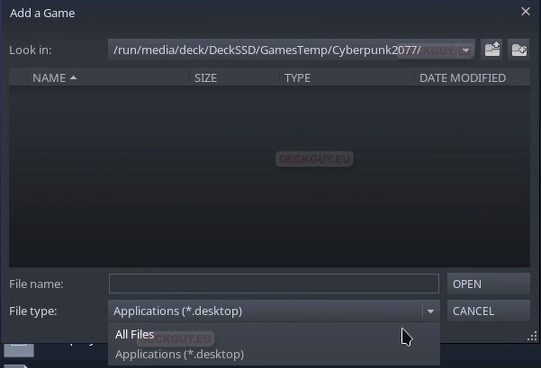
Files will now appear – select your installer – in my case it is only .exe in directory and select Open
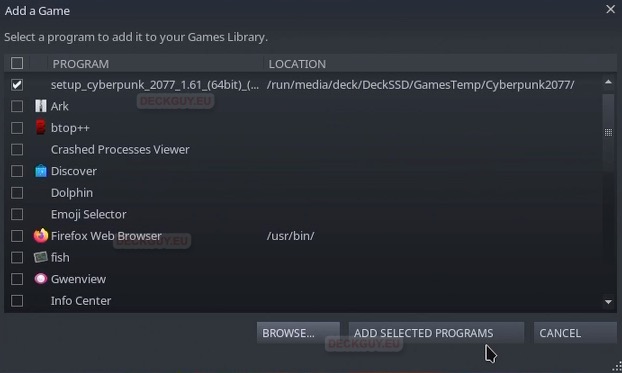
Now, you should be back on screen where you select a program, Cyberpunk installer is selected – click on Add Selected Programs
Have in mind – Steam will now create in your Library item named setup_cyberpunk_2077…
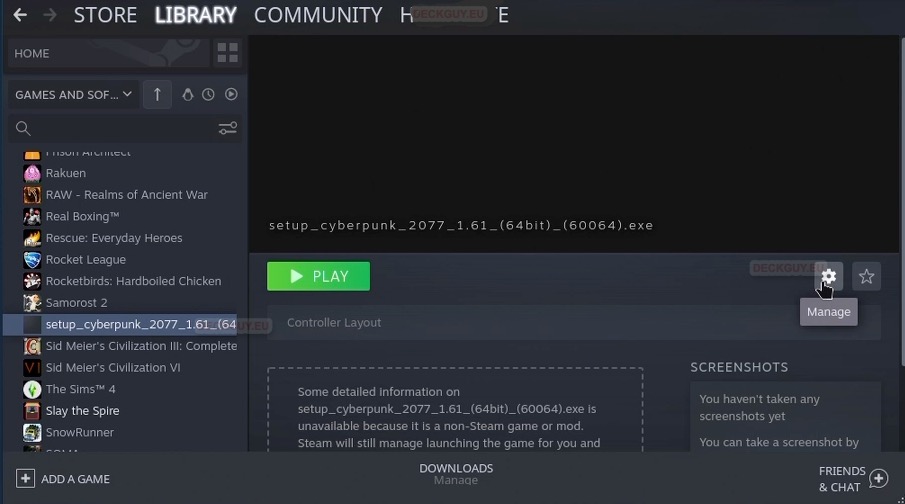
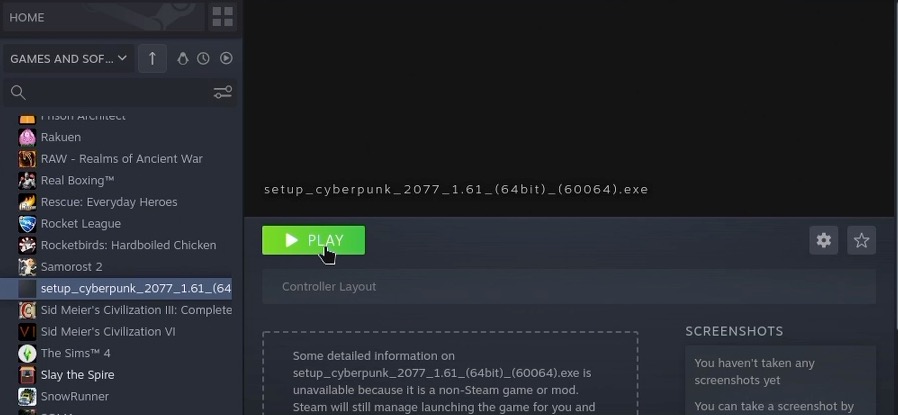
Go to your Library on Steam and browse to find your installer (it is named setup_cyberpunk_2077…)
Before we press Play (Play should start your install) we will click on Manage – little cog on the right side
Select Properties
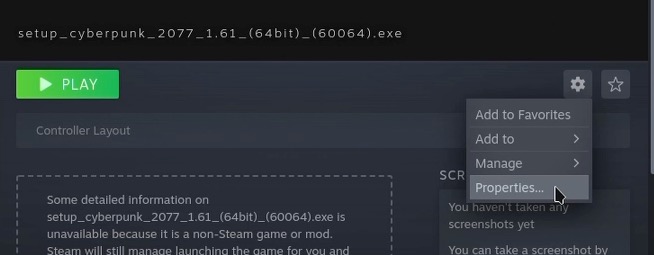
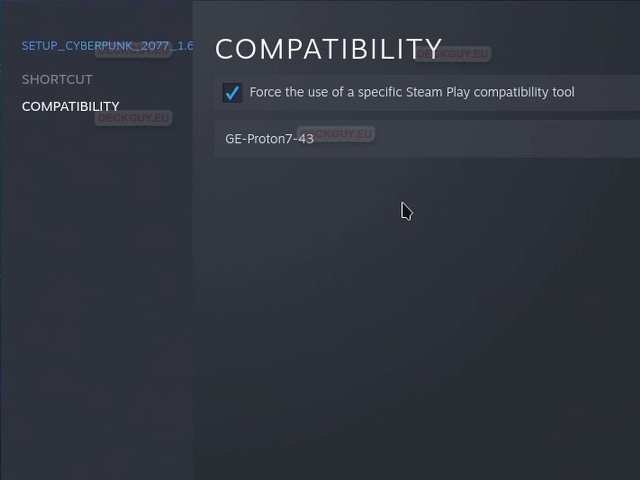
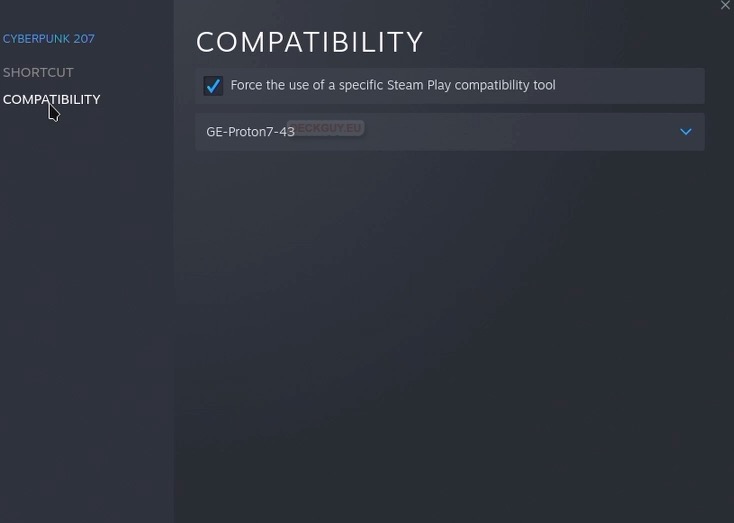
Go to Compatibility on the left side, and click on “Force the use of a specific Steam Play compatibility tool” – I selected GE-Proton7-43. It is modified version, and instructions on how to add it are here
Go back to main game screen and press Play – just press once – don’t hurry anything – it will start
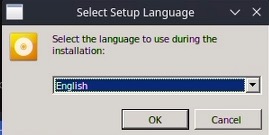
You will get first screen on which you will select install language
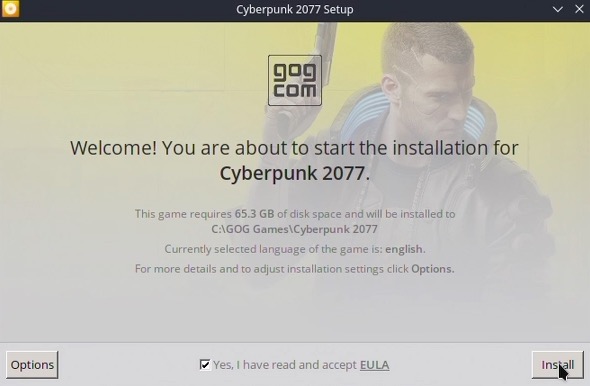
Game will be installed in C:\GOG Games\Cyberpunk 2077 – it doesn’t exist for real on our Steam Deck, just in Proton, accept EULA and click on – Install
This will take a while…
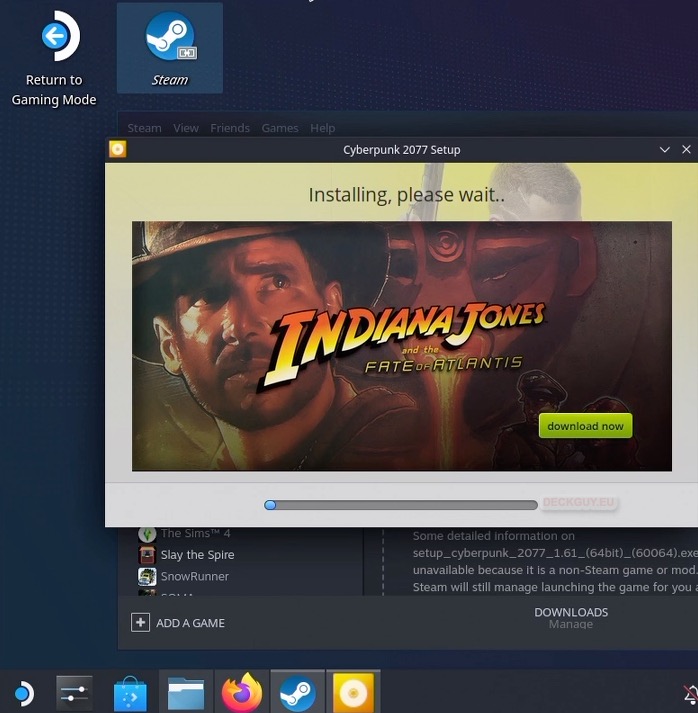
20 minutes later we are at the end
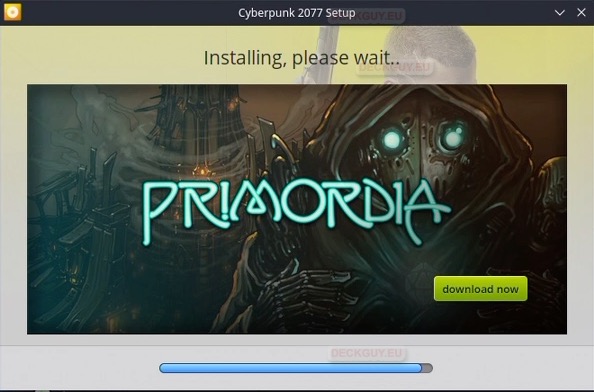
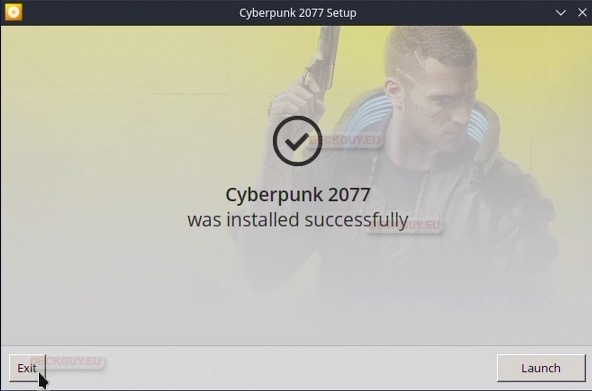
23 minutes later – Cyberpunk is installed
Press Exit – we are not ready to start the game.
Preparing Game for Start
We haven’t started game because it won’t start – we need to point now our Cyberpunk installer in Steam Library to our installed game.
First, go to Dolphin File Manager and navigate to compatdata folder, if you don’t know what I’m talking about – look here
It is hard to guess in that folder which is our installation – but I usually navigate by time – one folder number 4035160776 is created 30 minutes ago, so that must be our Cyberpunk installation
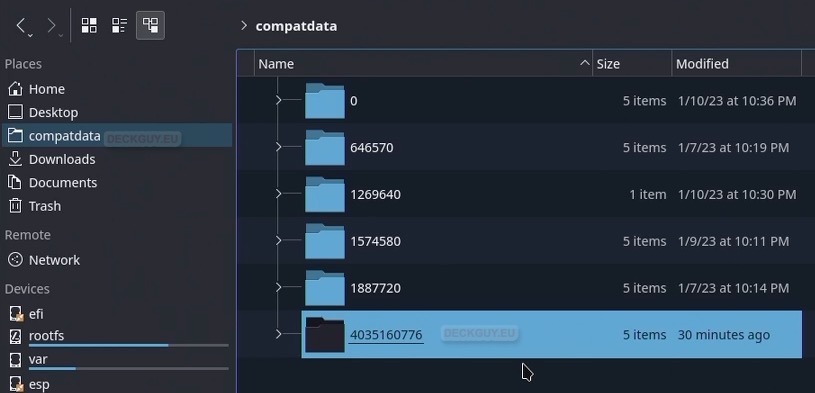
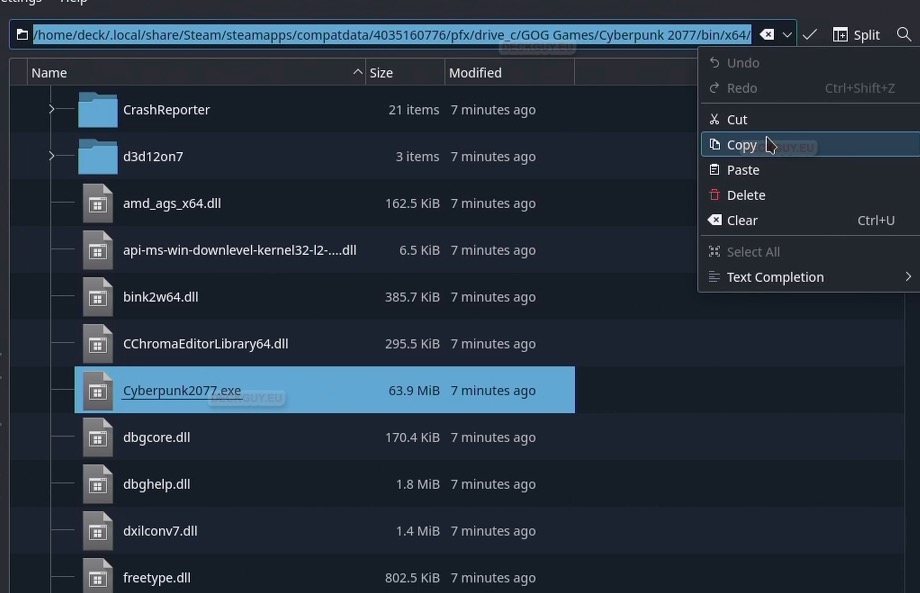
And it is, game .exe is located in
/home/deck/.local/share/Steam/steamapps/compatdata/4035160776/pfx/drive_c/GOG Games/Cyberpunk 2077/bin/x64/Cyberpunk2077.exe
Copy that path (we will need to add Cyberpunk2077.exe in the end while pasting it)
Now, back to our Steam Client, Library and our setup_cyberpunk_2077… app
Click again at Manage – Properties
We now need to point our Cyberpunk item in Steam Library from installer, to installed game – and .exe file that will start it.

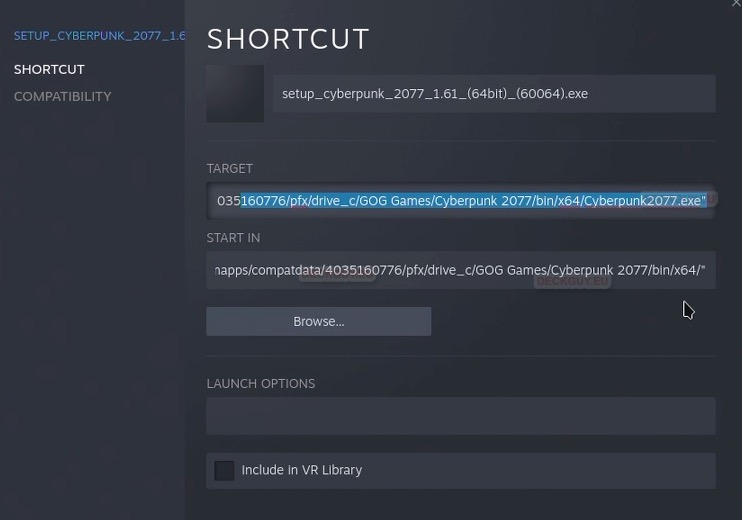
On shortcut menu, we need to change – Start In item – click on Browse
Now, again on your keyboard – Control + V to paste path to the game we just copied in File Explorer and press Open
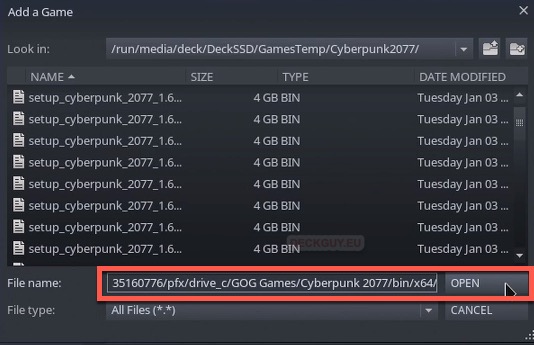
Now, navigate to Cyberpunk2077.exe and press Open
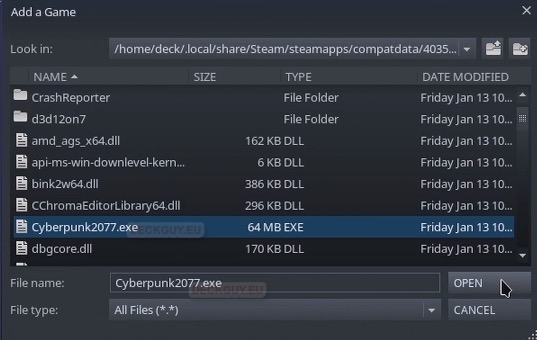
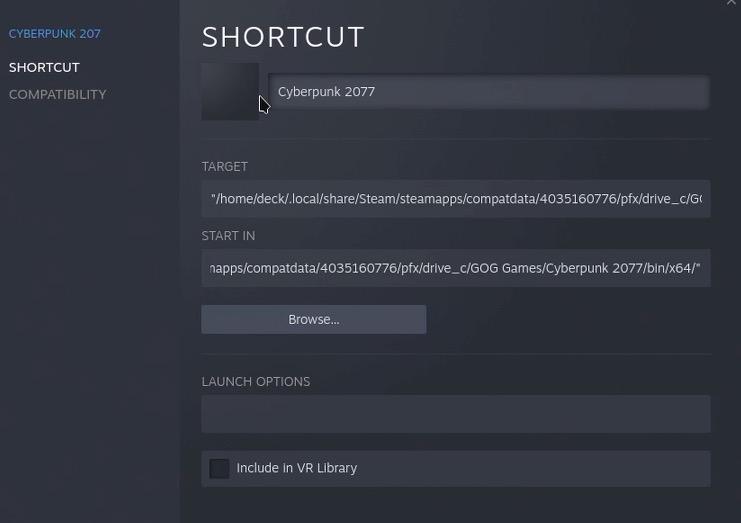
Target field should point to – /home/deck/.local/share/Steam/steamapps/compatdata/4035160776/pfx/drive_c/GOG Games/Cyberpunk 2077/bin/x64/Cyberpunk2077.exe
Start in field should point to – /home/deck/.local/share/Steam/steamapps/compatdata/4035160776/pfx/drive_c/GOG Games/Cyberpunk 2077/bin/x64/
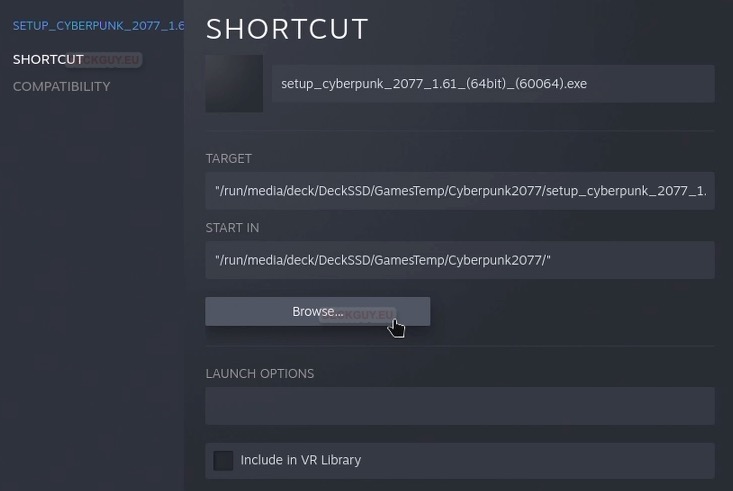
Before we leave we will also change our shortcut name from setup_cyberpunk_2077_1.61…
to Cyberpunk 2077
Here is final look of Shortcut screen.
Now, what this means? We created item in our library, which we used to install a game – once the game is installed – we that pointed our game item in Steam library to installed game – so next time we use it – it will start the game.
Before we exit properties – let’s check Compatibility menu
I will leave it as it is – with GE-Proton7-43 enabled.
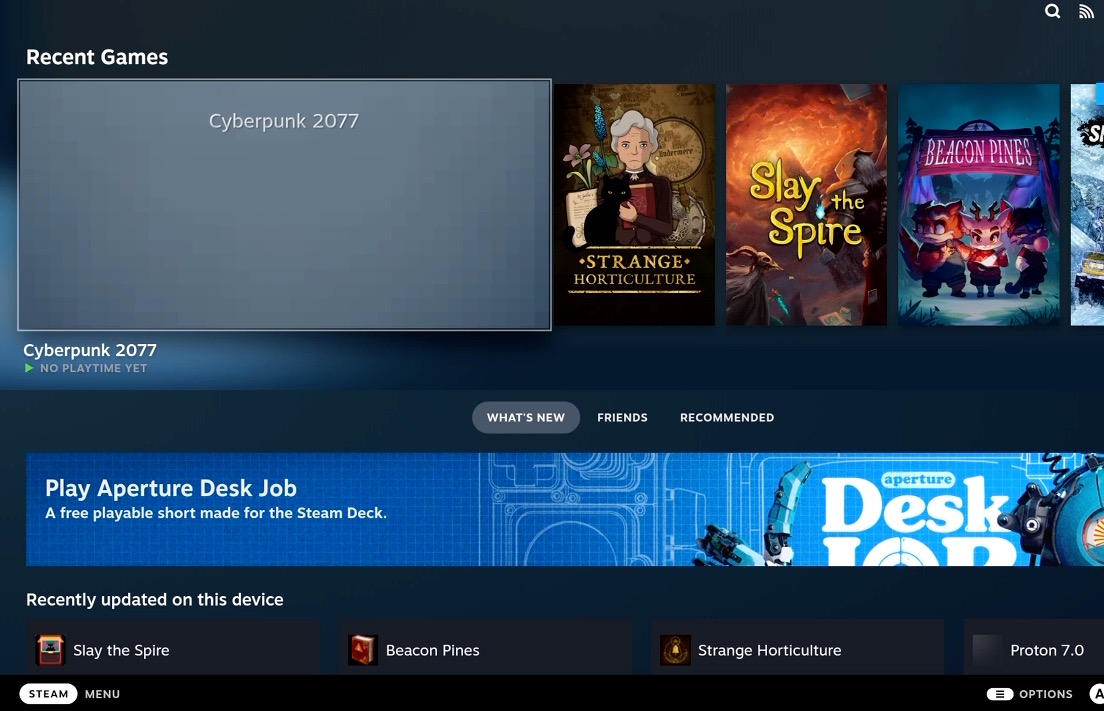
Game is now under C – as Cyberpunk 2077 – let’s try and play it
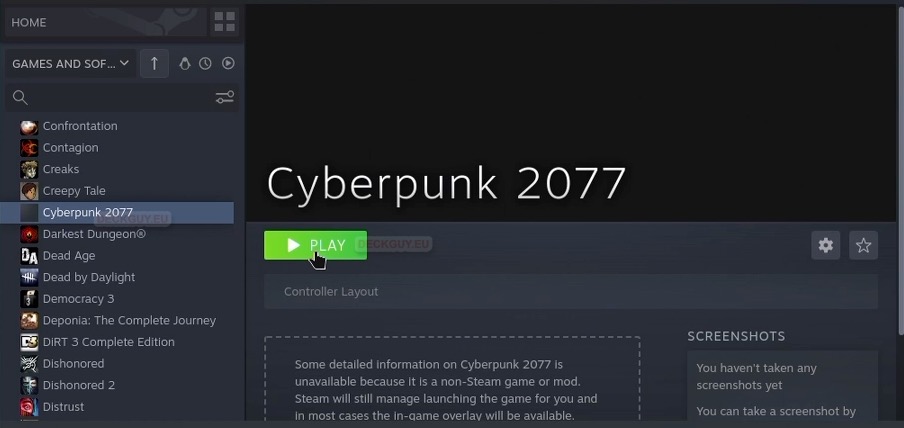
Starting Game
Moment of truth…
It works!!!!
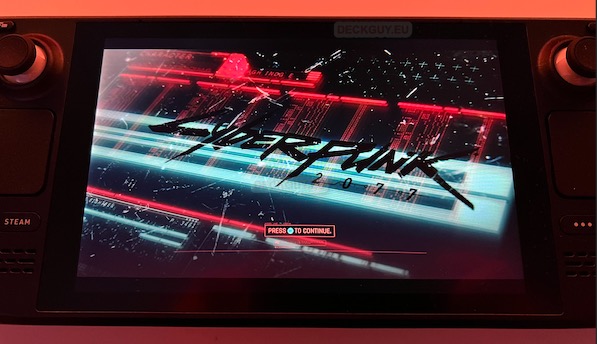
Great
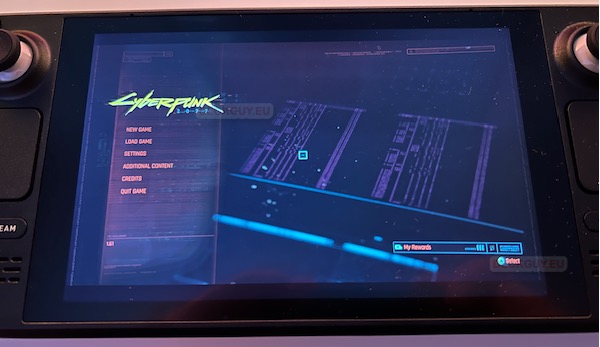
Optimizing this game is another topic, but we did the install, we did it!!
We can also start the game from Gaming mode…
Beautifying look of the game (adding pictures so it looks nicer in the menu) is another topic I will cover.
Why not do this?
Consider you will not be able to update game or have cloud saves by installing this way. These are two big reasons why you should do this through launcher.
If you still like it this way – here is guide on how to manually backup your save games
This is a long article already, so I will end here, search through my site for other interesting guides, if you found this useful.