We learned how to install non-Steam games, games from other sources, on our Steam Deck. We can even see these games in our Gaming mode – but the titles we added look a bit – dull. Here we will learn how to add artwork and icons to games on Steam Deck.
I imported some games from GOG, these games won’t have artwork on Steam Deck – I like nice things, so I would like to get artwork also for my non-Steam games.
There are two ways to do this – with the tools and options integrated into Steam Deck, and another one – with plugins.
I will show you both ways.
Add Artwork and Icons to games via Steam Client
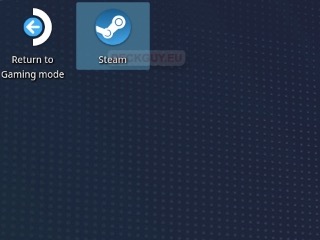
For this, we will need to go to Desktop Mode – here is guide on going from Gaming to Desktop Mode on Steam Deck.
In Desktop mode we will start Steam client
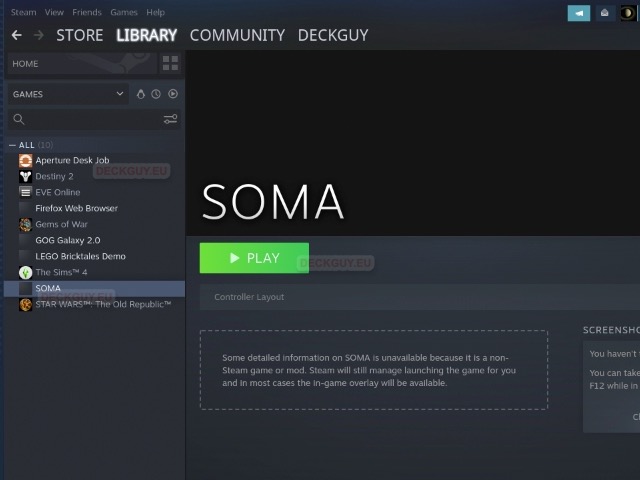
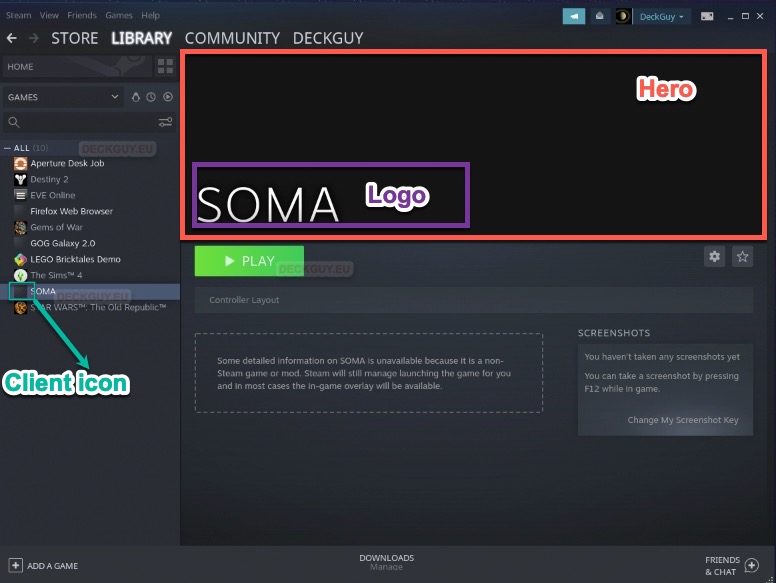
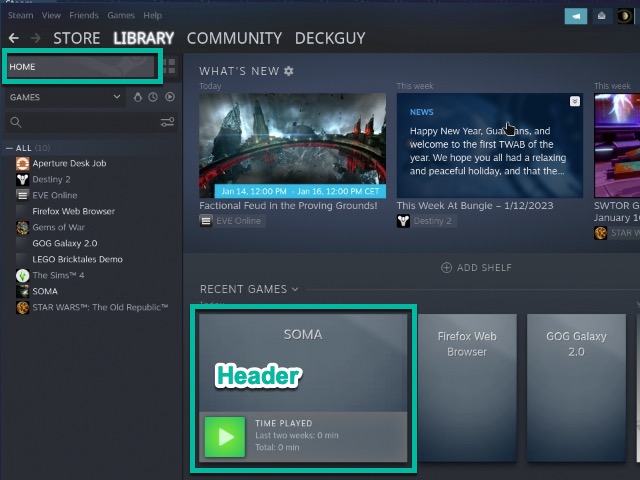
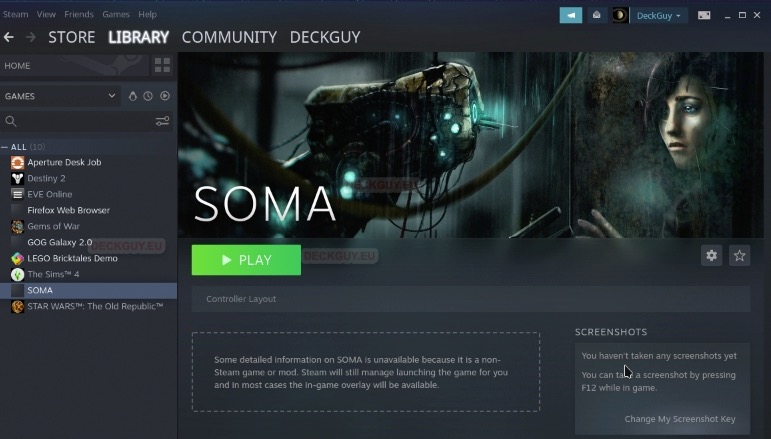
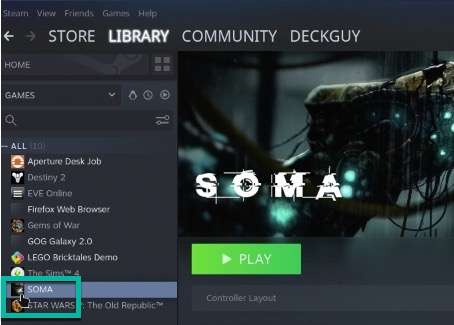
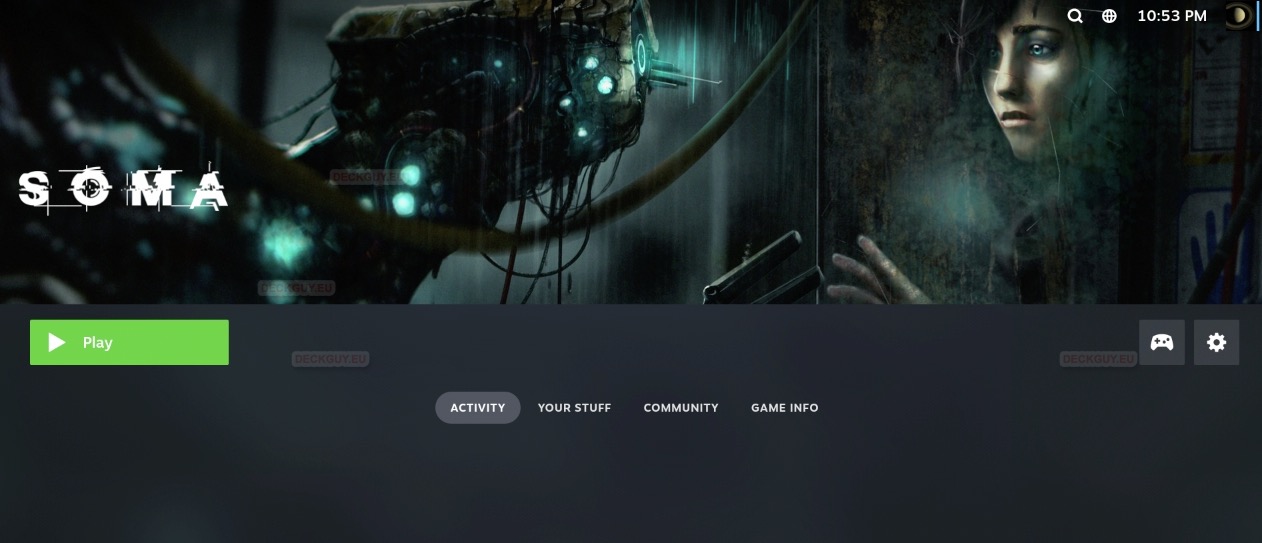
In Steam Client in my Game Library – we can see that Aperture Desk Job has nice little icon, but SOMA doesn’t have one. Also, there is no Artwork when I select SOMA, only blank background.
We will try to change that
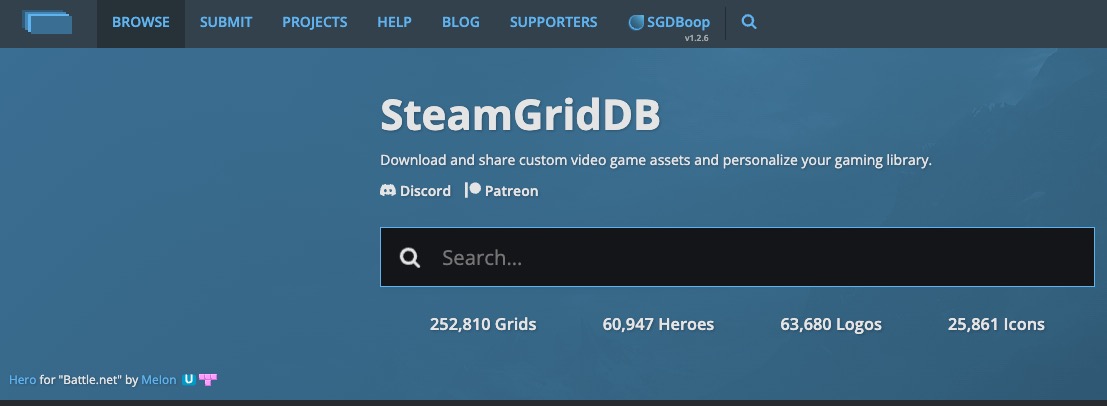
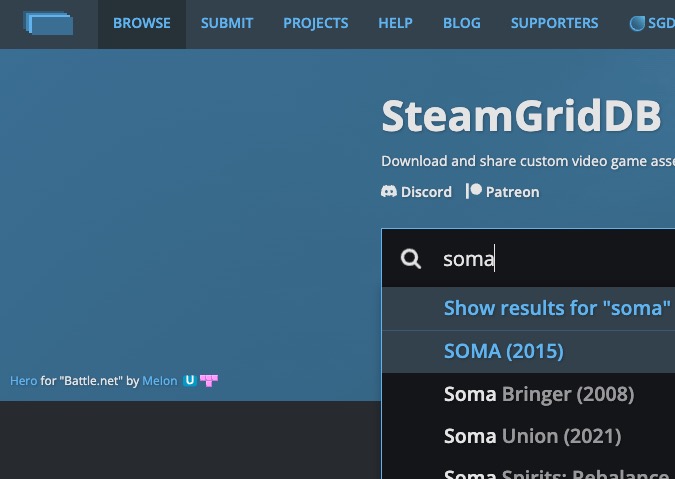
And to change that – we will use site named SteamGridDB – great page, support them if you can.
In search – we will enter SOMA, since we are looking for artwork and icons for SOMA.
I will select SOMA 2015 – because that is what I need
You can see original Steam Assets, or search through available grids… It is all up to you, select what you like…
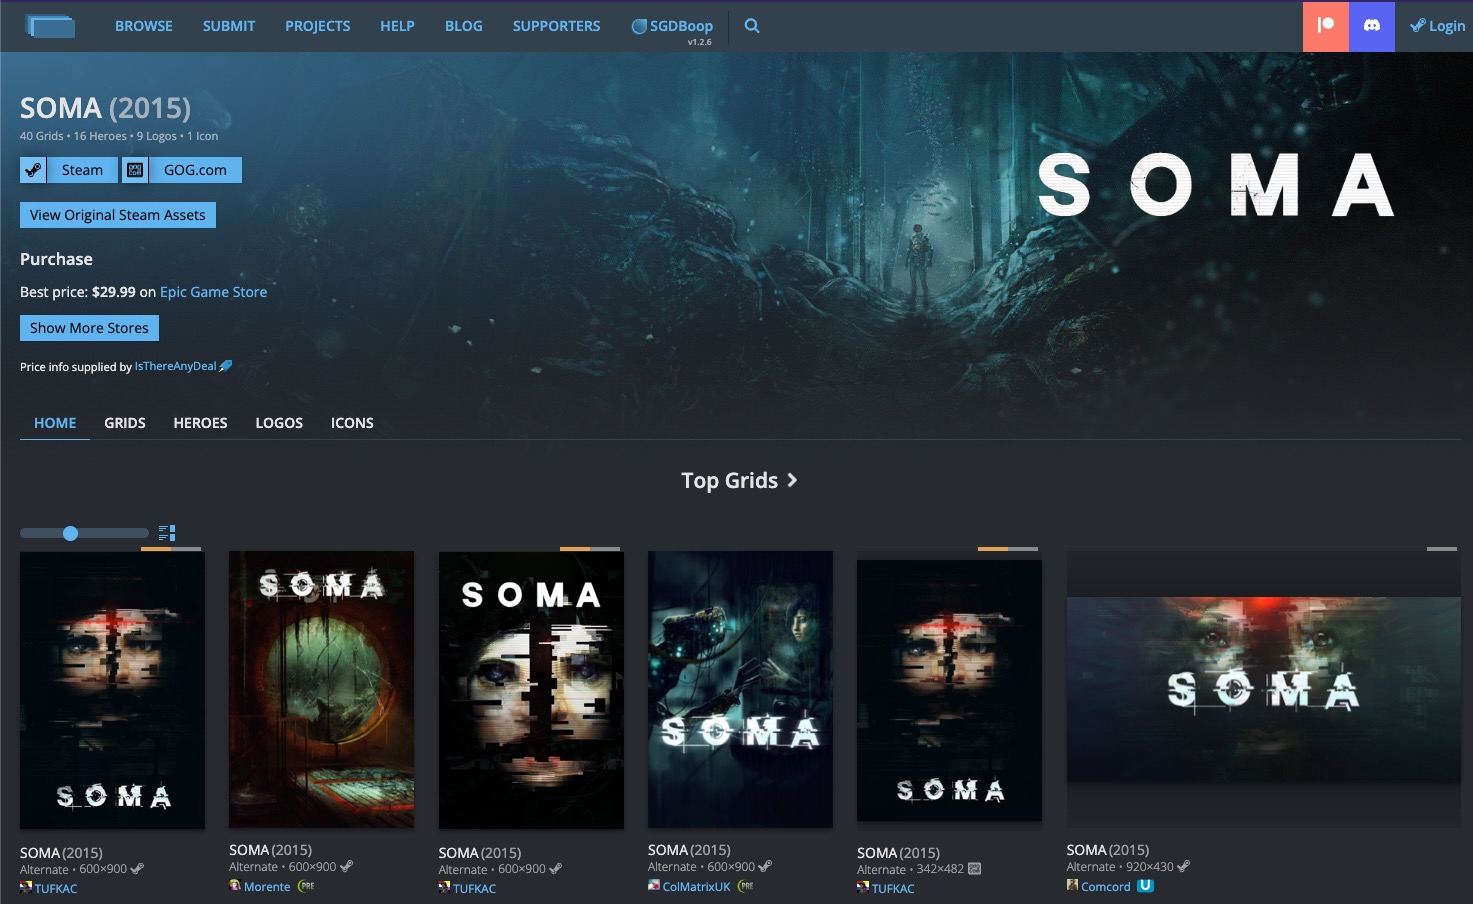
For this one I will click on “View Original Steam Assets”, so we get the feeling what is what.
Here is Header and Capsule
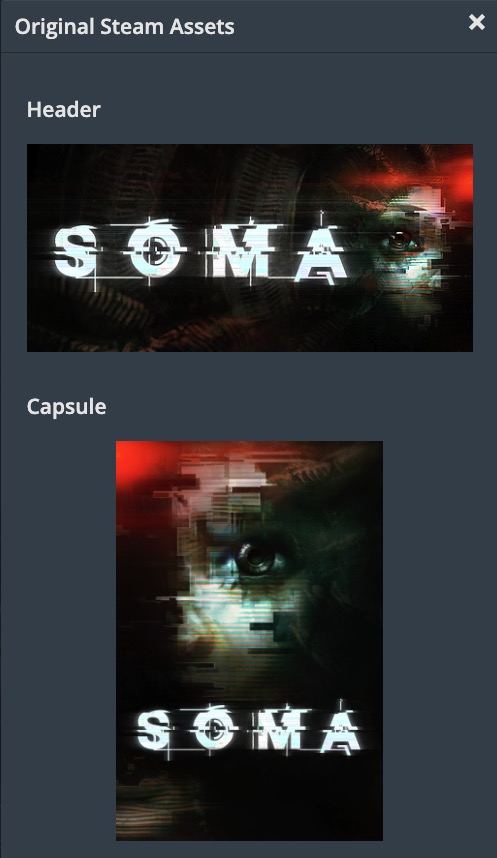
and Hero, Logo and Client icon
Now, you are probably asking yourself – what is what here? Where does Client Icon, logo, hero, capsule go? What are these for?
Let’s go one by one –
Hero will be whole background when we open game screen – both in Desktop and Gaming mode
Logo will change our SOMA letters somewhere on the screen with nicer font – both in Desktop and Gaming mode
Client icon – will change small icon next to the game name in Library list.
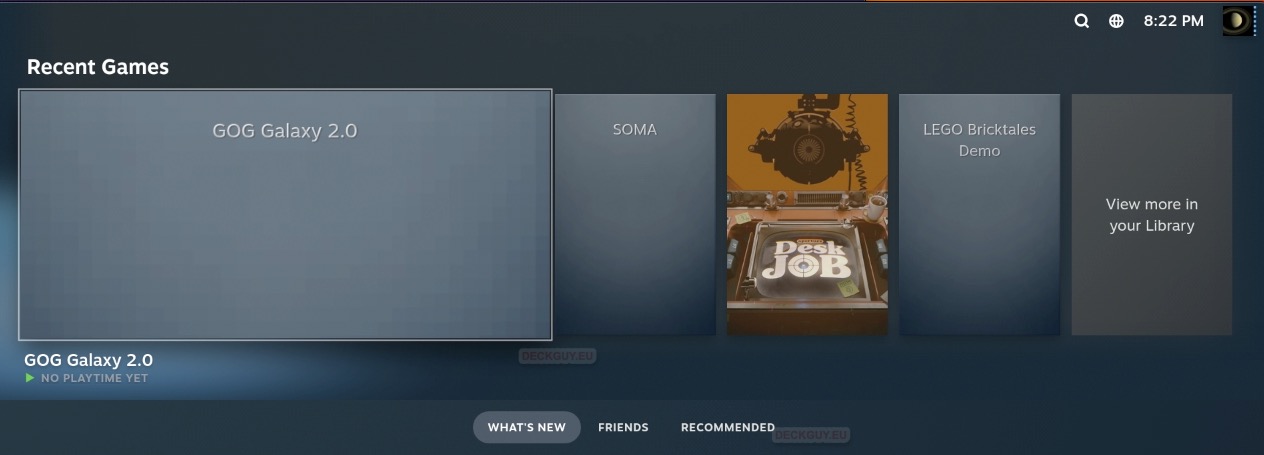
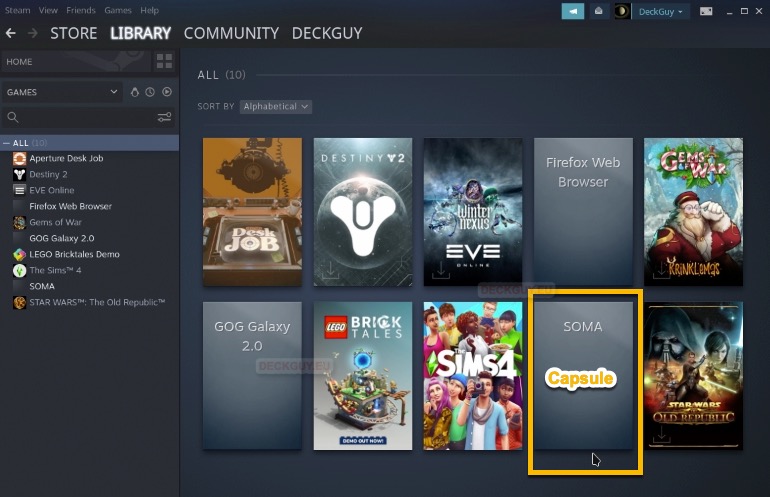
Capsule icon – will change icon in “All” section of games – it will be shown also in Gaming mode, on the “Recent” games list, and in library.
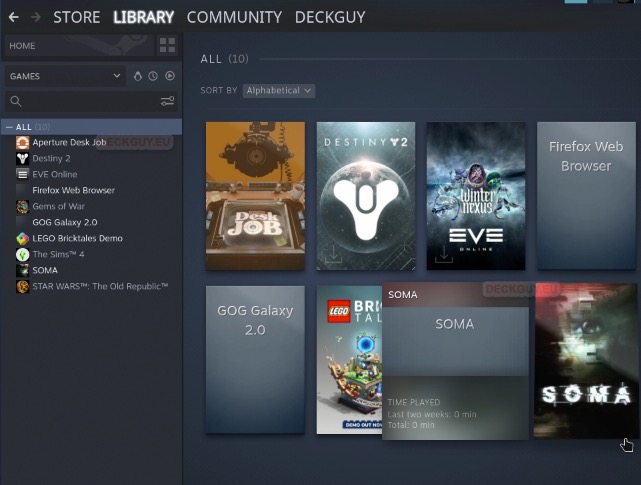
In Library if we click on All at the top of the list of games, we will get list of games with “Capsule” icons for each game.
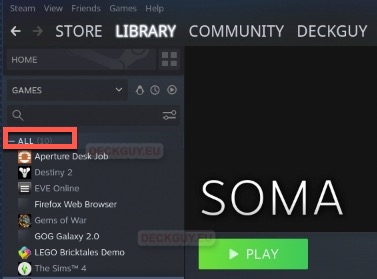
You can see games with their capsule icons – while SOMA doesn’t have one.
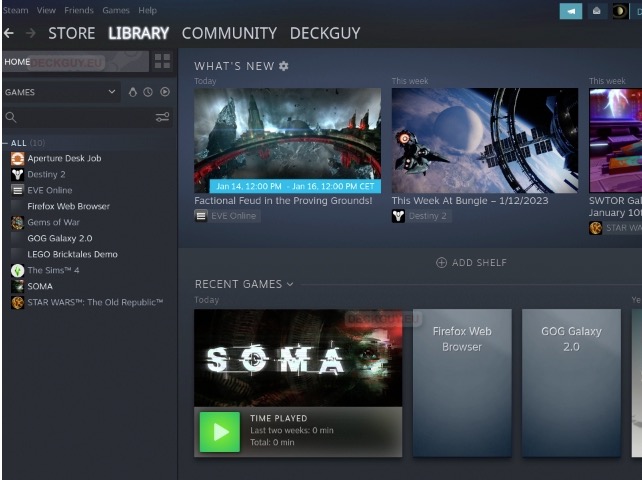
One more thing, quickly start a game – so it gets wider picture in Recent, like this (screenshot from Gaming mode) – we need to change also that picture separately
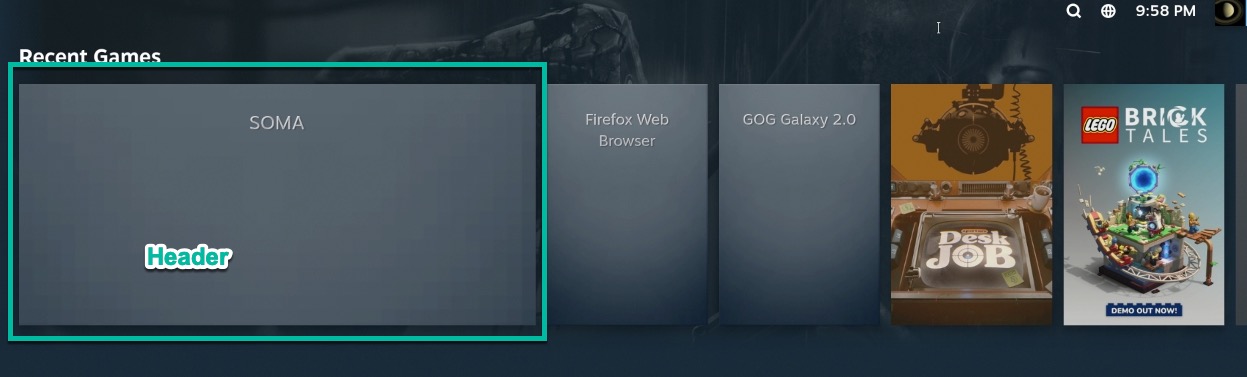
In Desktop mode we will change it if we click on Library – Home, under Recent games we will see Soma in larger format – best way, as I say above, is to shortly start game, so it is first in Recent view, and has wider preview – so we can see how it will look…
Ok, I will now download all the items we need
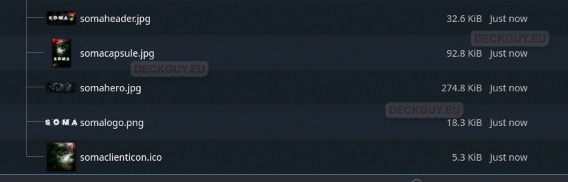
I will save icons as – somaheader, somacapsule, somahero, somalogo and somaclienticon.
__________________________________________________
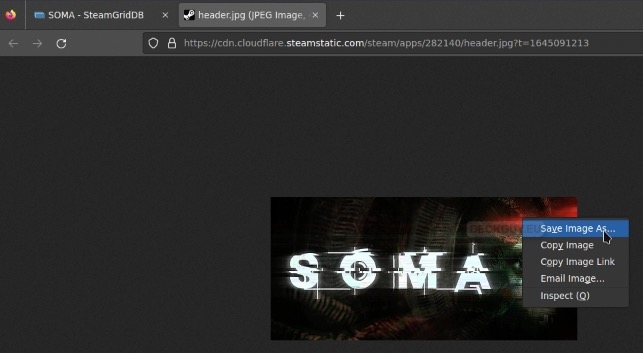
If you are downloading other icons that are not in “Original Steam Assets”, just press on icon/artwork you are planning to download – select download button in new window, and right click – Save Image as…
_________________________________________________
Go over the picture with the mouse, when little magnifying glass appears click on it
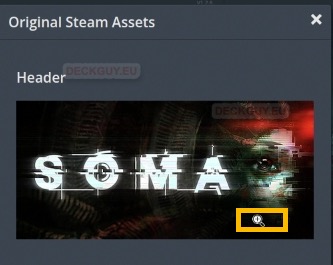
Icon will now open in new window, right click on it and select Save Image As…
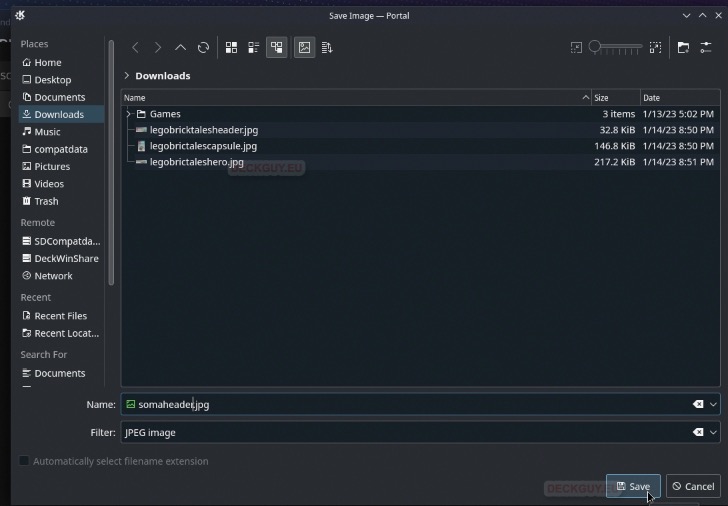
I will save this as somaheader.jpg in my Downloads folder – I will also repeat this procedure for other icons. You can organize your pictures where you see fit – it is not bad idea to maybe save them at some convenient place where you can access them in the future, and use them after reinstall…
Here is the result – let’s now beautify our game
Select the game you wish to change icons and artwork for… I will select SOMA
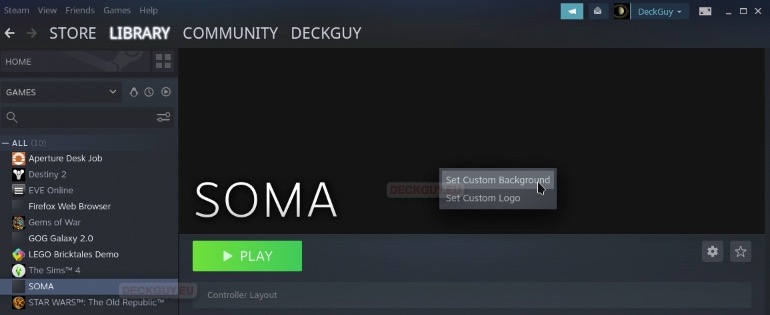
Right click somewhere in background area of the game and select Set Custom Background
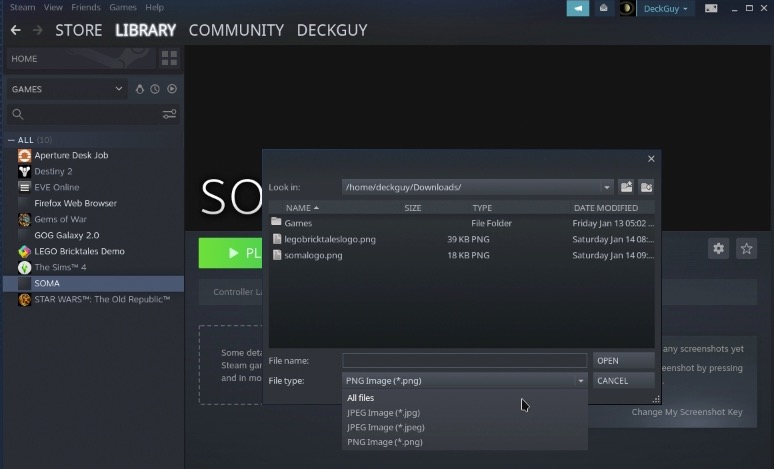
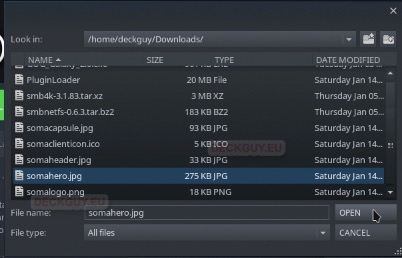
Change File type to All files – and navigate to the directory where you have your icons and artwork – (it is Downloads folder in my case)
After that select somahero.jpg and click Open
We now have a background…
Now, let’s change logo – right click on background again and select “Set custom Logo”
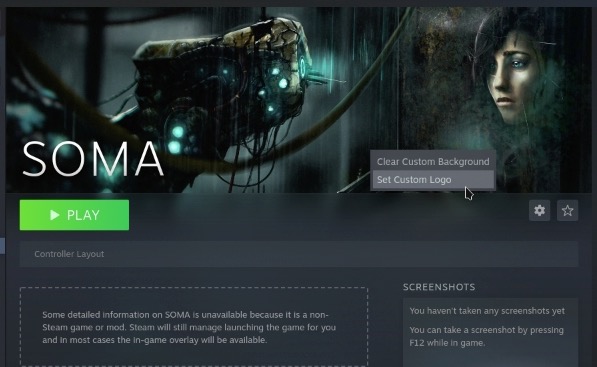
I will now select somalogo.png for this (same procedure for finding and selecting file as I shown above)
We now have nice logo
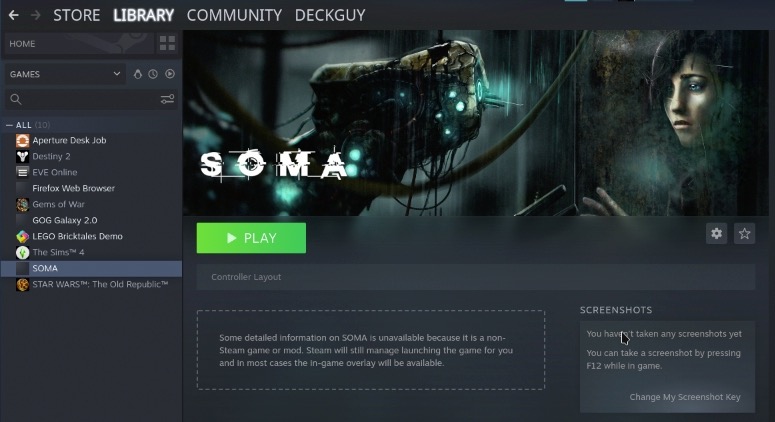
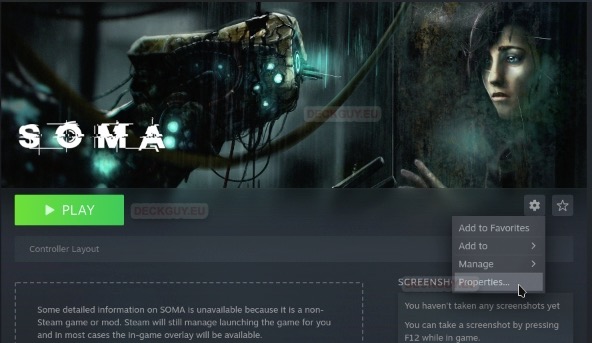
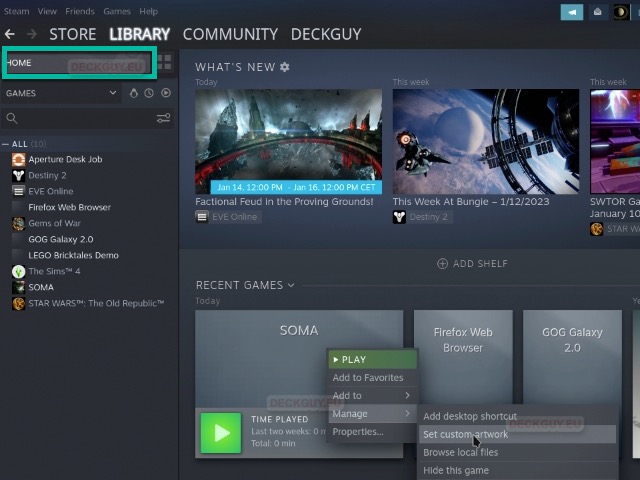
OK, let’s now change client icon – to change client icon – click on Manage (little cog icon) on Game screen and select Properties
On Shortcut screen on the top select blank square icon (this is where picture should be) – just click on it
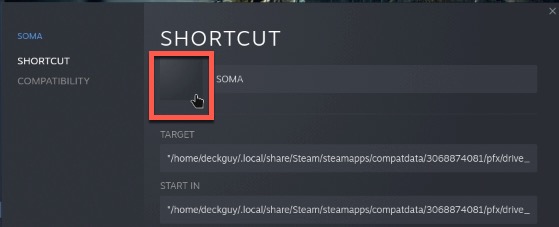
For this I will select somaclienticon.ico – and the result can be seen below
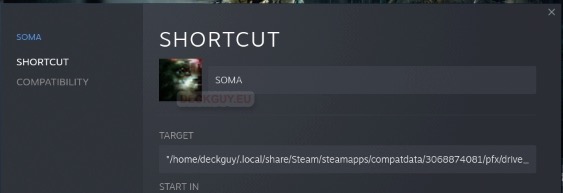
We now have also our small client icon – very nice
One last touch – click on All in Library to see all games
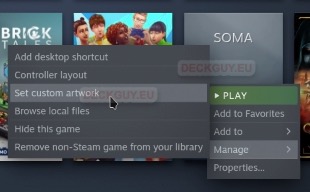
Right click on SOMA, select Manage – and click on Set custom artwork – I will select somacapsule.jpg
This is result…
Lastly, our Header – Library – Home, right click on Soma – select Manage – Set custom artwork – I will select somaheader.jpg
Look nice
Let’s check Gaming mode
Now, on Soma we have nice artwork
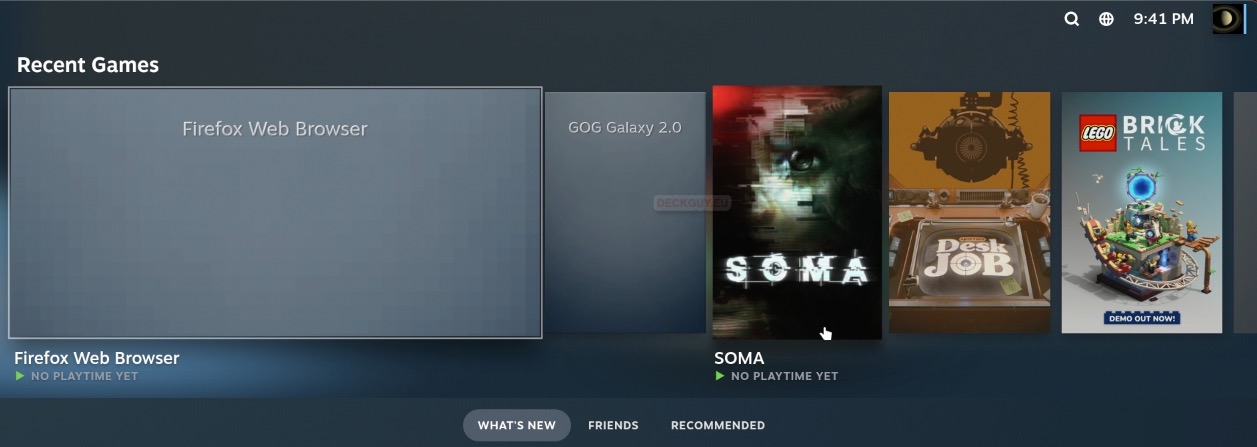
If it is wider format, as recently started game, also looks nice

And if we open Game menu, also very nice look
We now have complete artwork for our non-Steam game.
Get Artwork via Steam Deck plugin
We will use SteamGridDB plugin for Decky Loader
https://github.com/SteamGridDB/decky-steamgriddb
I won’t be going through installation or configuration Decky Loader, or SteamGridDB plugin, I did it in my other guides, so you’ll get all the info you need there.
How to install and configure plugins on Steam Deck
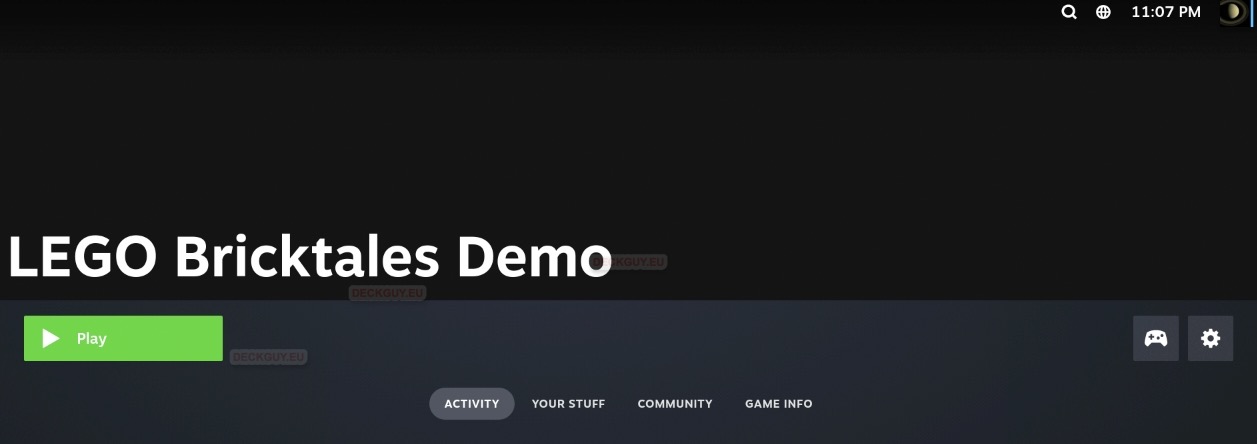
We will change artwork for Lego Bricktales DEMO game
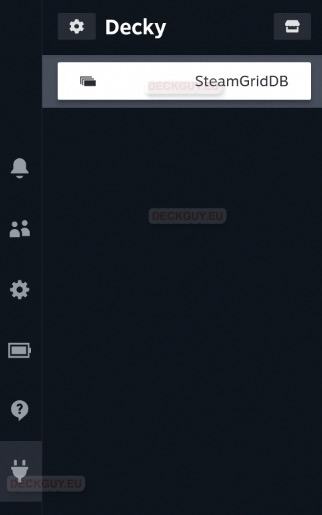
Let’s open Decky and just click to see if we have SteamGridDB – yes – we have. We don’t need to do anything here.
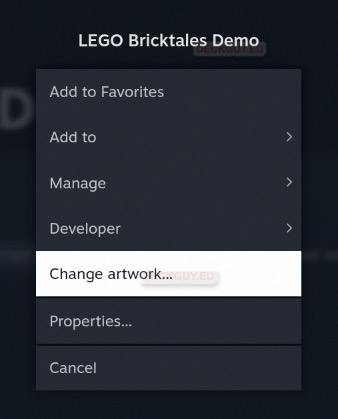
In Gaming Mode, select Game you wish to change artwork for, in my case it is Lego Bricktales DEMO game. Click on it to enter game screen. On game screen select Manage (little cog icon on the right part of the screen)

We now have new option – Change artwork… press A to select it
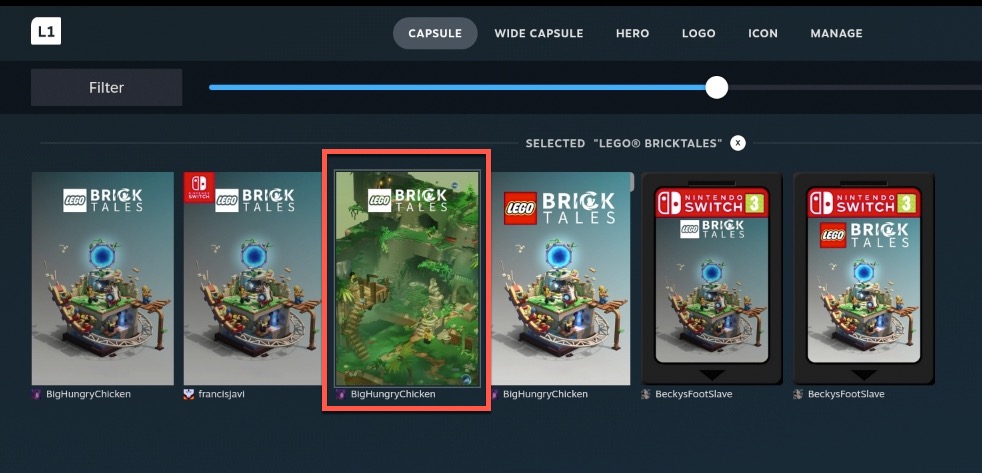
Now, the new screen will appear, on it we can select Capsule, Wide Capsule (I called it header in the upper part of the guide), Hero, Logo, Icon – in the end, there is Manage option on which we can preview the look. You can look at where is what in the first part of this guide in which I done it manually.
For a capsule I will select Green one, and press A to apply capsule, then press R1 to move to wide capsule choice
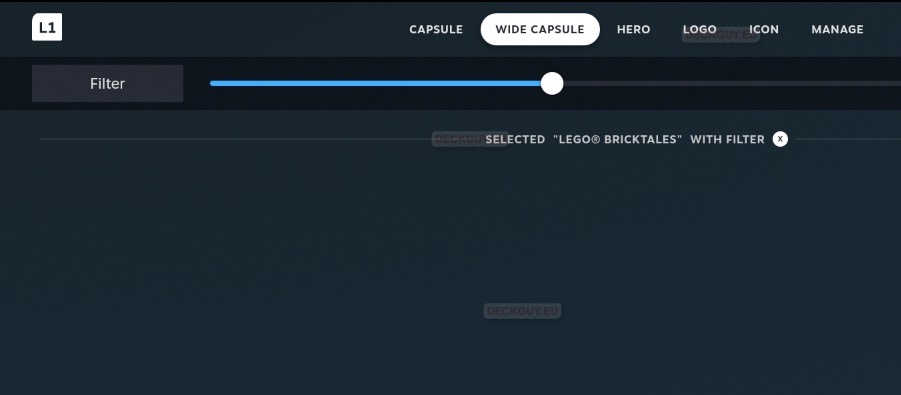
For I wide filter I got no choice – although I tried to expand filter to all resolutions and file types. We will just move along with R1 to next item
On Hero I selected only one that is available – R1 to go to the Logo screen

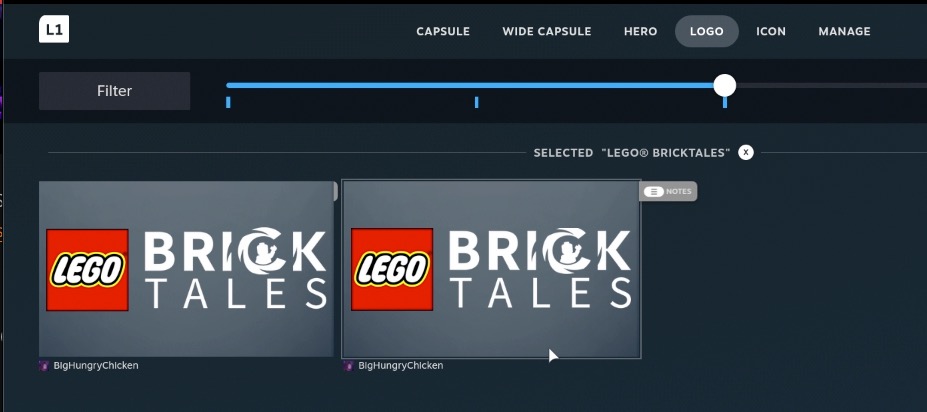
Not many choices, select and Apply with A and press R1 to go to Icon…
On Icons I selected the Red One –
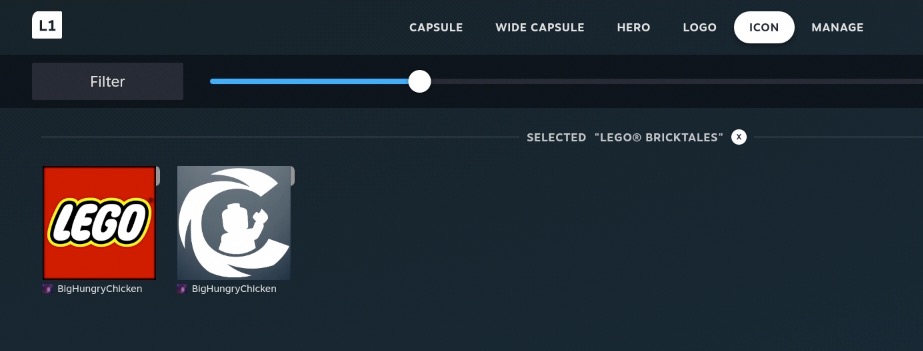
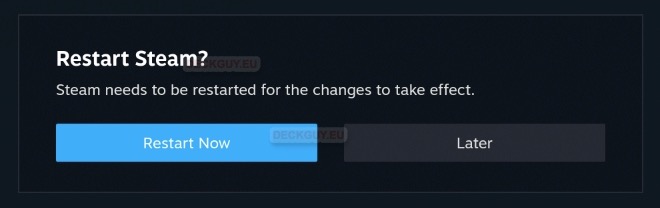
I weas then asked to Restart Steam – I pressed Restart Now, you can press to restart later if you wish
…
When the Gaming Mode is back, we can see the change
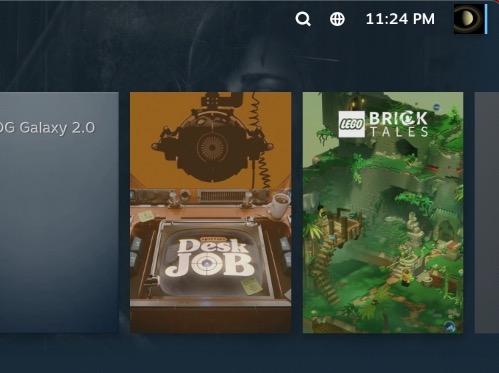
Nice change
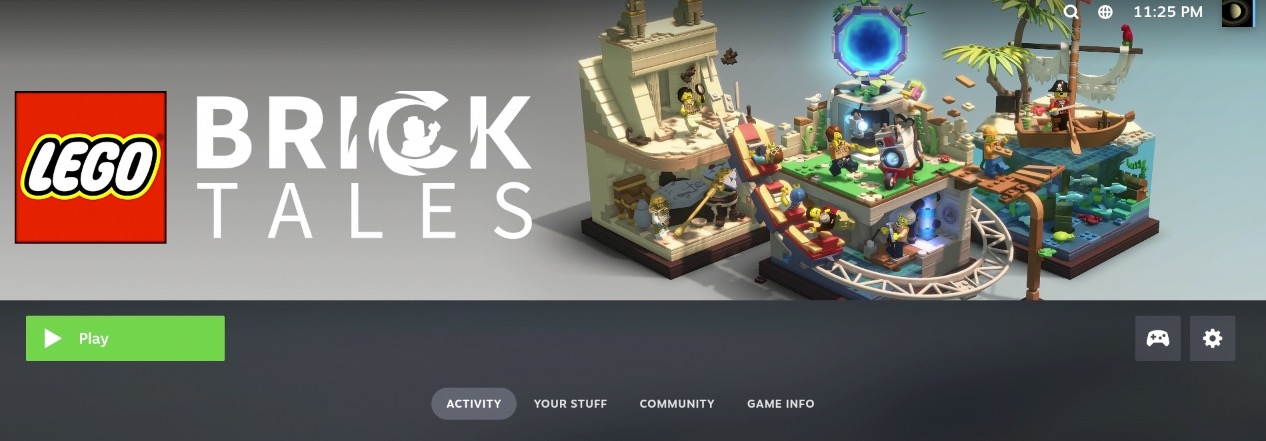
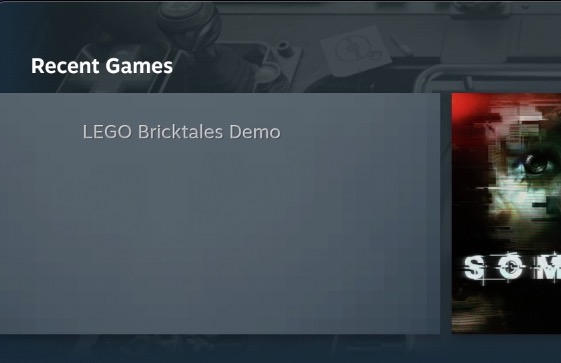
After we start the game – it will end up in Recent screen on first place with wider view (Wide Capsule, or Header as I call it) – there wasn’t any Wide Capsules to select from, so this is empty.
You can try manual method, to add Wide Capsule/Header from somewhere else, so this view can also look nice.
In Desktop Mode, small icon of Lego Game also looks nice
So, we covered the aesthetic part of the games on Steam Deck – you can change artwork however you want – I like to change it manual way, first way I shown here, because I don’t like too much addons on my Steam Deck.
SteamGridDB plugin works very nice, and will make your life easier, so you can have a go with it also, it will definitely save you time, but with manual way, you can maybe select more exotic look for your game.