Simple and quick tutorial on how to take and manage screenshots on Steam Deck.
I have to say I’m spoiled by Nintendo Switch dedicated screenshot button, since I like to screenshot nice sceneries or interesting moments in games.
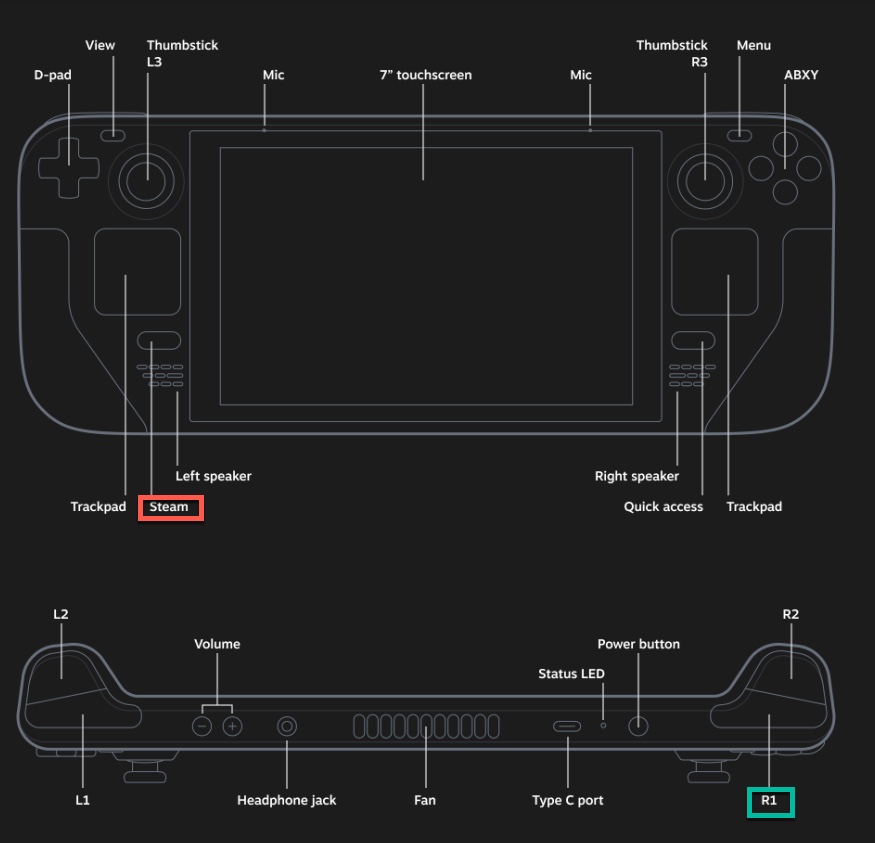
On Steam Deck, there is no dedicated screenshot button, but there is nice and quick combo.
The combo you need is…
STEAM button + R1 button (on the right should of the Steam Deck)
Where to find Steam Deck screenshots?
Press Steam button – select Media menu
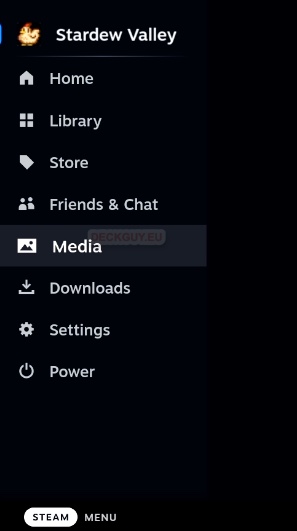
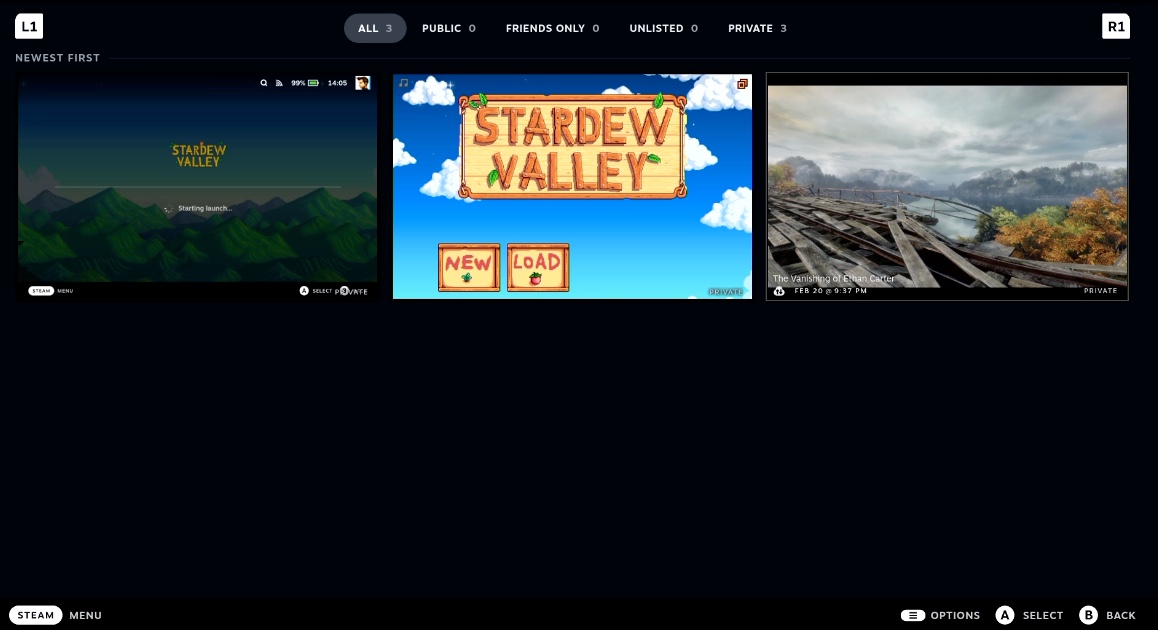
You will see your screenshots here
Screenshot location on Steam Deck
In Desktop mode, if you navigate to home/.local/share/Steam/userdata/yoursteamaccoundID/760/remote/GAMEID/screenshots
You can find your screenshots in this folder and copy from here if you wish.
How to share your Steam Deck screenshots (to your other devices)?
While in Media menu just select one screenshot. Once you are on screenshot you wish to send to your PC, or Share – press Options button (button above X / Y buttons)
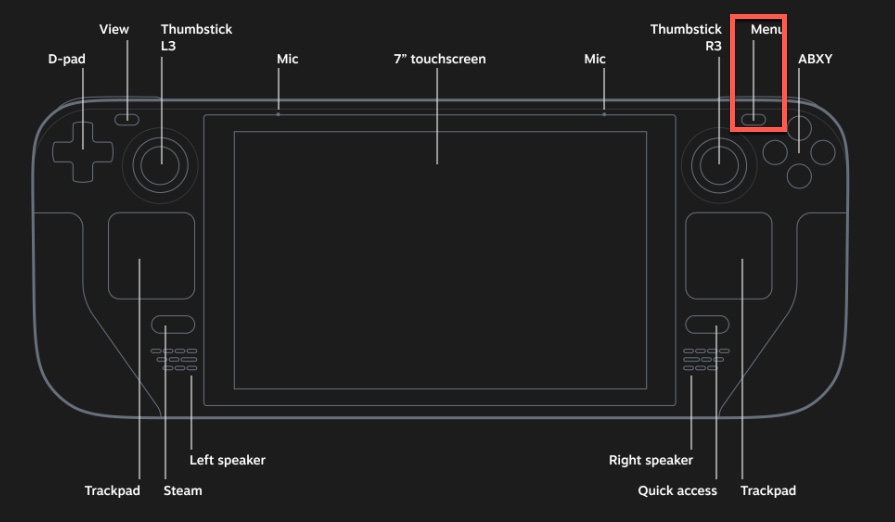
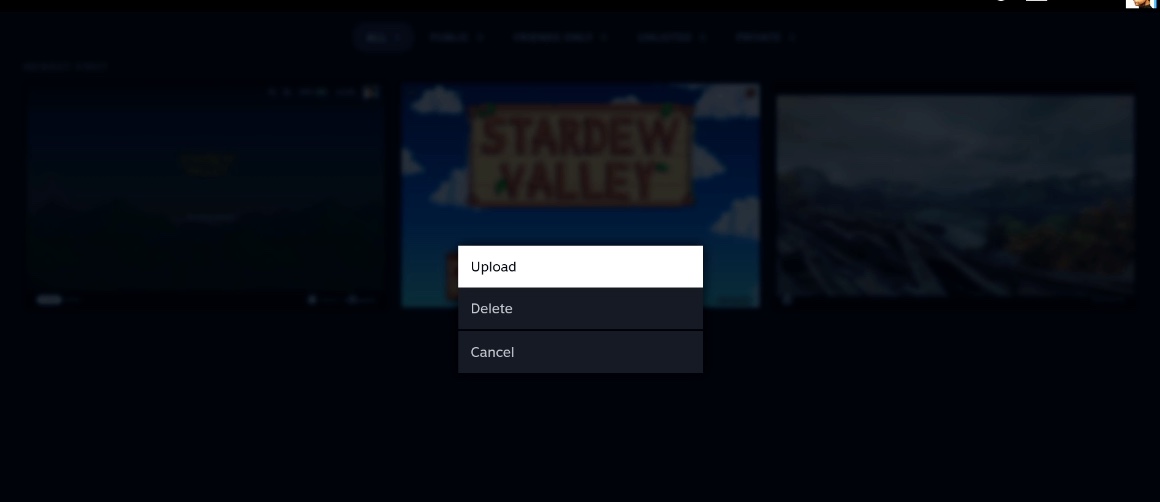
Ok, after we pressed Options button, new screen will pop-up with Upload and Delete options. We will select Upload.
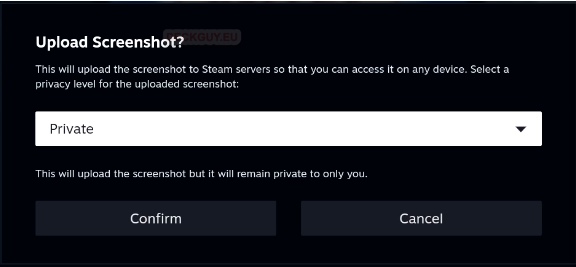
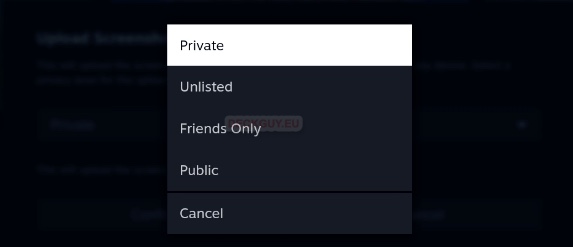
New screen will open, I which you will select privacy level for your upload. I will select Private. Other options are – Unlisted, Friends Only, Public…
After I confirm my Private upload, picture will be uploaded to Steam servers, and accessible to me from all devices I have Steam Client installed on.
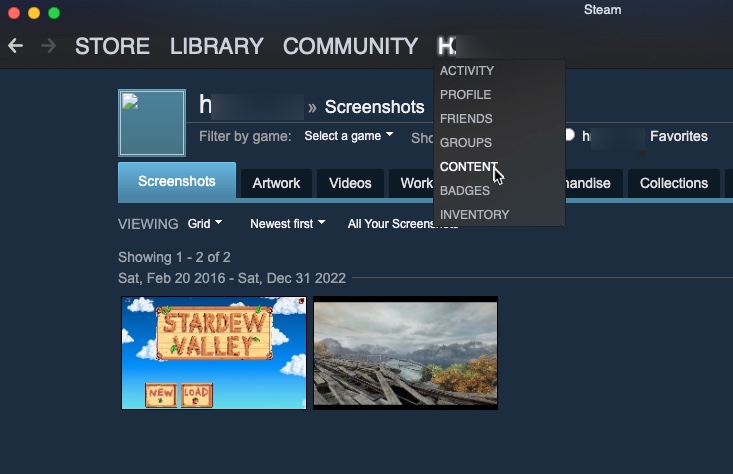
If I go to my PC now, open Steam Client, select my Profile name – and then click on Content – under Screenshots tab there will be my uploaded photo from Steam Deck!
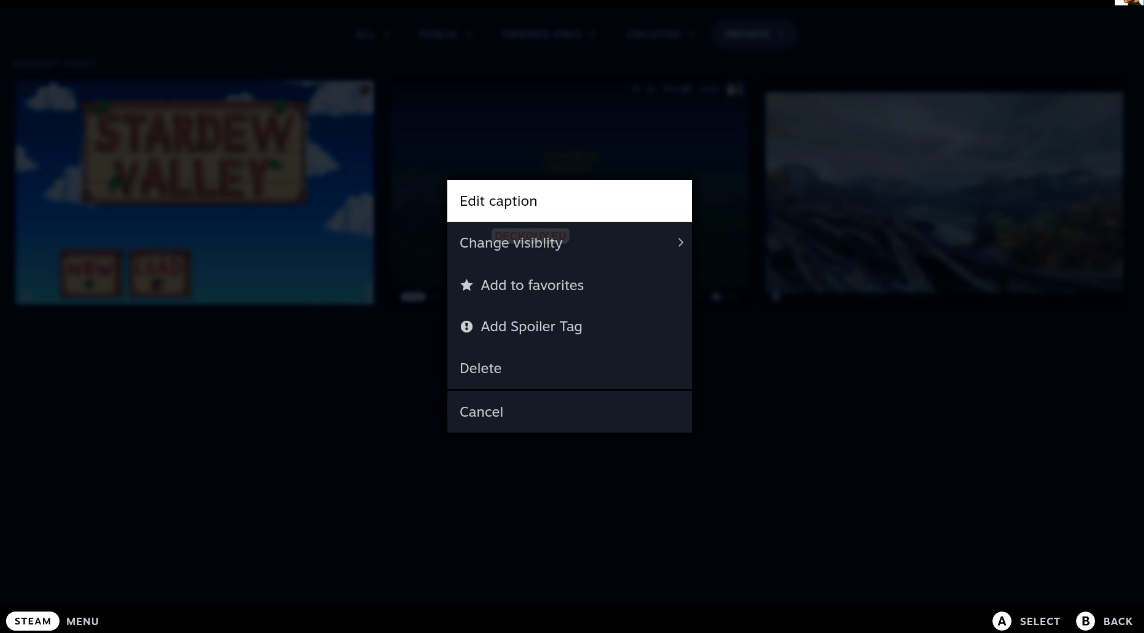
Since I selected Private, on my Steam Deck under Private tab I now have three screenshots. If I select one of them, and press Option button I will get small menu from which I can “Edit caption” (rename it) | Change visibility (to Public, Friend Only, Unlisted…) Add To favorites, Add Spoiler Tag or Delete it.
How to share your screenshot publicly with Steam Deck?
We are still in Media menu on Steam Deck.
If you want to share your link with community – then first on upload option (we covered above) instead Private, you need to select Public
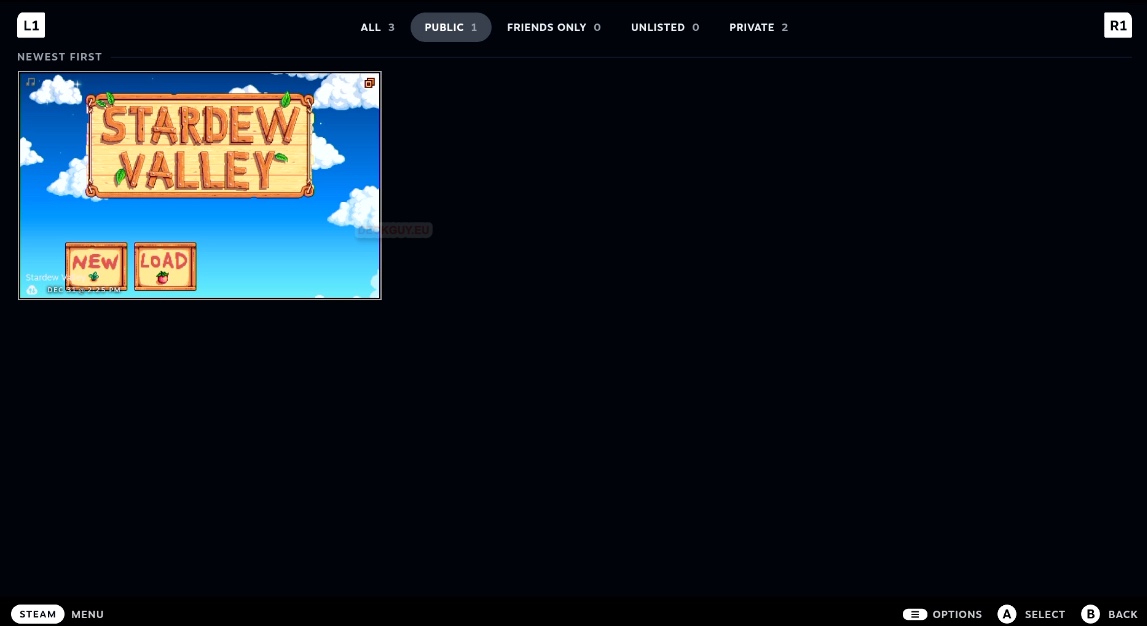
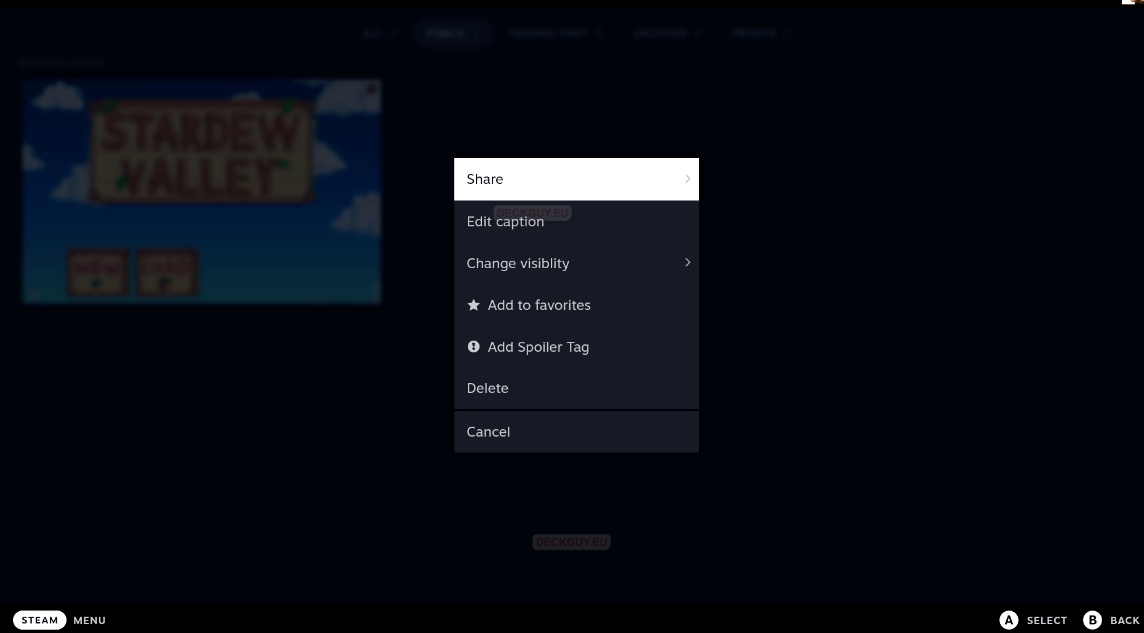
After that we can see our screenshot in Public tab of Media menu on our Steam Deck. If we select that screenshot and press Options button we will get new menu for selected screensot
We will focus on Share option
There are three options
- Steam activity feed
- QR code
- Send to friend
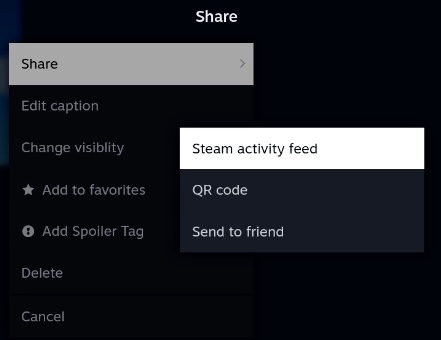
Steam activity feed – will publish it to your Steam activity feed.
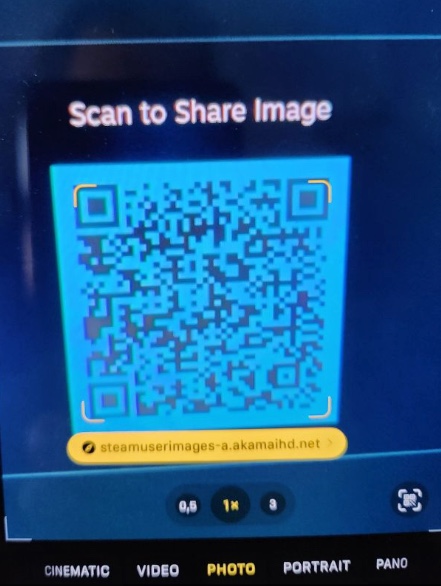
QR code – will generate QR code, behind which is link to your screenshot
If you scan QR code with camera of your phone, you will get link which you can forward further
Send to friend – will send the screenshot to a friend you select from your Steam friends list.
Ok, we covered screenshots, and sending, shearing them in few details so you can better fit this option to your needs.
