
You find 512GB of SSD storage a bit to small for all you want to carry? You can upgrade SSD drive in your Asus Rog Ally pretty simple if you are not afraid od electronics and have minimal technical skills.
Replacing SSD drive is fairly simple task with Asus Rog ALLY and you can do that alone. However, if you don’t feel confident and don’t have skills, please let someone else do it for you.
Before we begin, please be aware that I cannot be responsible for any type of damage you do – be it mechanical, physical, mental or any other type.You are doing this at your OWN RISK.
Buying SSD drive
Ok, first, we need to order new SSD for our Asus Rog Ally. Check what is available at your part of the world, and order it. Selection of M.2 2230 drives is not huge, so maybe you won’t have a great selection of drives.
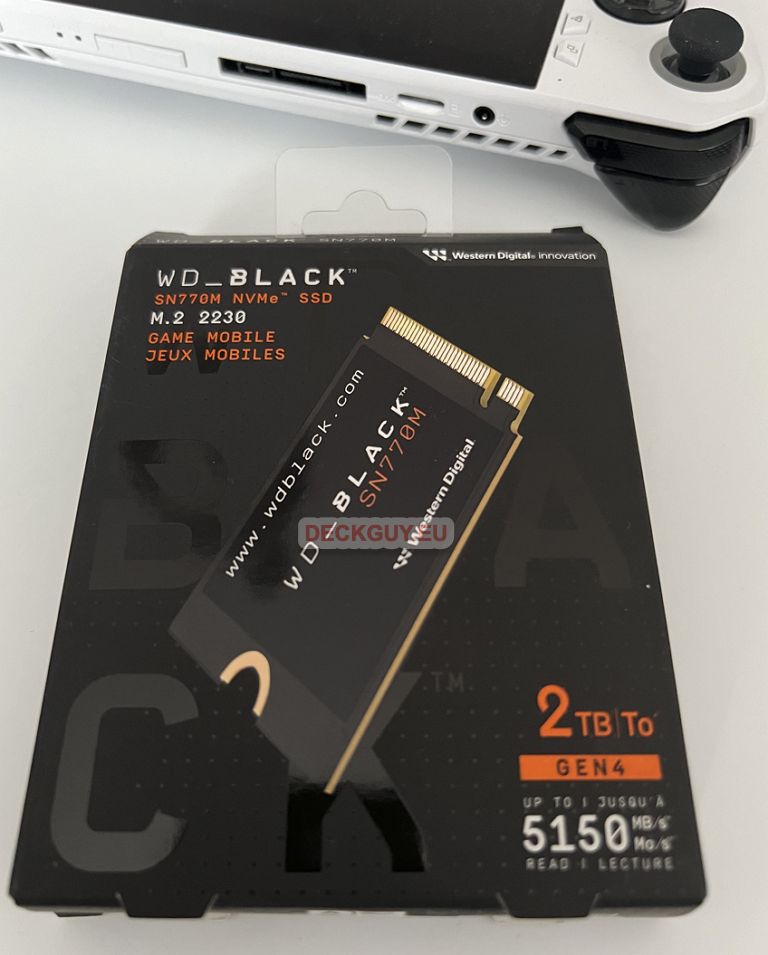
Main thing you are looking for and need to be careful about is SSD drive format!
You need to look for M.2 2230 SSD format.
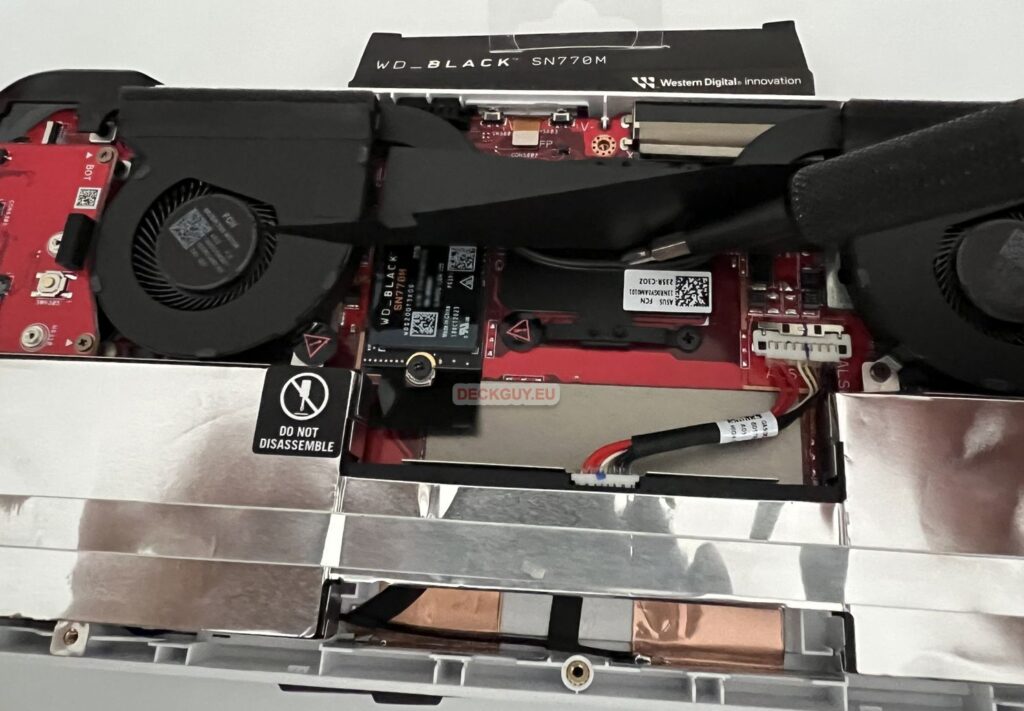
Generally, there is not very huge selection of M.2 2230 drive within EU, so WD Black SN770M is what I got. Check what is available at your region, look around the web for reviews of the SSD you plan to buy, and if everything is fine – buy it.
Currently and large German online retailer there is only four types of M.2 2230 drives available.
1TB drive is around 100euro (about $110) and 2TB is around 180euro ($200).
Replacing SSD drive in your Asus Rog Ally
Your drive finally arrived, and now it is time to upgrade your Asus Rog Ally. Before you do, make sure you do the backup of your drive and save any data that you need to transfer!
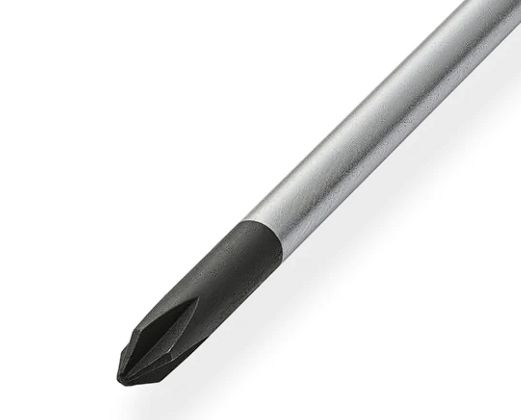
You will need Phillips screwdriver (I did with 0 head)
And it would be ideal to have something like this for opening your Asus Rog Ally so that it won’t get scratched. You can open your device also with something plastic like credit card (don’t use the cards that you care about and need, because the cards may also become broken or damaged!).

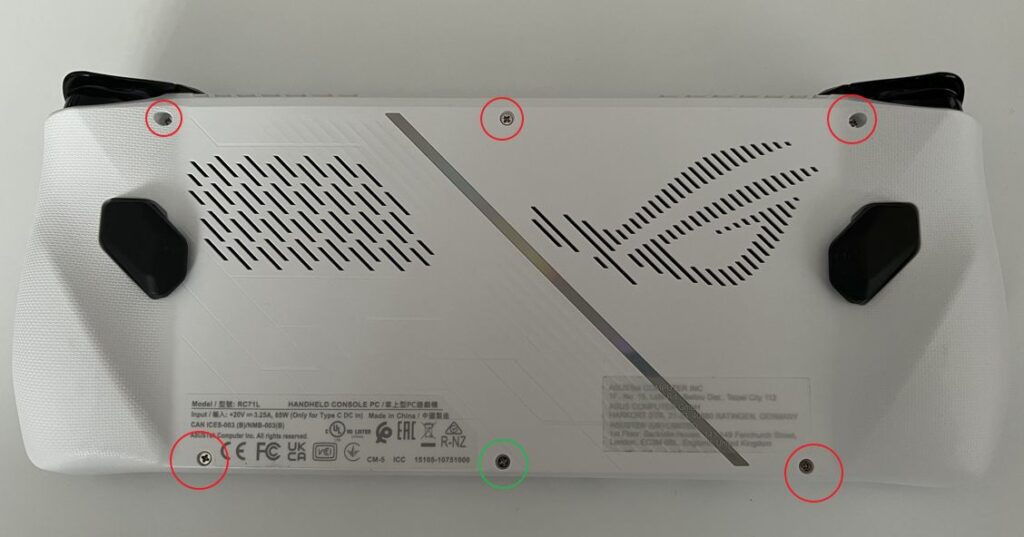
Ok, place your Asus Rog Ally on something firm, power it down and begin the process of opening.
There are six screws to unscrew. The ones in the red circle can completely come out, the one in the green circle won’t come all the way out. Just as a heads up, so you don’t waste time trying to pull that one out.
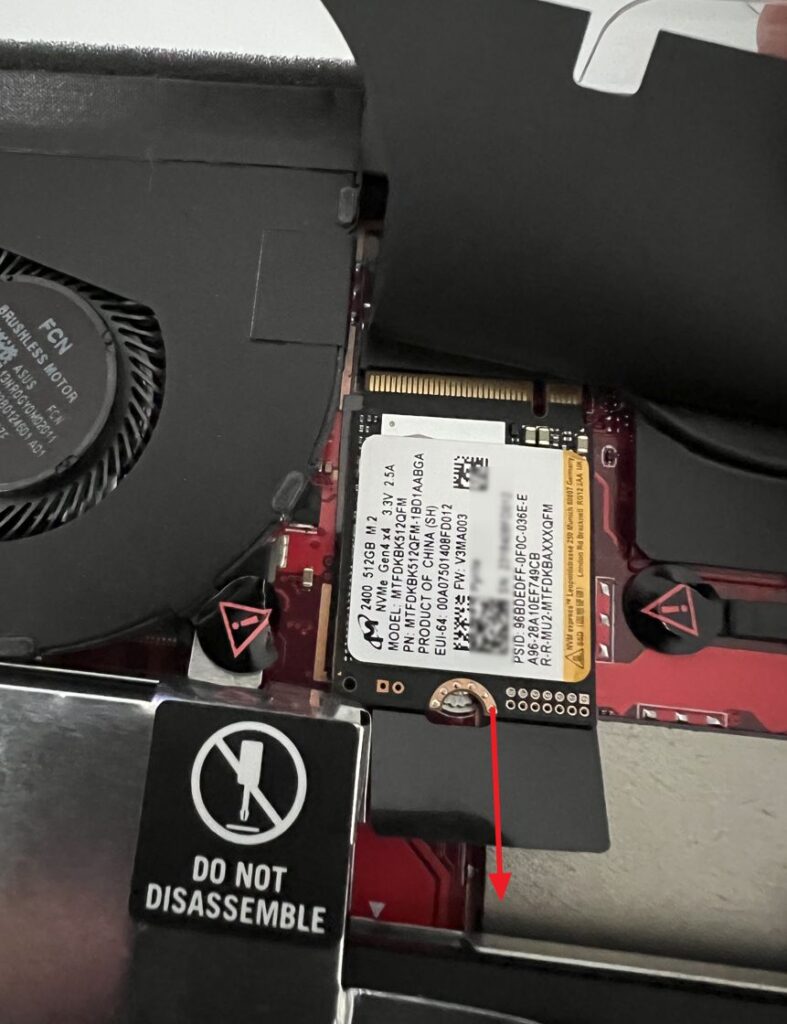
After you open the Ally, you will find you SSD under protective black shield between two vents. Gently uncover shield (don’t remove it).
First step should be to disconnect the battery as pointed in the picture. Again, be very very patient.
Second step is to unscrew the SSD
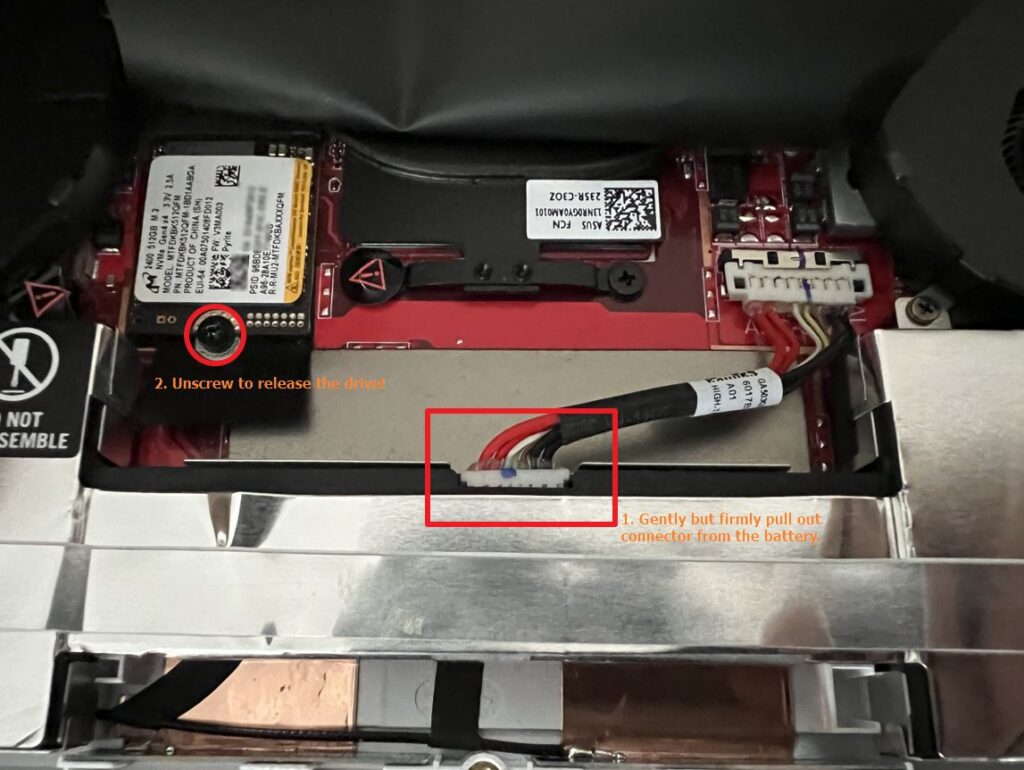
When the SSD is unscrewed, again gently pull it downwards and out.
After SSD is out, take out your new SSD, and replace it. Put drive screw in place and return battery connector.
Close your Asus Rog Ally and power it up.
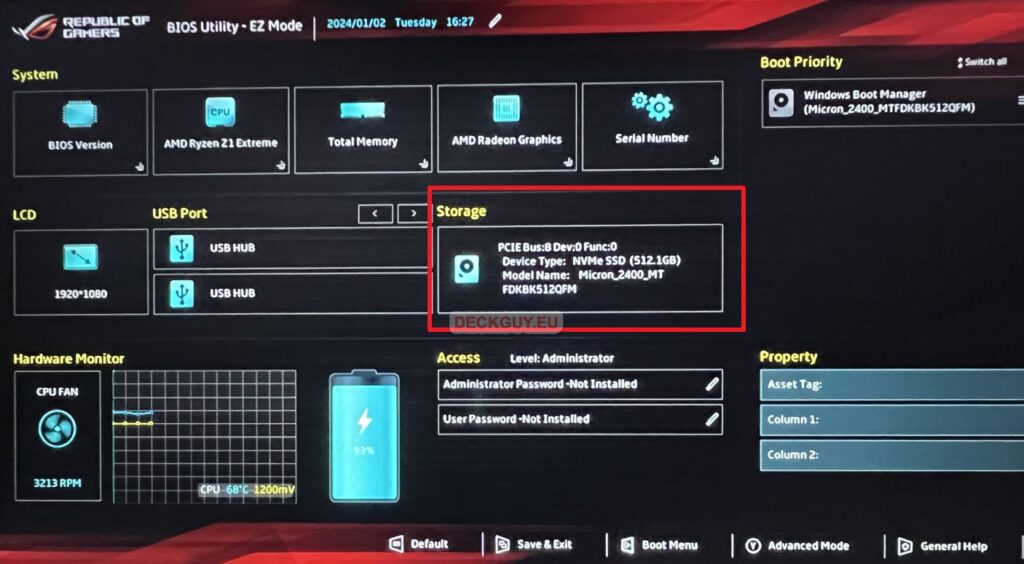
Go to BIOS of your Asus Rog Ally and check if the Ally is aware of your new drive. If you don’t know how to access BIOS on Asus Rog Ally, here is how – How to access BIOS and Boot menu on Asus Rog Ally – DeckGuy
On main BIOS screen under Storage you should see your new drive. I pictured this with my 512GB drive still in Ally, but don’t let that bother you, you should see here the drive that is in your Ally with capacity you got.
So, our SSD upgrade was success, but there is only one problem now – we have empty disk without Windows. We will cover that topic soon enough!
To completely reinstall automagically Windows on your new drive follow this guide – How to reinstall Windows on Asus Rog Ally? – DeckGuy