
Let’s do the Battle.Net Launcher install on Steam Deck, so we can get some Blizzard games on Steam Deck.
This one will be exactly the same as GOG Galaxy and EPIC, however -we will go through it. Maybe not in such details as with GOG, but all the steps will be here.
If you are missing something – please check my GOG Launcher install guide. There is also guide about installing and uninstalling games on GOG, so you may check that out also.
There are some things worth repeating:
Be aware that I cannot be responsible for any damage you do following this guide – be sure to have backups of your saves and games. I cannot take responsibility for any kind of damage!
Here is a resource on how to check if game is playable on Steam Deck. Not all games work with Steam Deck, and not all games work out of the box – so it is worth checking the status of game support for Steam Deck – especially if you are buying game, and doing it only for Steam Deck.
Quick help if you are really new to Steam Deck (things that you will need here)
How to get to Desktop Mode on Steam Deck
How to get on-screen keyboard on Steam Deck
How to navigate Desktop Mode with Steam Deck
Steam Deck File System Basic – How to navigate File Manager
For this guide I recommend you use keyboard and mouse – it is doable on Steam Deck, but it will be more comfortable with mouse and keyboard.
What is the reason I should have launcher installed?
Mainly cloud saves and game updates.
Preparing Installation
We will do it in Desktop Mode on Steam Deck.
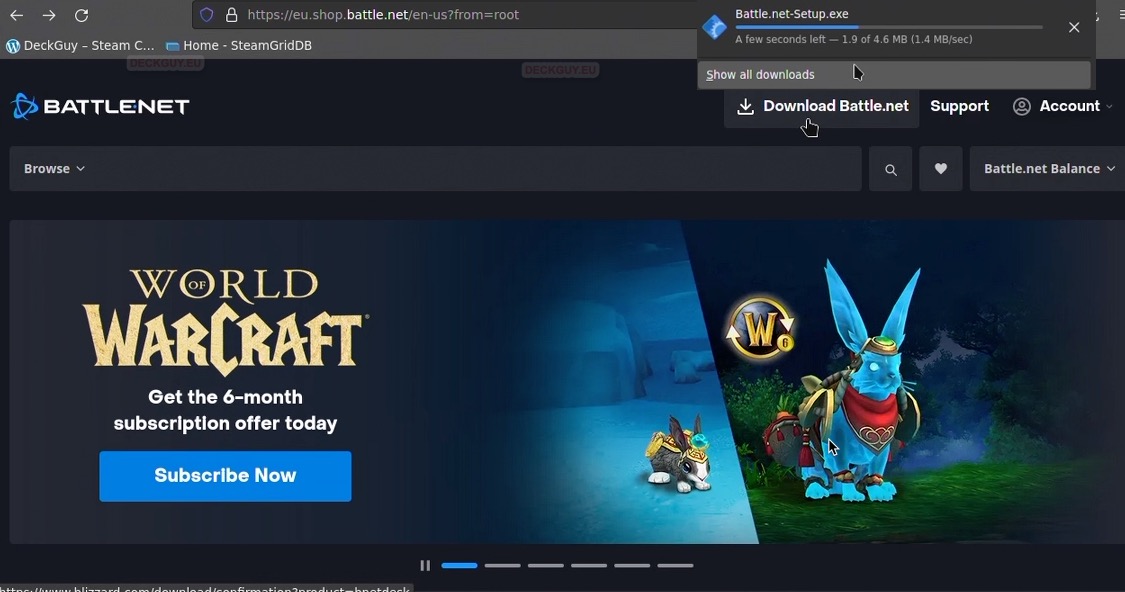
On Battle.Net main site – https://eu.shop.battle.net/en-gb?from=root on the main screen there is a button on top right corner that is saying – Download for PC
Press it and let the download finish. By default downloaded installer will be in Downloads folder.
Preparing Steam Client
We now need to add downloaded Battle-net-Setup.exe to the Steam Client – so we can start installation.
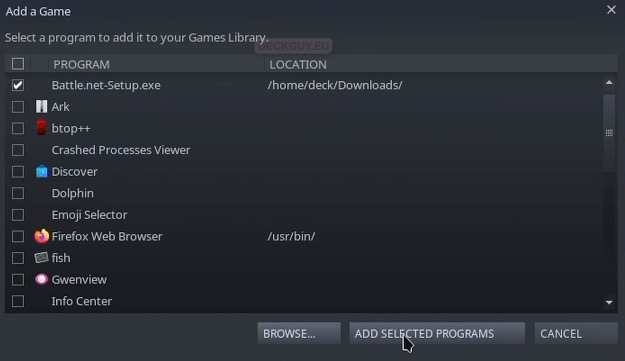
Press ADD A GAME at the bottom left of the Steam Client – click on Add a Non-Steam Game… | Press BROWSE… | Under File Type: select All Files | Navigate to the folder where Battle-net-Setup.exe is, select it and press OPEN

Battle-net-Setup.exe should be selected | Press ADD SELECTED PROGRAMS
Now Battle-net-Setup.exe is in Steam Client | Press Manage (little cog icon) and select Properties

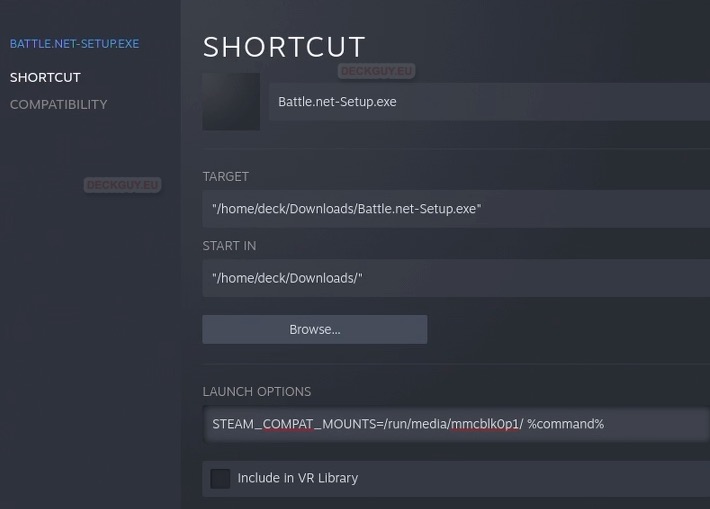
Under SHORTCUT sidebar menu, we now won’t touch anything – we will later return here, but we will now leave it as it is. Only option under SHORTCUT sidebar menu you will wish to change is LAUNCH OPTIONS – if you want to install this on MicroSD, you will need the command below.
STEAM_COMPAT_MOUNTS=/run/media/mmcblk0p1/ %command%For a change – I will install this one on MicroSD
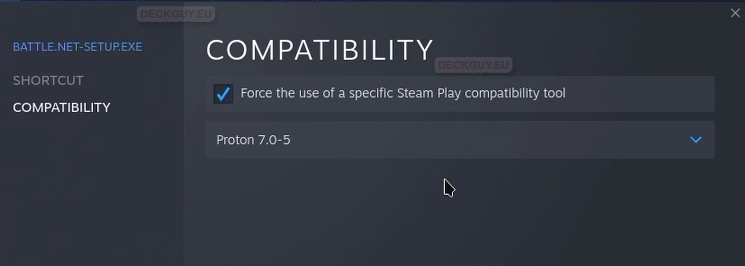
Under COMPATIBILITY sidebar menu, we will select “Force the use of a specific Steam Play compatibility tool” and will select latest Proton. Proton helps us run Windows software in Linux.
Close the window when you are done
Installation
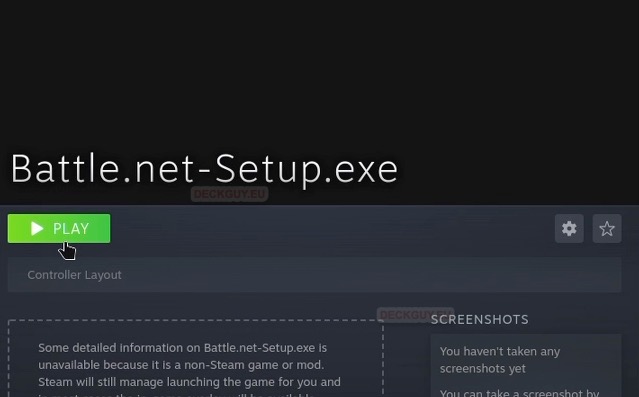
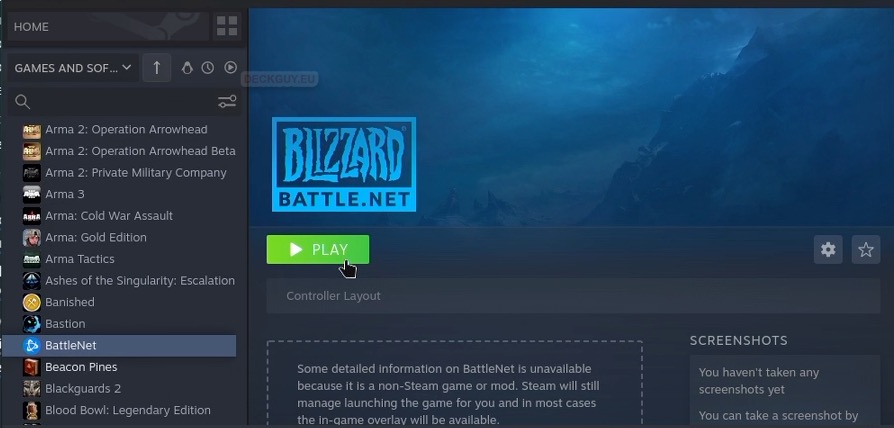
Now, after we are done with configuration, we will start installation of Launcher by pressing Play.
Be patient after you press Play
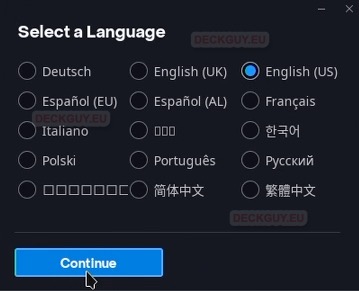
We are asked for a language – I will select English – OK
…
I will deselect “Launch Battle.net when you start your computer”, also here you will need to click on Change and select MicroSD and directory on it for installation (if you wish to install on MicroSD) | Continue
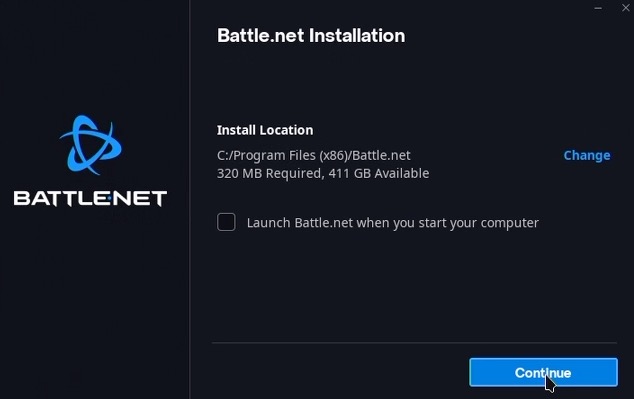
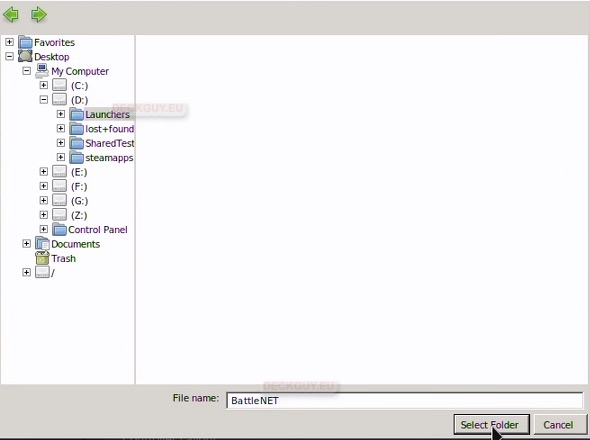
Since I want this one on MicroSD – I selected Change and navigated to D:\ (that is how installer is seeing my MicroSD) I will install into Launchers folder I made on MicroSD. In file name: I will enter BattleNET | Select Folder | Continue
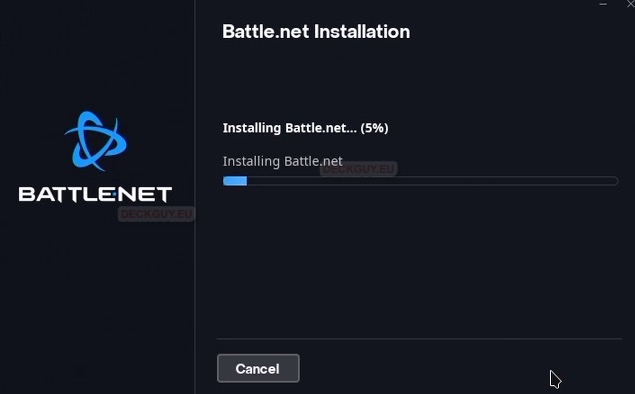
Installing…
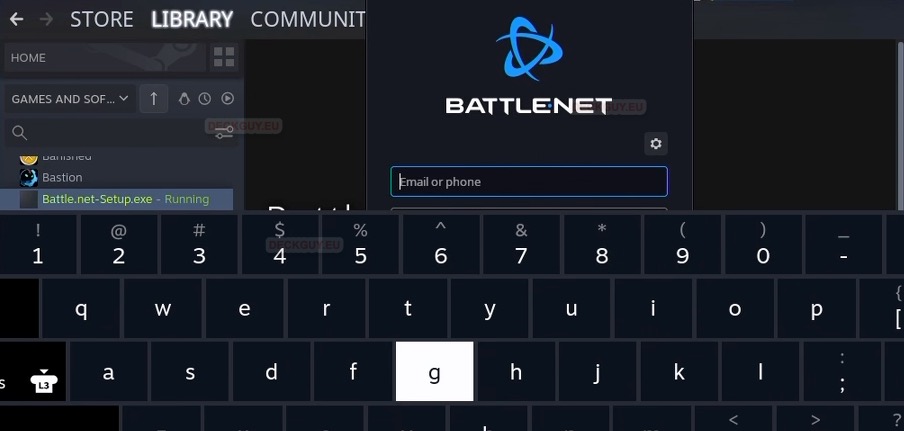
Login screen is here – but also is uncontrollable on-screen keyboard. Close everything – we need to first redo the shortcut in Steam Client for Battle.Net

Starting Battle.Net
We now need to change our Steam Client shortcut from installer to program executable.
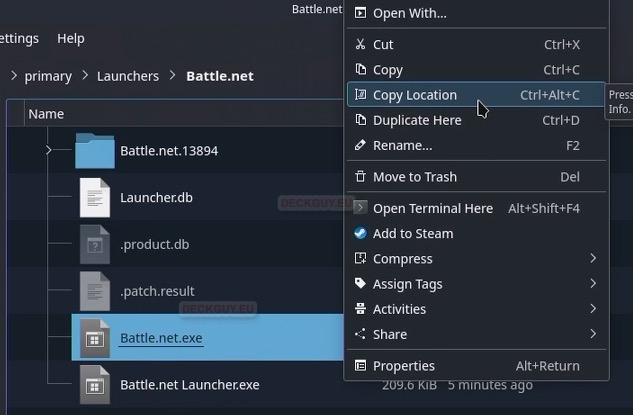
First we are going to our File Manager – I will navigate to my MicroSD | Launchers – there is Battle.net folder. If you installed on your internal storage – it will be in Compatdata folder (one with the latest Modified time)
If you install Launcher on MicroSD – you will still have a folder in Compatdata (in my case it is folder 2604370509 – with 242MB in size) You will have to specify path to MicroSD for every game you install inside Launcher – it will not go automatically to your MicroSD.
Last Folder I created was 7 minutes ago – that is my Battle.Net install
Navigate to Battle.Net – select Battle.net.exe and right click on it – select “Copy Location”
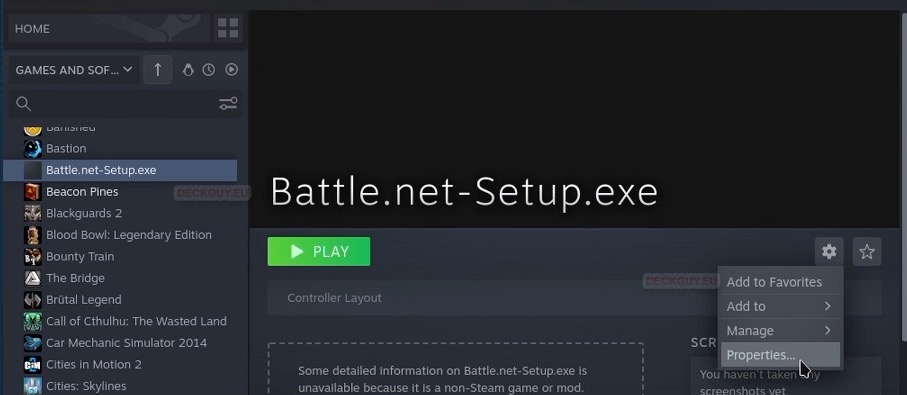
We will now again go back to our Steam Client Battle.net-Setup.exe item and again press Manage (little cog icon) and select Properties
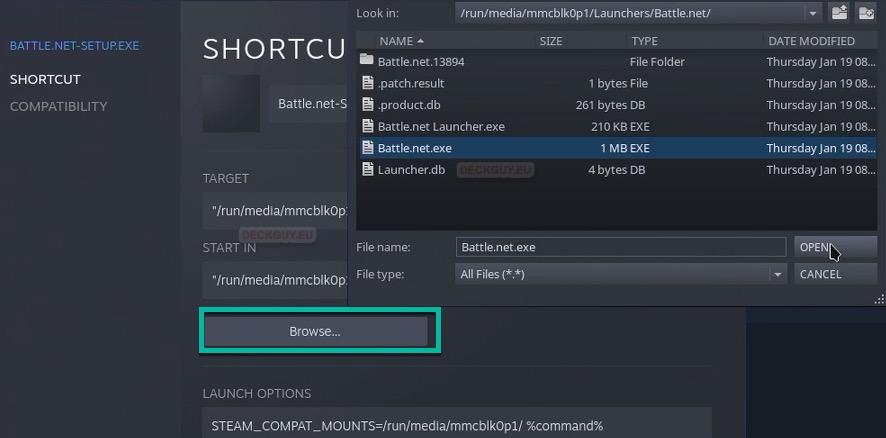
On SHORTCUT sidebar menu, select Browse – in “File name” by pressing Control + V on the keyboard (right click with mouse won’t work, it’s a bug) paste the path you copied earlier. Under “File type” select All Files – click on OPEN
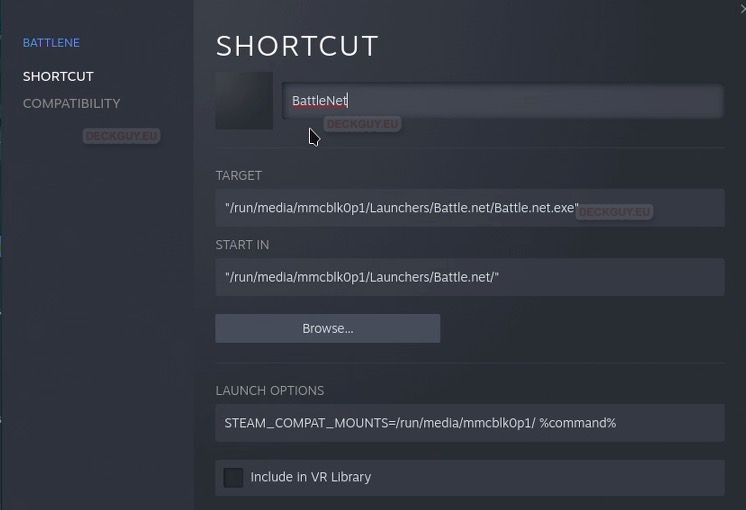
I will also change name of the shortcut to “BattleNet” and check that target has full path (including) Battle.net.exe. Start in should only have full path, without exe.
COMPATIBILITY sidebar menu should be left as we initially set it – with Proton enabled.
This is optional and will give you mouse access in app interface- Before we run our app, we can do one more thing- right click on your app shortcut in steam library – select Manage | click on Controller layout (you can do this, are you can select some other type on controller layout)
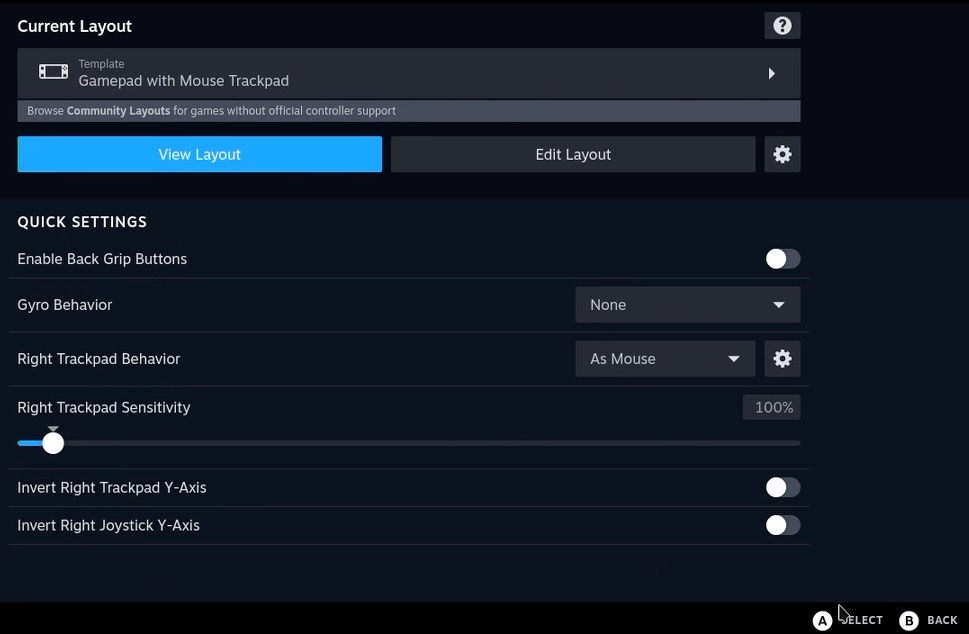
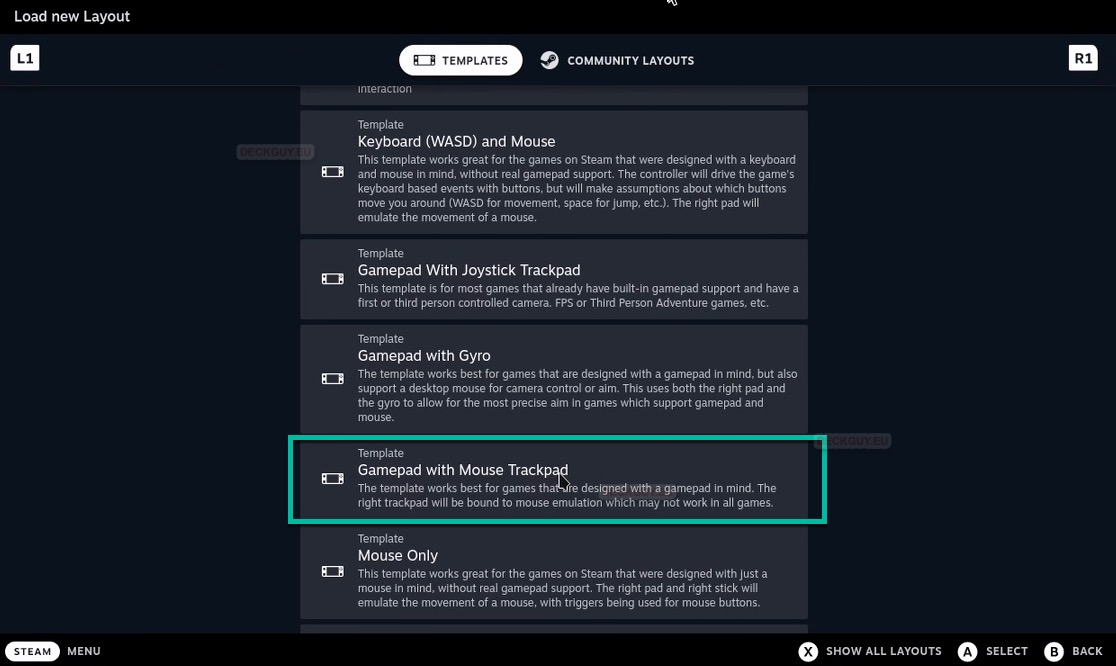
Under current layout click on little triangle and select – Gamepad with Mouse Trackpad
Exit and continue starting your app
If you wish to make your Launcher prettier, look at this guide
Let’s press Play
We got a login screen!!! Again with on-screen keyboard all over, but it works
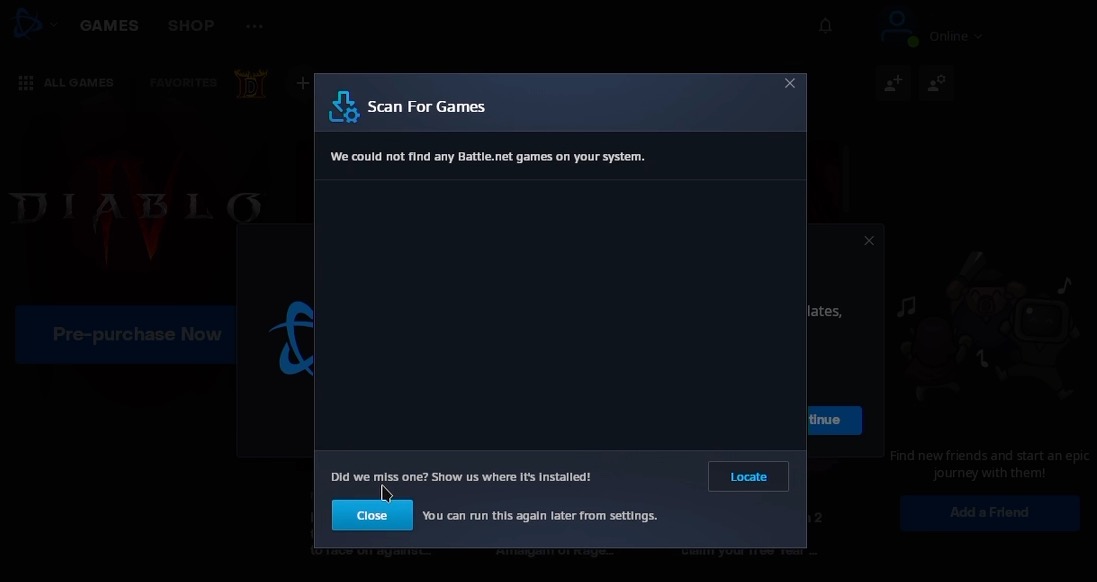
I successfully entered my username and password – now launcher is telling me that I don’t have any games on the system – and I don’t. Close
You will go through 5 steps of welcome screen – and finally you will be on your main screen.
To be honest, I don’t have many games on Battle.Net – last what I played was Warcraft II. For this occasion I bought Diablo II Resurrected.
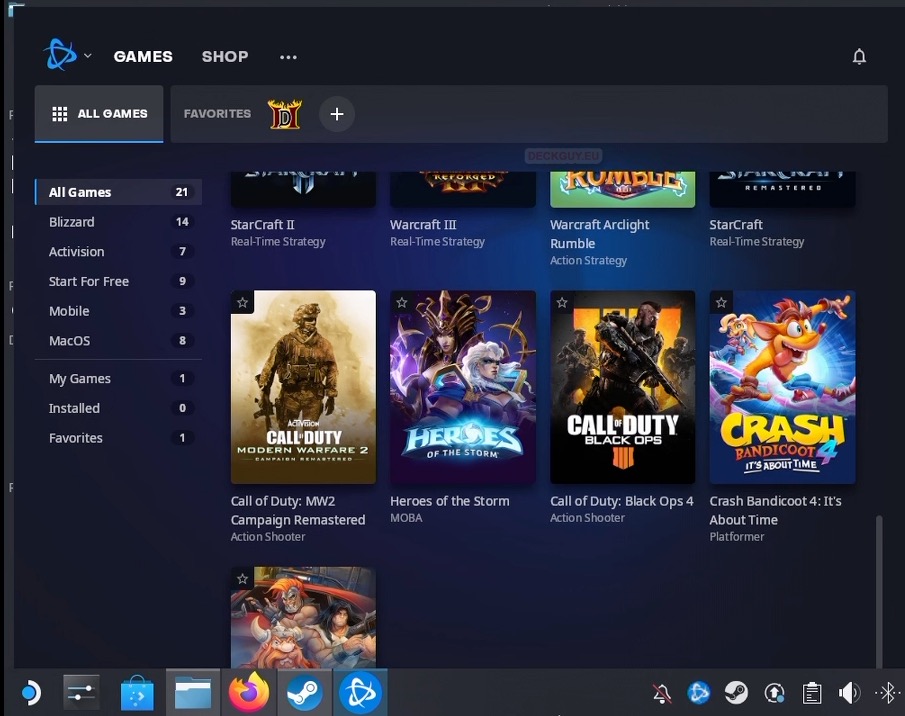
Let’s just check out how Launcher works in Gaming Mode. It works, touchscreen and keyboard/,mouse combo are working.
Installing a Game
Remember – first check if game is compatible with Steam Deck – and will it play.
I will try to download and install game through Launcher
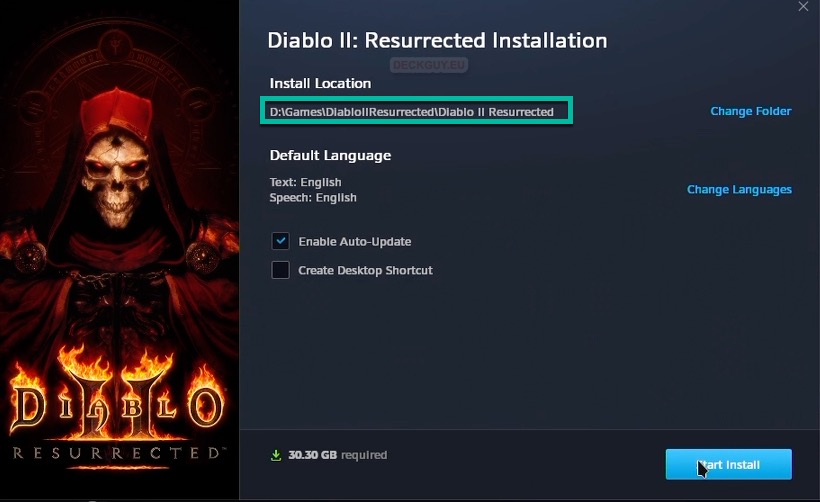
I Changed folder for Diablo II installation from “C:\” to D:\Games – I have Games folder on my MicroSD
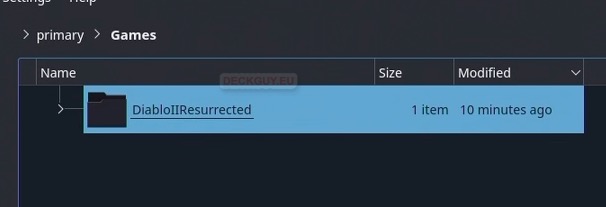
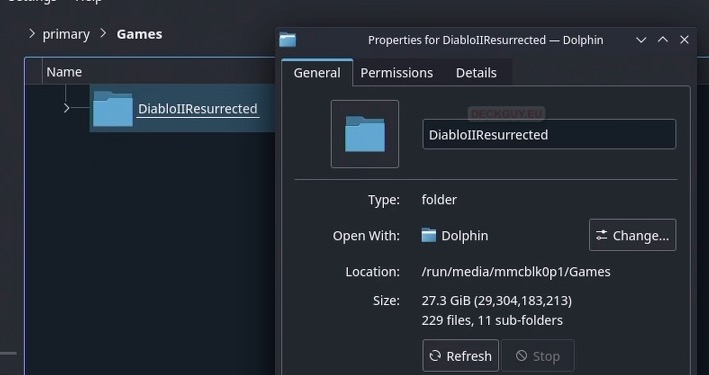
Sometime later game is installed on my MicroSD card
Playing a game through Battle.Net
Let’s try and start a game in Desktop Mode on Steam Deck.
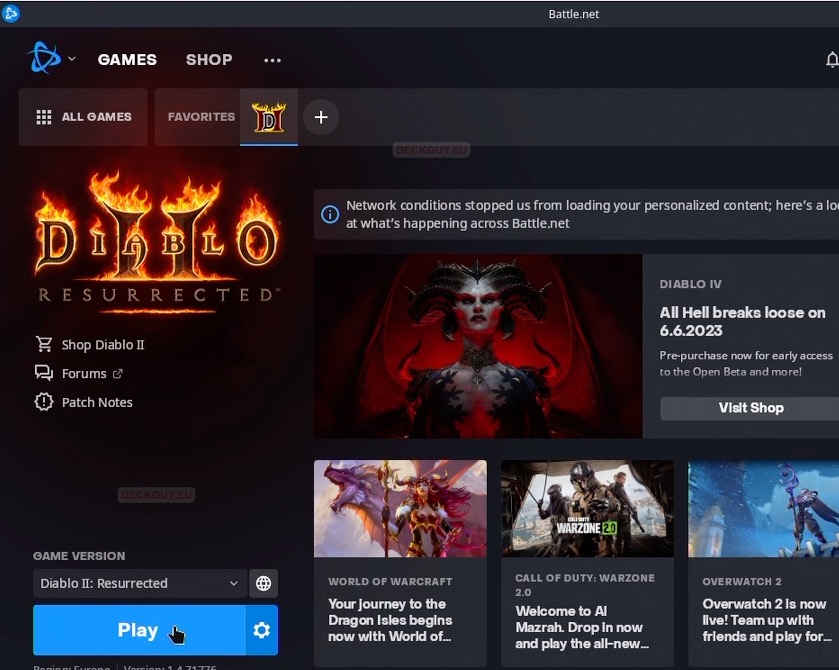
Game starts…
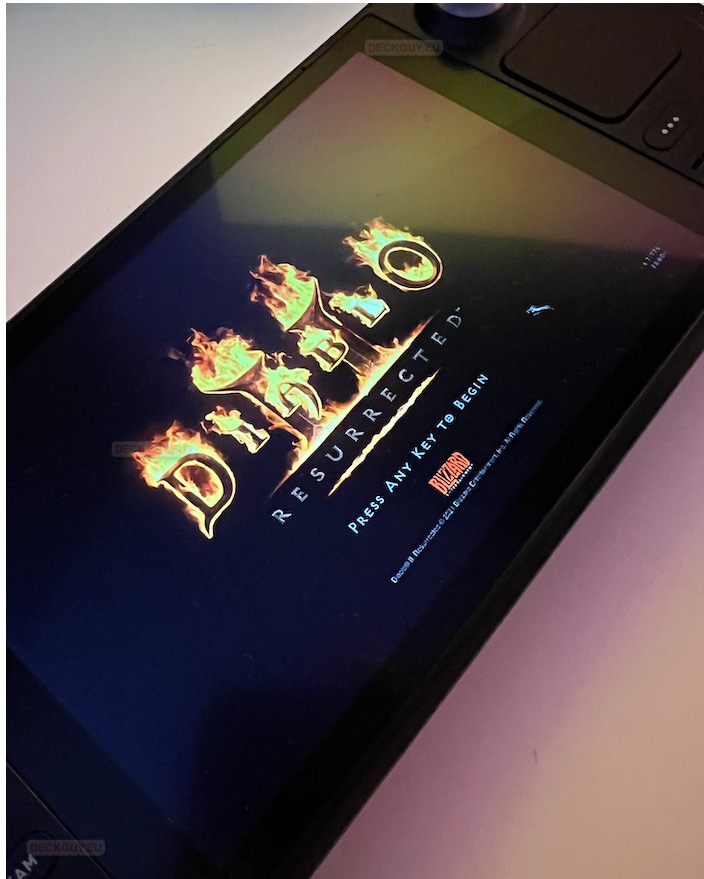
and plays…
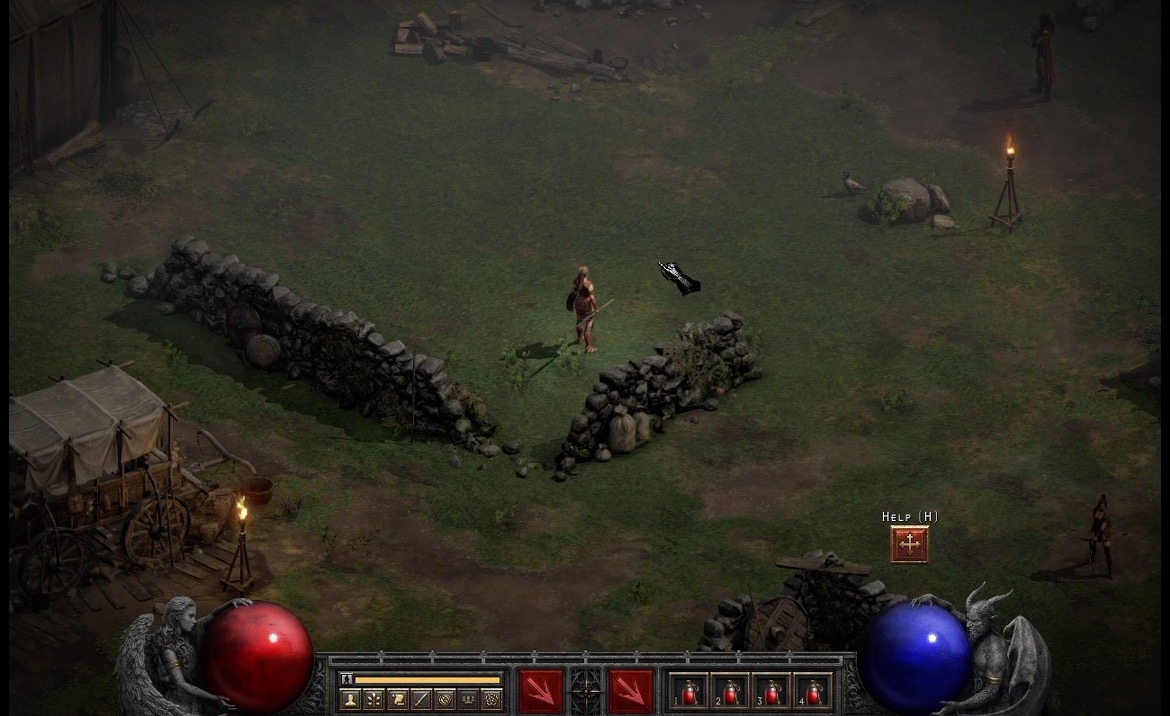
Game also starts in and plays in Gaming Mode, but controls are something that needs to be taken care of if you don’t wish to play the game through Desktop Mode.
I understand many of you are probably interested in Overwatch 2 – I don’t own a game, but I will check it out sometimes in the future.
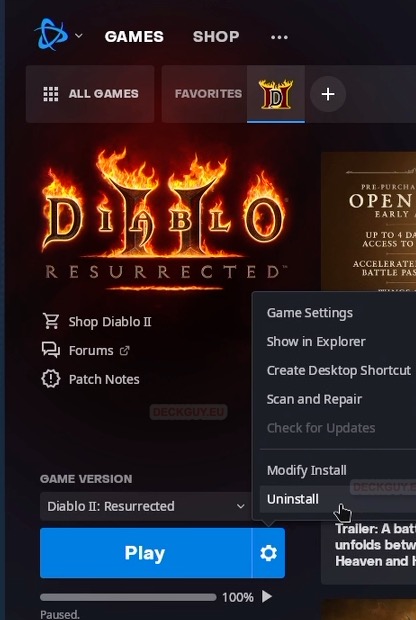
Uninstalling a game
You can uninstall a game through Launcher. If it fails, there is a nice guide in my GOG Launcher series to manually remove a game.
That is that for a Battle.Net Launcher, there is much more to cover, but these are basics that will get you started.