I mentioned a couple of times already I also like GOG for my game purchases. In this guide we will go through installation of GOG Launcher on Steam Deck
In this guide I will cover installation manually – not with tools such as Lutris or Heroic. I already mentioned that I like to do things with tools and options included with device and OS, I usually avoid addons or plugins and use them only if there is no other (and easy way)
Be aware that I cannot be responsible for any damage you do following this guide – be sure to have backups of your saves and games. I cannot take responsibility for any kind of damage!
Here is a resource on how to check if game is playable on Steam Deck. Not all games work with Steam Deck, and not all games work out of the box – so it is worth checking the status of game support for Steam Deck – especially if you are buying game, and doing it only for Steam Deck.
Quick help if you are really new to Steam Deck (things that you will need here)
How to get to Desktop Mode on Steam Deck
How to get on-screen keyboard on Steam Deck
How to navigate Desktop Mode with Steam Deck
Steam Deck File System Basic – How to navigate File Manager
Why is it smart to have GOG Launcher installed?
Mainly because of updates and cloud saves, these are main reasons to have GOG Launcher.
What do we need to install GOG Launcher?
Procedure of installation is the same as with non-Steam game I already did, but we will do it anyway once more.
We will first download GOG Galaxy 2.0 – if we start the gog.com on our Steam Deck – we will not get the downloader, since we are not on Windows or Mac.
We will do this in Desktop Mode on Steam Deck
We need Windows installer, and link to get it is:
https://webinstallers.gog-statics.com/download/GOG_Galaxy_2.0.exe
It will download your installer

Now, let’s go and install…
Installation
Start Steam Client in Desktop Mode
Select ADD A GAME from the bottom left of the Steam Client – click on Add a Non-Steam Game… It doesn’t matter in which screen you are in Steam Client, it should always be at the bottom
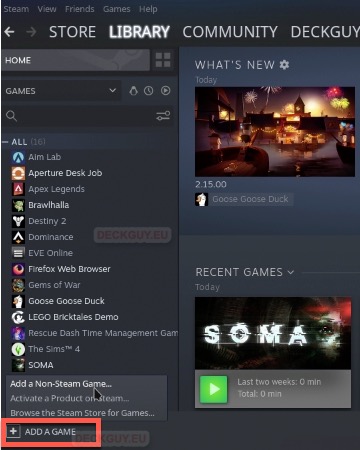
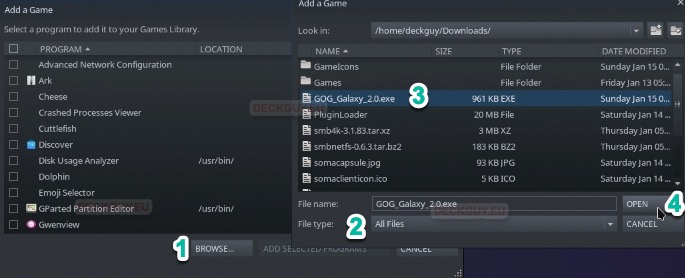
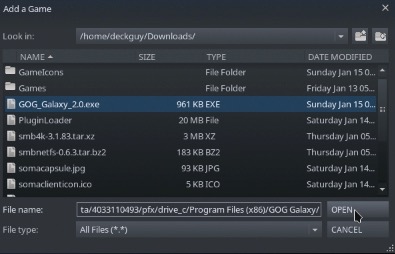
New window will open – 1. Select Browse, then another window will pop-up, in 2. File type: select All Files and navigate to the folder you downloaded GOG_Galaxy_2.0.exe, and 3. select it. Now, press Open – 4
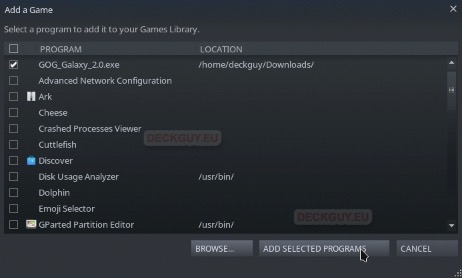
Make sure installer is selected, and then Click on ADD SELECTED PROGRAMS
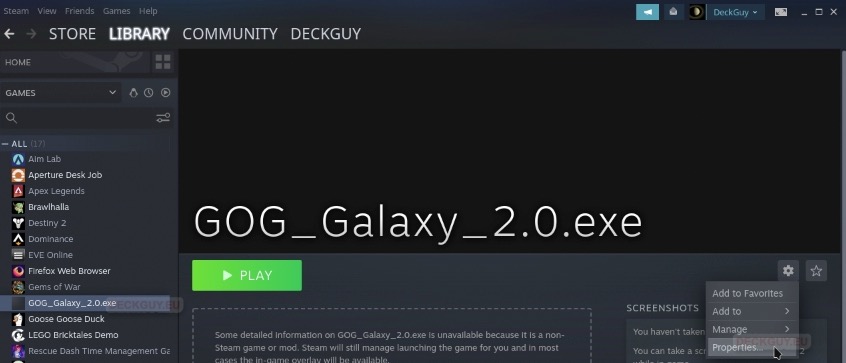
Now, our installer will appear in Library on our Steam Client – click to select it, and on its screen select Manage (little cog) and in there select Properties
Under Shortcut menu, if you plan to install this on your MicroSD, under Launch options, you will need to add following
STEAM_COMPAT_MOUNTS=/run/media/mmcblk0p1/ %command%I’m not going to use MicroSD, so I’m leaving that empty.
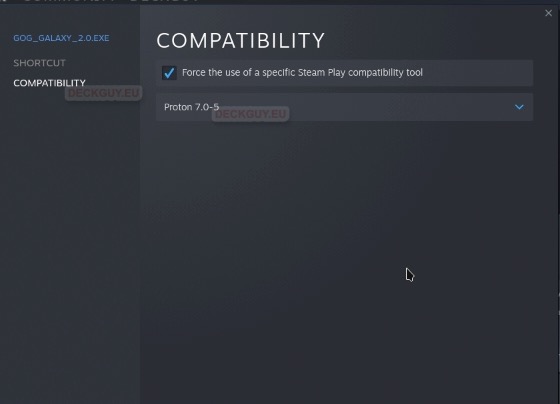
In COMPATIBILITY menu we will select “Force the use of a specific Steam Play compatibility tool” and select Proton 7.0-5. We can now closethat window
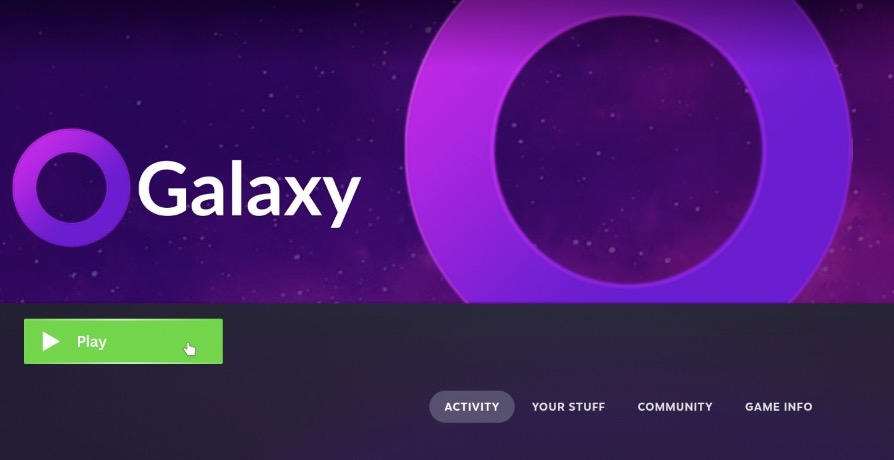
Click on Play under GOG_Galaxy_2.0.exe, it will start installer. BE patient…
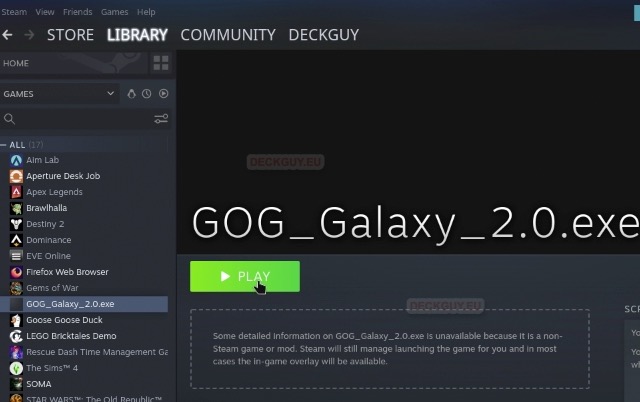
Installer is Downloading…

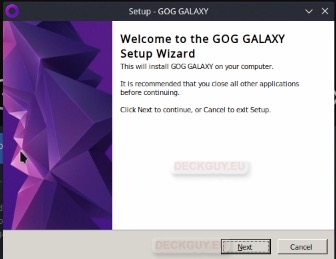
Installer is up
Click Next
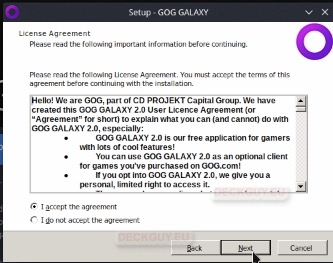
Accept – Next
Next
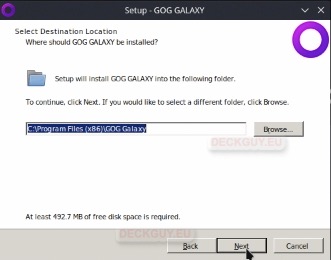
Next
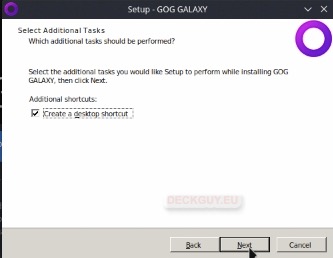
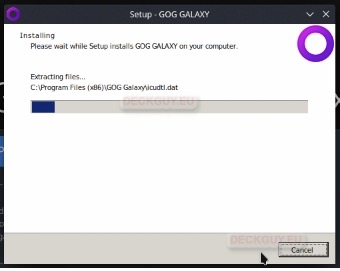
Install is underway…
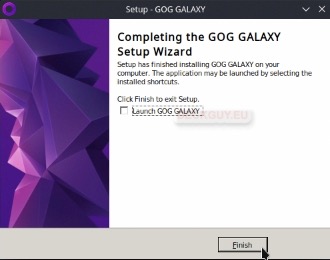
Once it is done, UNCHECK Launch GOG GALAXY and press Finish
Configuration
OK, now we need to change our Steam Client shortcut from installer, to installed GOG
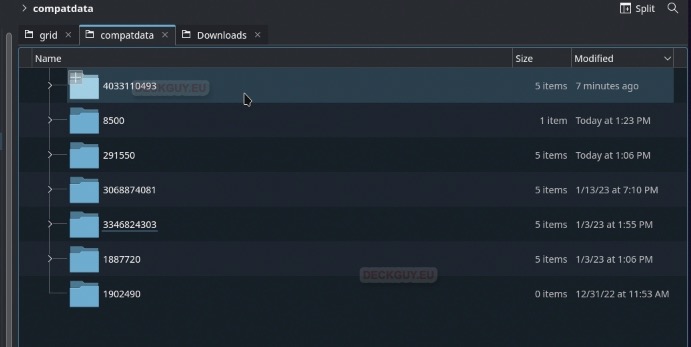
First, we are going to File Manager in /compatdata folder, to see what folder is last created. Leave Steam Client open, we will be back
Folder named 4033110493 was created 7 minutes ago, that is last I have.
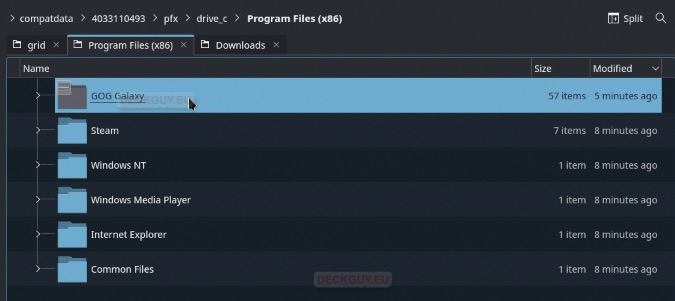
In /pfx/drive_c/Program Files (x86) I can see GOG Galaxy folder, so that is it.
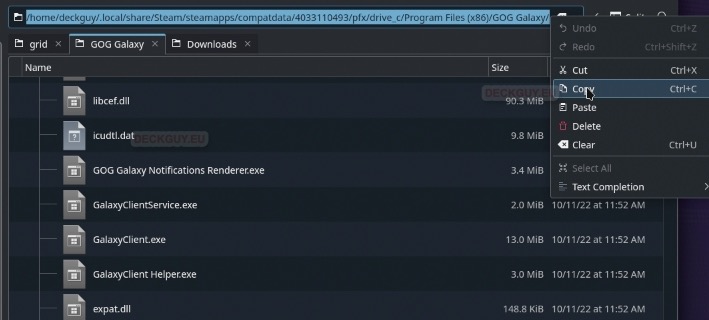
Copy path to GOG Galaxy folder
Back to Steam Client
Select GOG_Galaxy_2.0.exe, click on Manage (little cog icon) and select Properties

Under SHORTCUT, click Browse
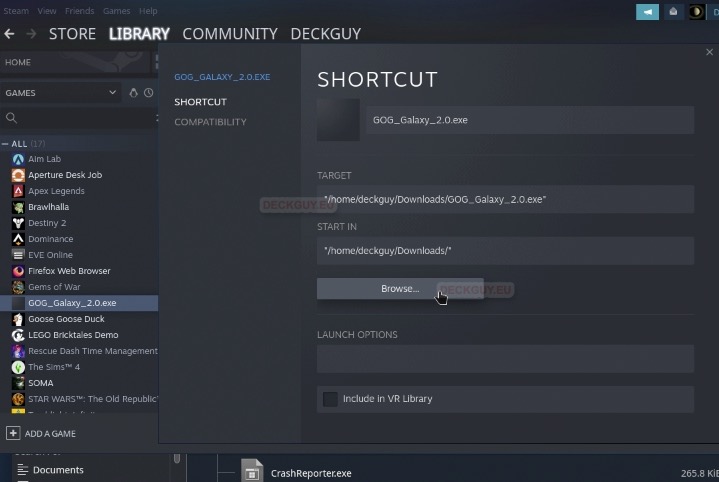
Paste the path you copied into File name: – you can do it with Control+V with keyboard, mouse for some reason doesn’t work
Click on Open
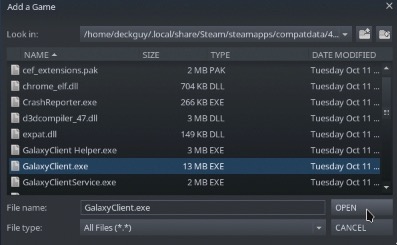
It will now take you to the folder where GOG is installed. Select GalaxyClient.exe and press Open again
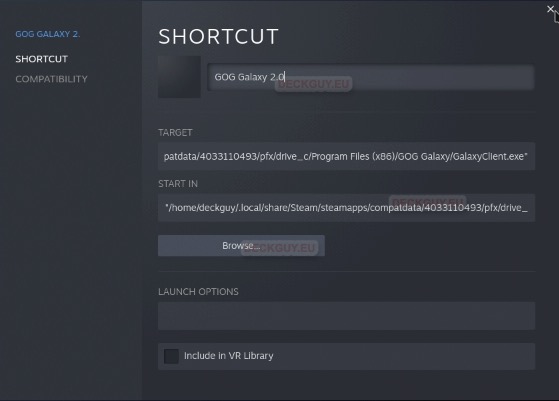
Now, you can see that both TARGET and START IN changed for our GOG Galaxy installation. We will also rename our shortcut from GOG_Galaxy_2.0.exe to GOG Galaxy 2.0
Compatibility should stay as is

START
Before we start you might also want to do this
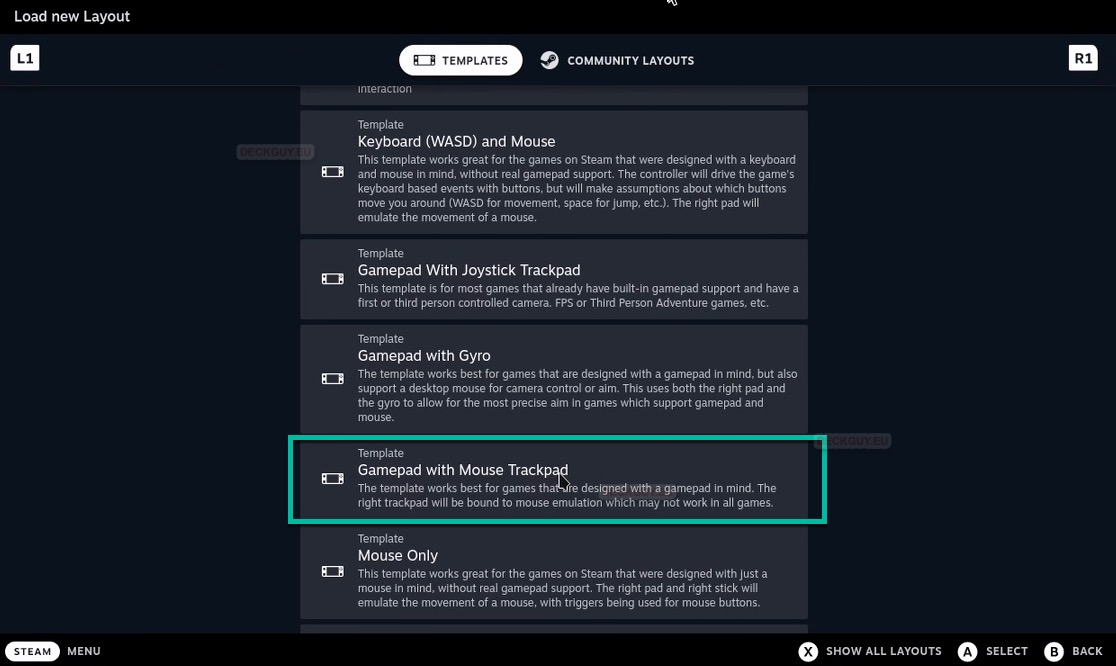
This is optional and will give you mouse access in app interface –Before we run our app, we can do one more thing- right click on your app shortcut in Steam library – select Manage | click on Controller layout (you can do this, are you can select some other type on controller layout)
Under current layout click on little triangle and select – Gamepad with Mouse Trackpad
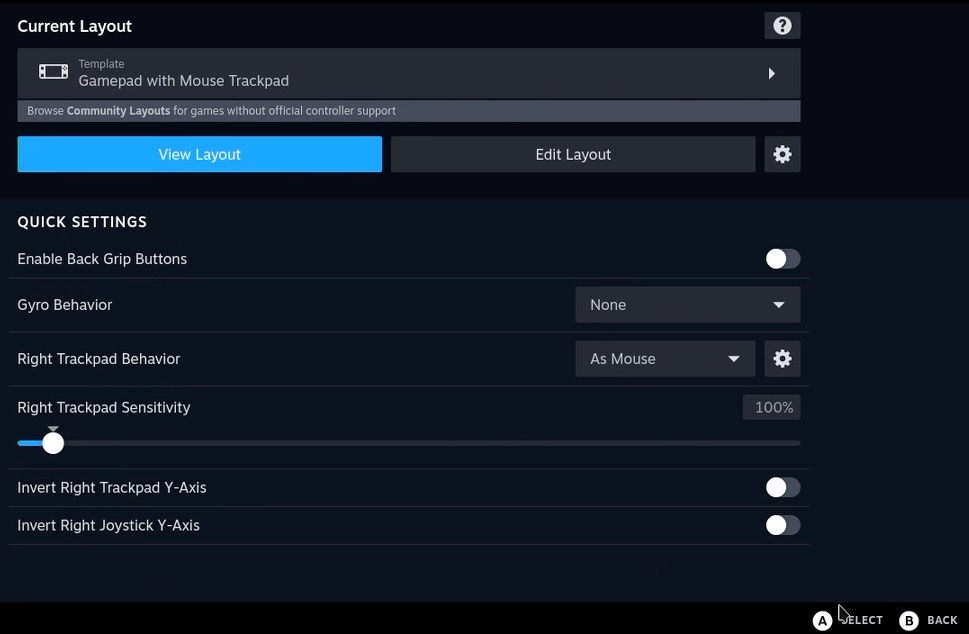
Exit and continue starting your app
Now, let’s try and click Play, press Play once and be patient
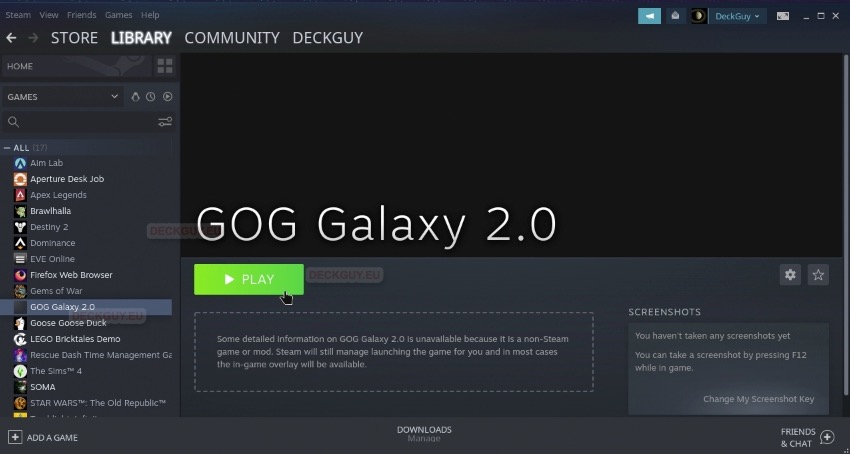
We did it!!!
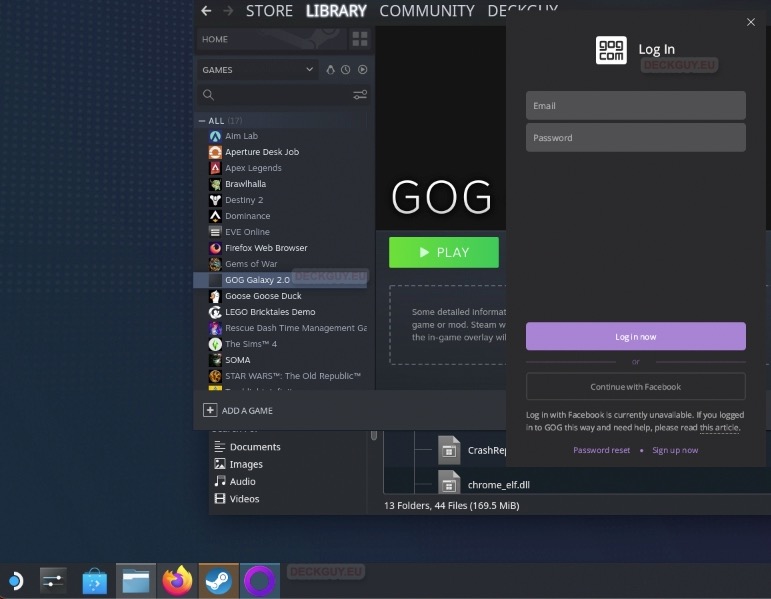
I will now try to login
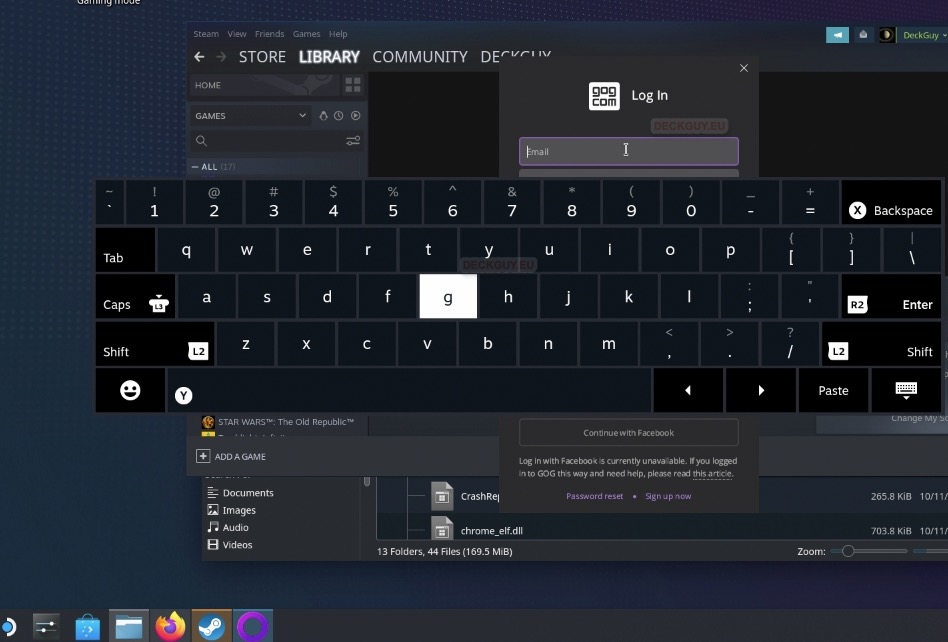
You will probably get pop-up keyboard all over the place, wrestle your way around and type in username and pass for GOG
We are in
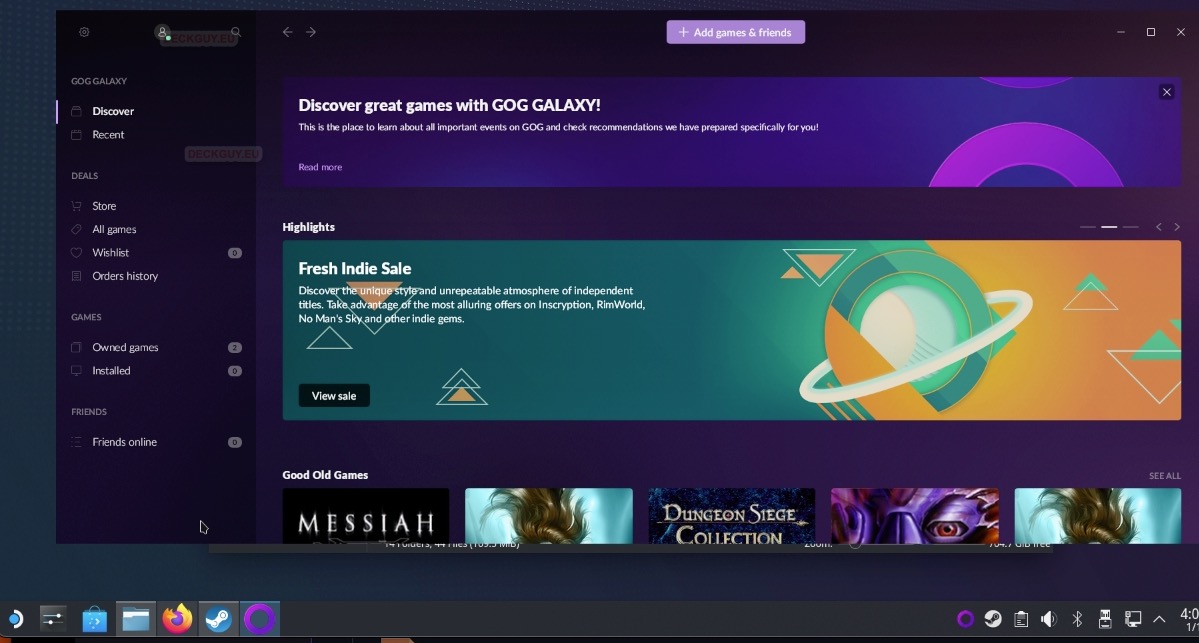
The Launcher will come without artwork, if you wish for GOG to look nicer on your menus, look into this guide here I made on that topic.
GOG will also work nice in Gaming Mode
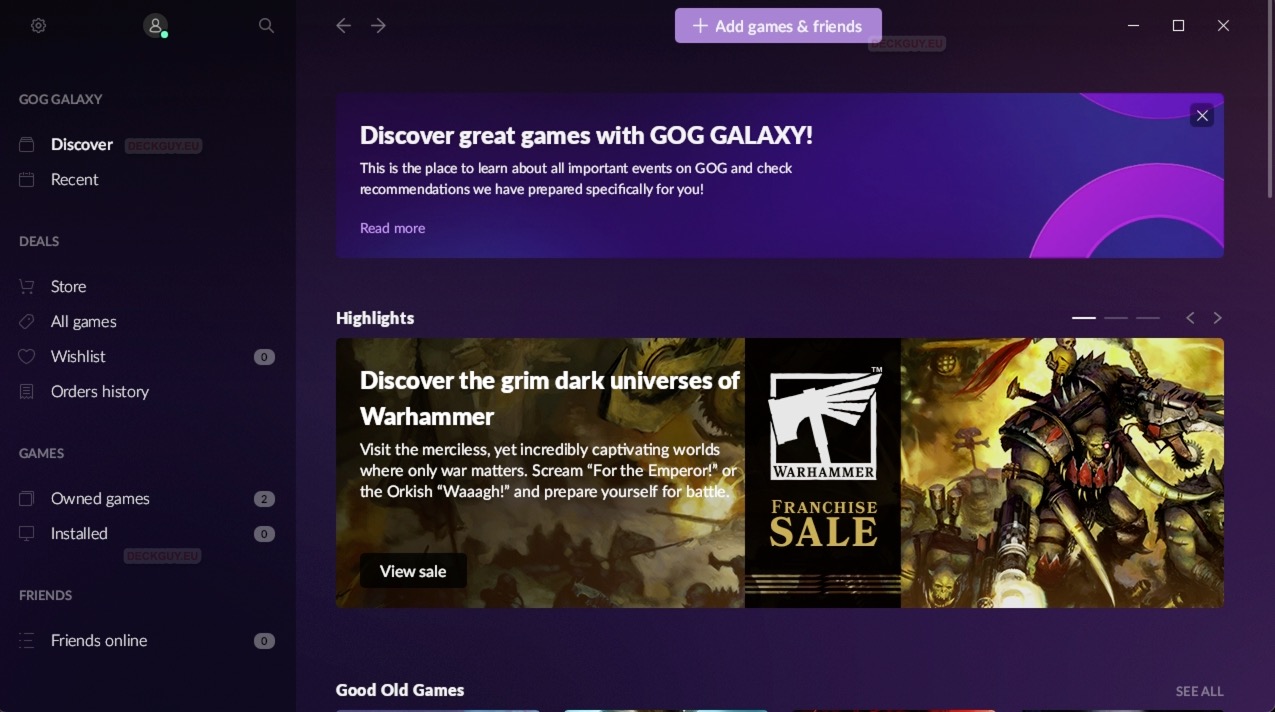
It will be in full screen in Gaming Mode
Uninstall
To uninstall GOG Launcher – you can follow guide I made here
Process is same as with non-Steam Games. Before you uninstall – be sure you don’t have any games installed with GOG Galaxy Launcher!!!
