
You would like to try SteamOS, but you don’t have Steam Deck? You are new to the Linux world, and wouldn’t want to mess up your Steam Deck – there is a way to learn and play on SteamOS on your PC. Not official way, but still a way if you are interested.
SteamOS v1 and v2 was based on Debian – actual SteamOS is SteamOS 3, it is fresh edition from 2021, based on Arch Linux and adapted for Steam Deck.
There is still no official support from Valve to run SteamOS 3 on PC, but there are unofficial channels – which we will be talking about today, and running short installer.
Disclaimer – SteamOS 3 installer which I will be writing about today is not officially supported by Valve. Use this guide at your own risk – I cannot be in any way responsible if something goes wrong for you (data, hardware, you health or your soul/mind state…)
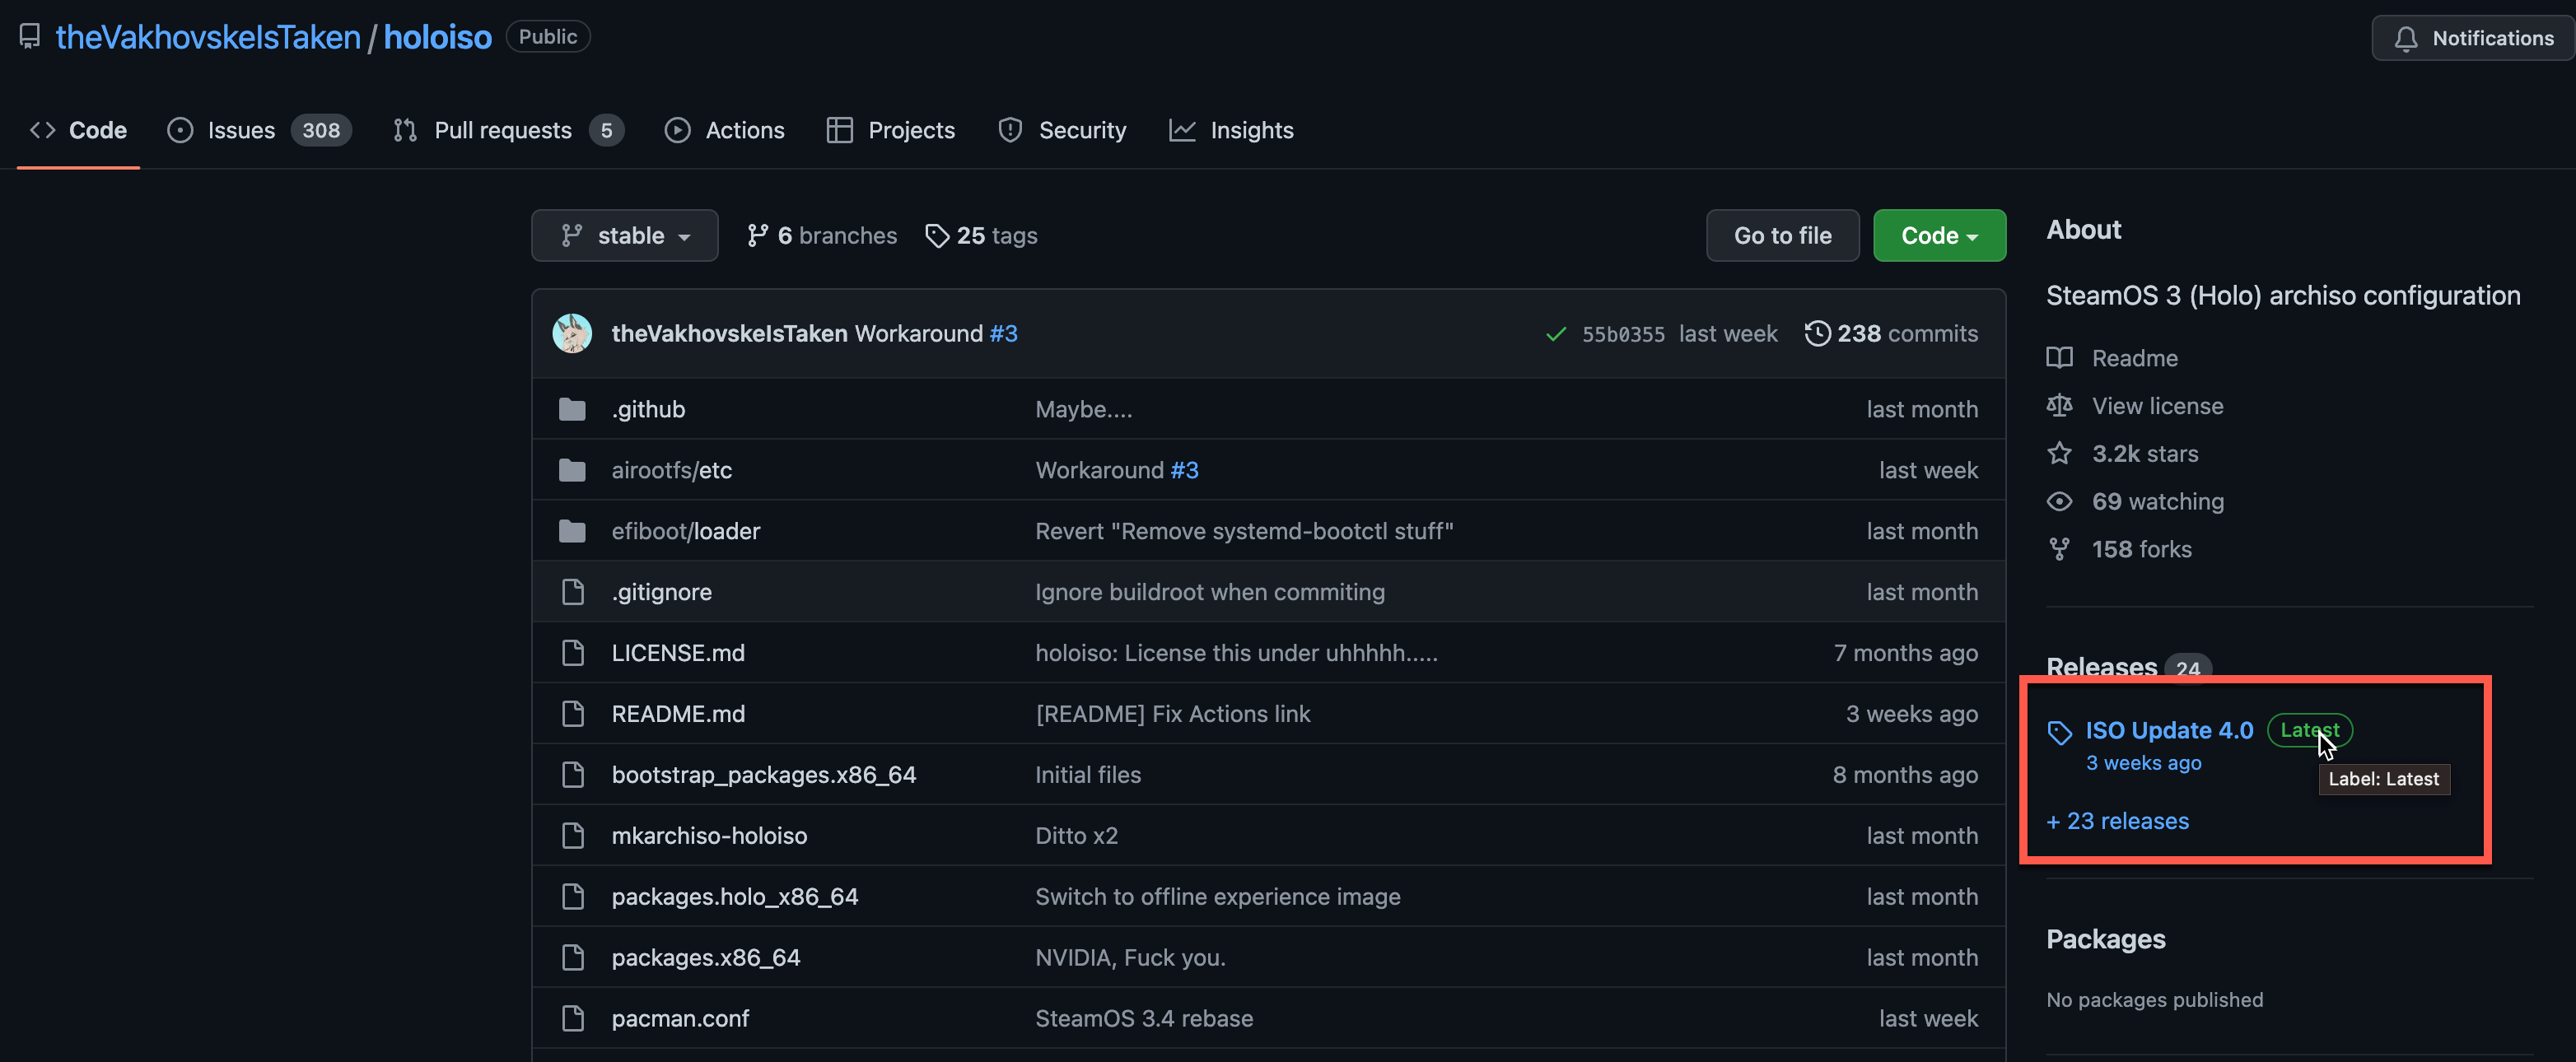
We are going to talk about HoloISO – https://github.com/theVakhovskeIsTaken/holoiso . Behind HoloISO is Adam Jafarov who is responsible for the HoloISO.
There is also subReddit for HoloISO here – https://www.reddit.com/r/holoiso/
Don’t expect this process to be trouble free – depending on your hardware, your experience may vary. AMD configurations and AMD GPUs work best at this moment (end 2022). But you may also have various GPU problems. SteamOS is also looking for updates in the initial stage of configuration – and if SteamOS cannot check for update – it won’t finish initial configuration stage. Problems with updates and repos are common in both Desktop and Gamescope mode in HoloISO. Community for HoloISO is good at this stage (end of 2022). There is also Telegram channel for HoloISO which is active with various solutions to all kind of problems with HoloISO.
Ok, let’s get to business.
Prerequisites
Hardware
You need a machine with following specs – I used 2-4 CPU cores, 8GB RAM (more if you plan to use Copy-to RAM option), and 64 to 1TB of storage (SSD) on the machines I installed it on. Machine has to be UEFI enabled with disabled secure boot.
Graphics – currently (end 2022) Nvidia GPUs are not supported in Holoiso. AMD GPUs that support RADV drivers will work (for instance, cheapest AMD card that worked for me was AMD Radeon Pro W6400 for $200/200€). RADV drivers are Vulkan drivers – to be honest, I haven’t found comprehensive list of supported AMD cards, but chances are you card will work if it is AMD. Intel integrated GPUs also works up to 11th Gen Iris XE.
For ISO installer I used 16GB USB drive (according to the holoiso github, it can be done with 4GB flash drive)
More details can be found on Holoiso Github and Reddit on the topic.
Software
On Holoiso page go right section of the page and select Latest from Releases
Scroll to the bottom of the page and select Google Drive link
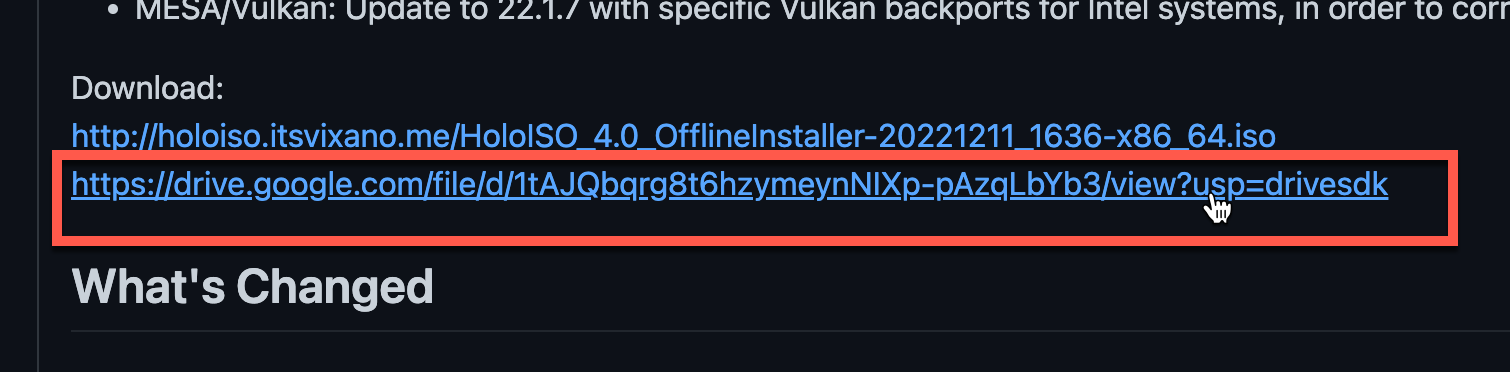
ISO download should begin.
Important!!
Before you begin with any other step further – make sure that there is no data on your USB drive and USB drive is backed up if it has data on it, that the disk you are planing to install Holoiso to is backed up, or does not contain anything that you will miss in life.
By formatting USB and your machine drive at the beginning of install you will lose everything taht is on that drive!!!!
Flash downloaded ISO to USB drive
After Holoiso is downloaded use Rufus (Windows) or balenaEtcher (Linux, Mac) to flash your holoiso to USB drive.
Installation
Again, make sure that Secure Boot is disabled in BIOS, and that you boot from USB drive you put HoloISO to.
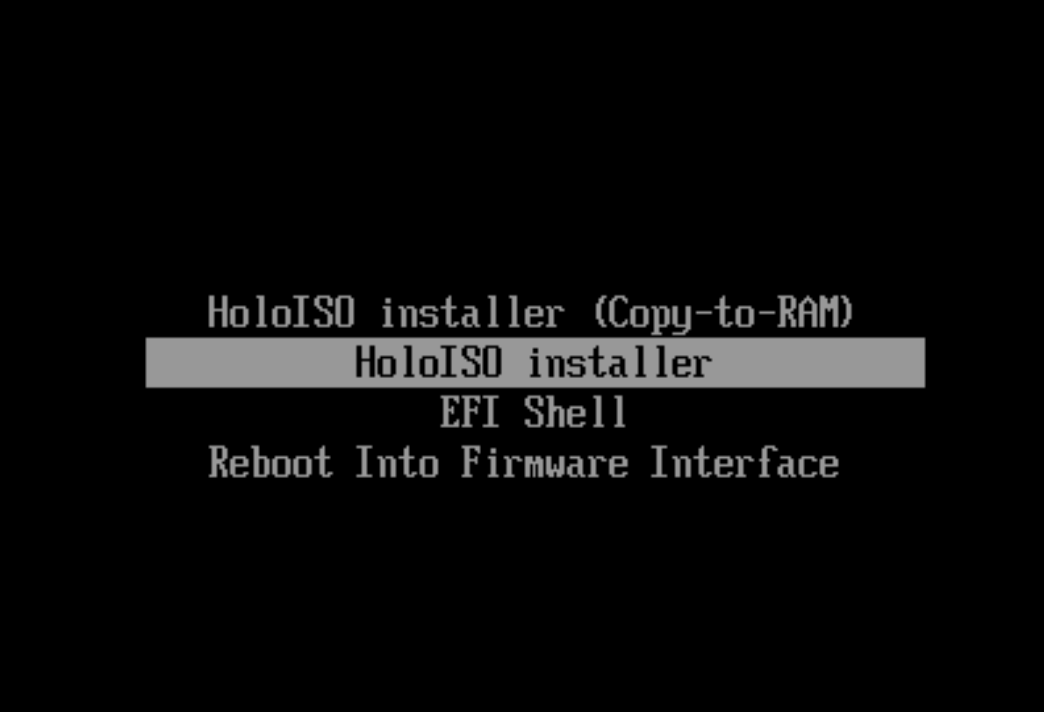
If you done everything correctly, you should be greeted with the screen below. Select HoloISO installer
After some time, more than few lines of text and rolling startup screen…

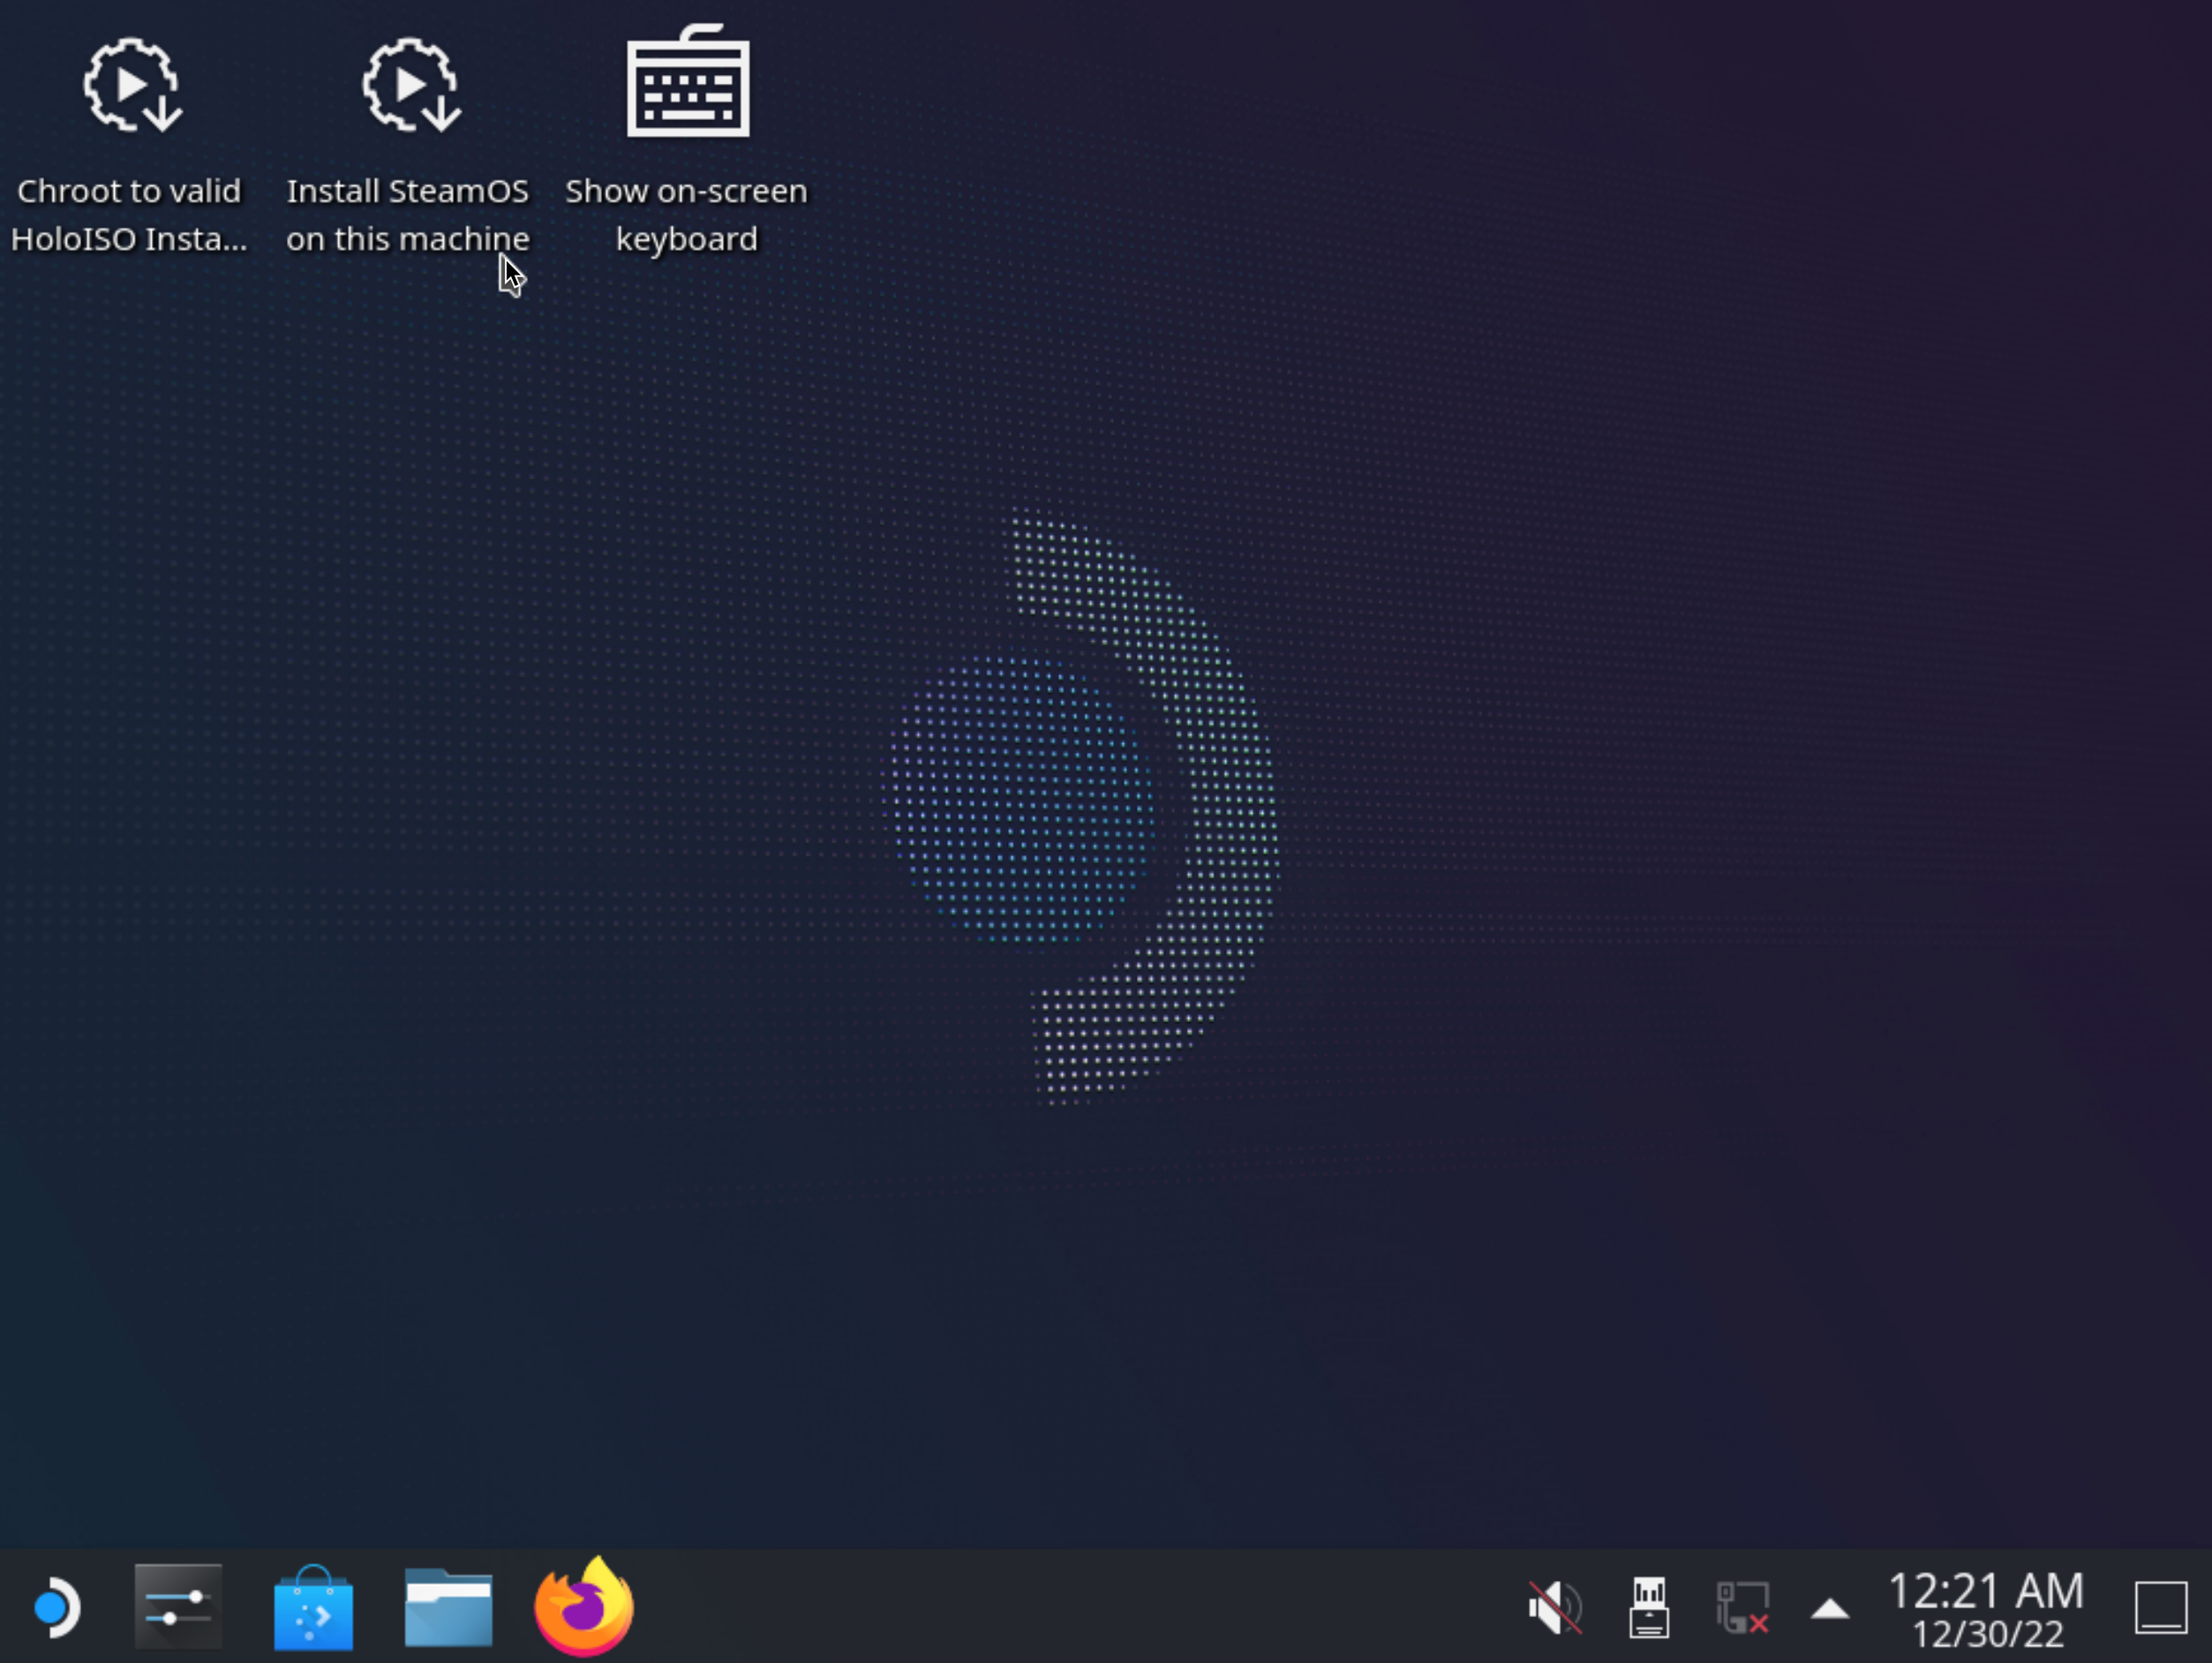
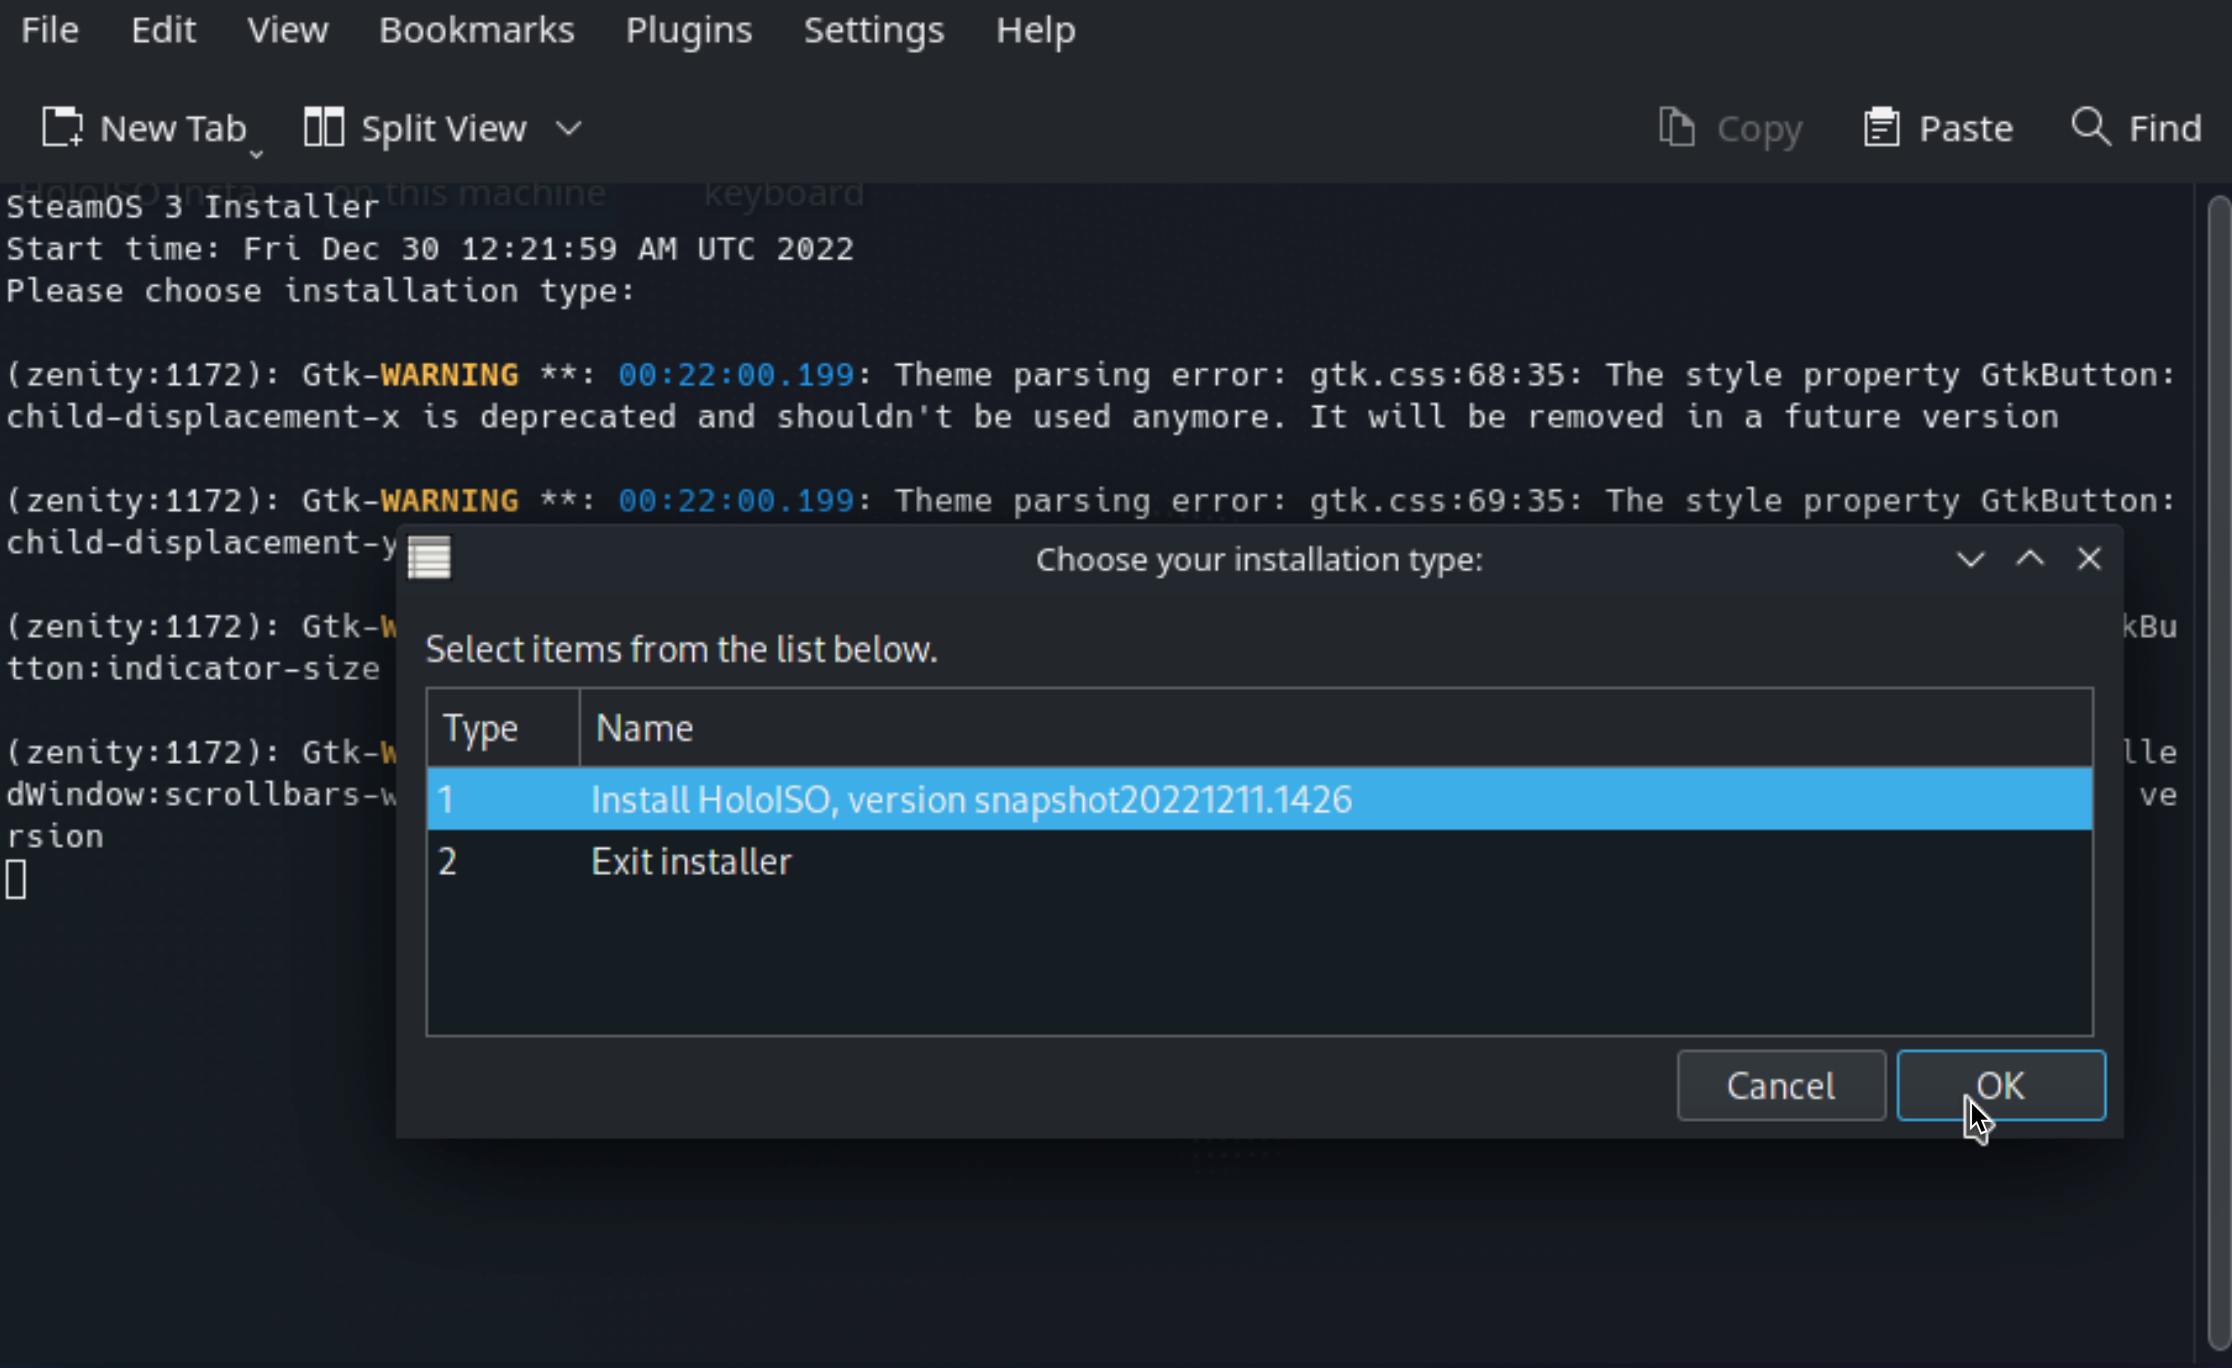
You should be greeted with desktop screen, on which we will select “Install SteamOS on this machine”
Installation type: Install HoloISO, version snapshotXXXX | OK
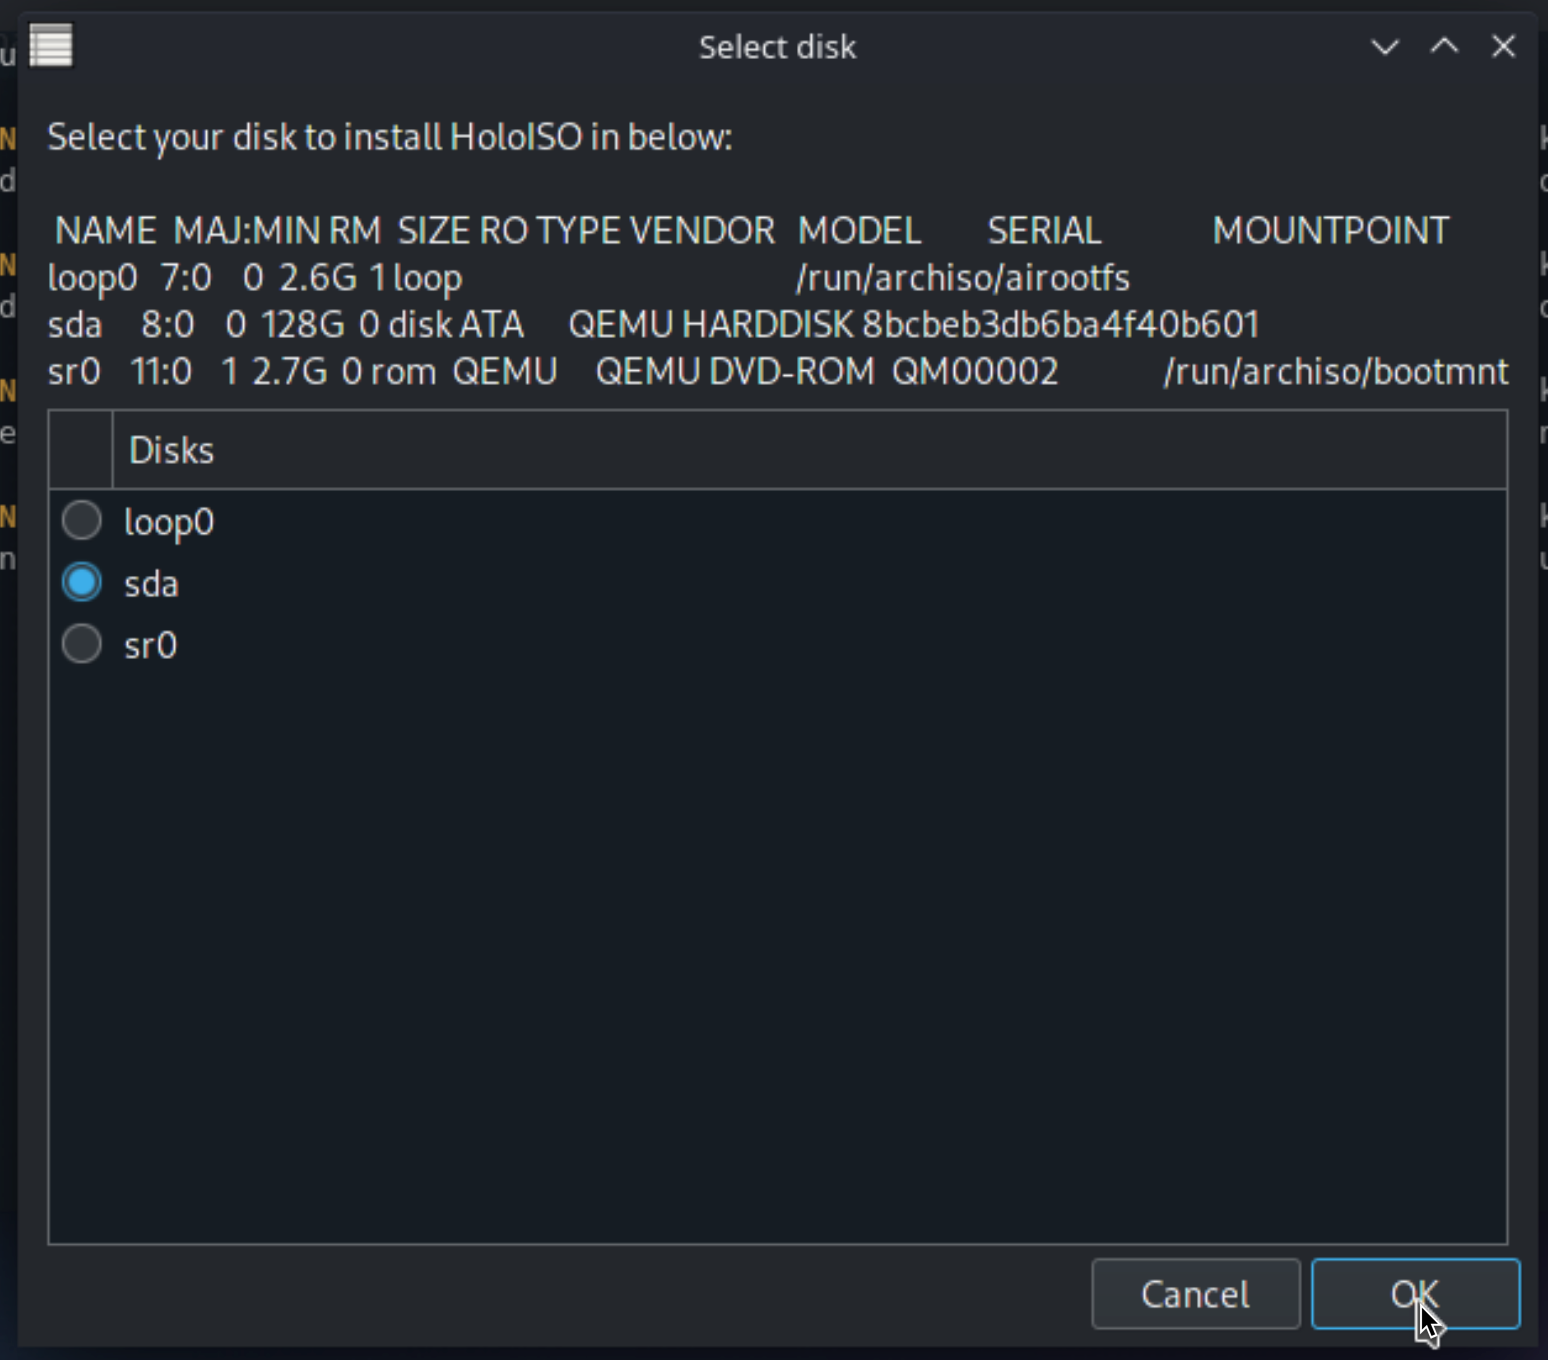
Select disk to install (Again, be careful, use disk that you do not need, empty disk, or be sure you have a good backup before you start this!!)
I will select sda – 128GB disk I have
I will select Erase entire drive | OK

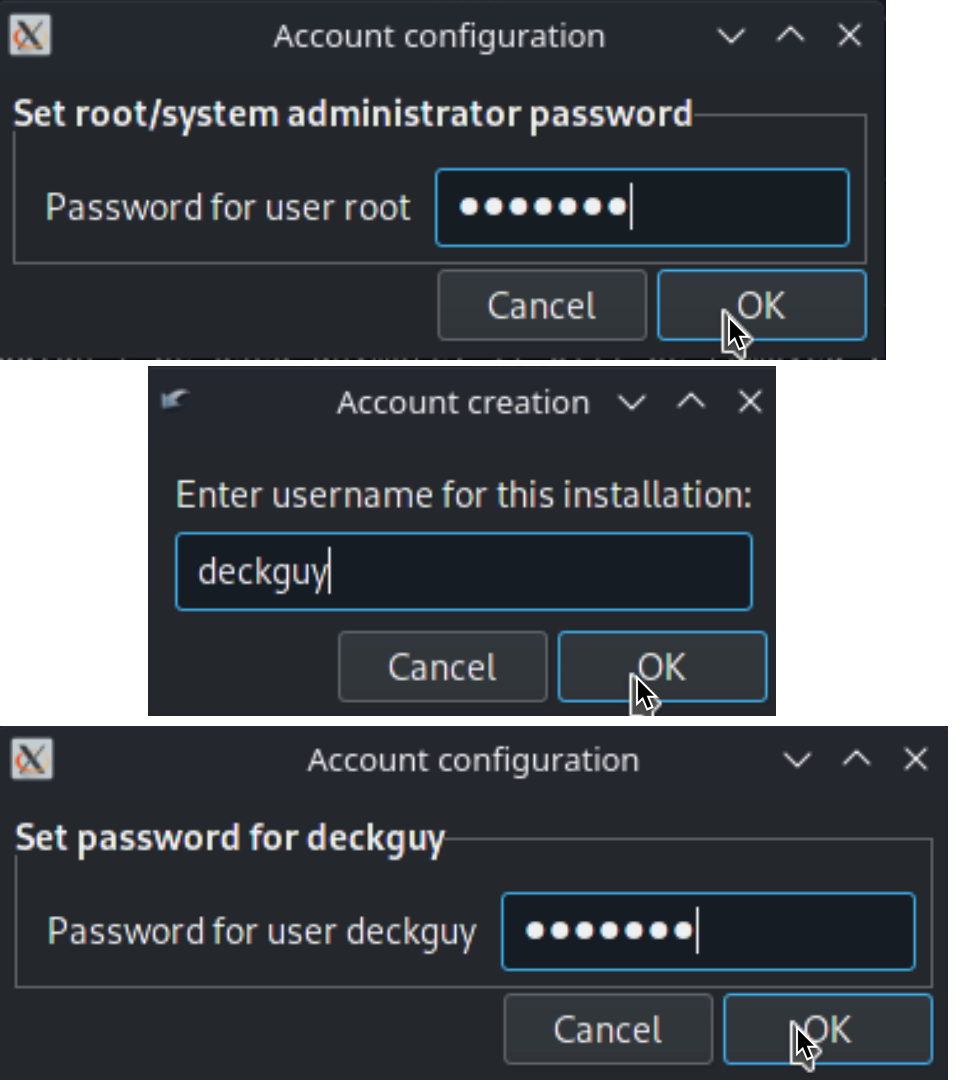
On next screen, you will be asked to define password for root user (it is main administrator for SteamOS install) and also to create new account and define password for it. Passwords will have to be confirmed twice.
Be sure to write down in secure manner passwords that you define. Make strong passwords.
New user you define needs to have name in small case letters.
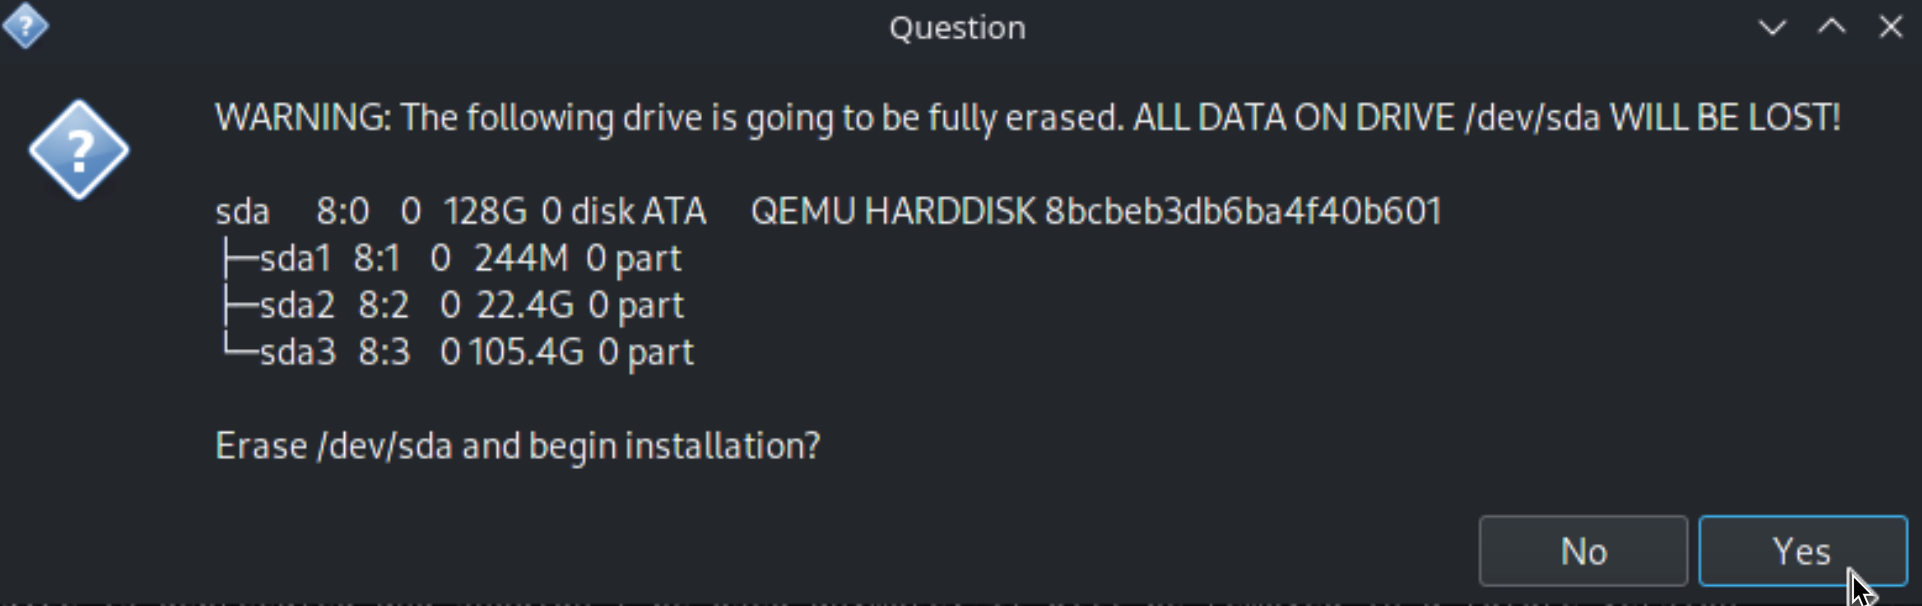
You will once again be warned that all will be erased. If you are sure, confirm with Yes
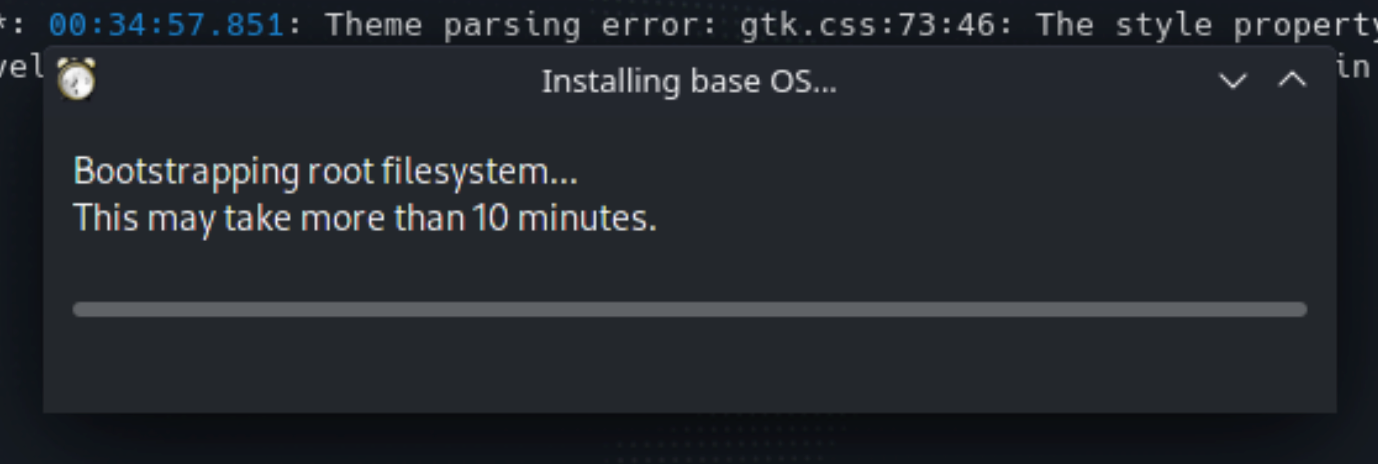
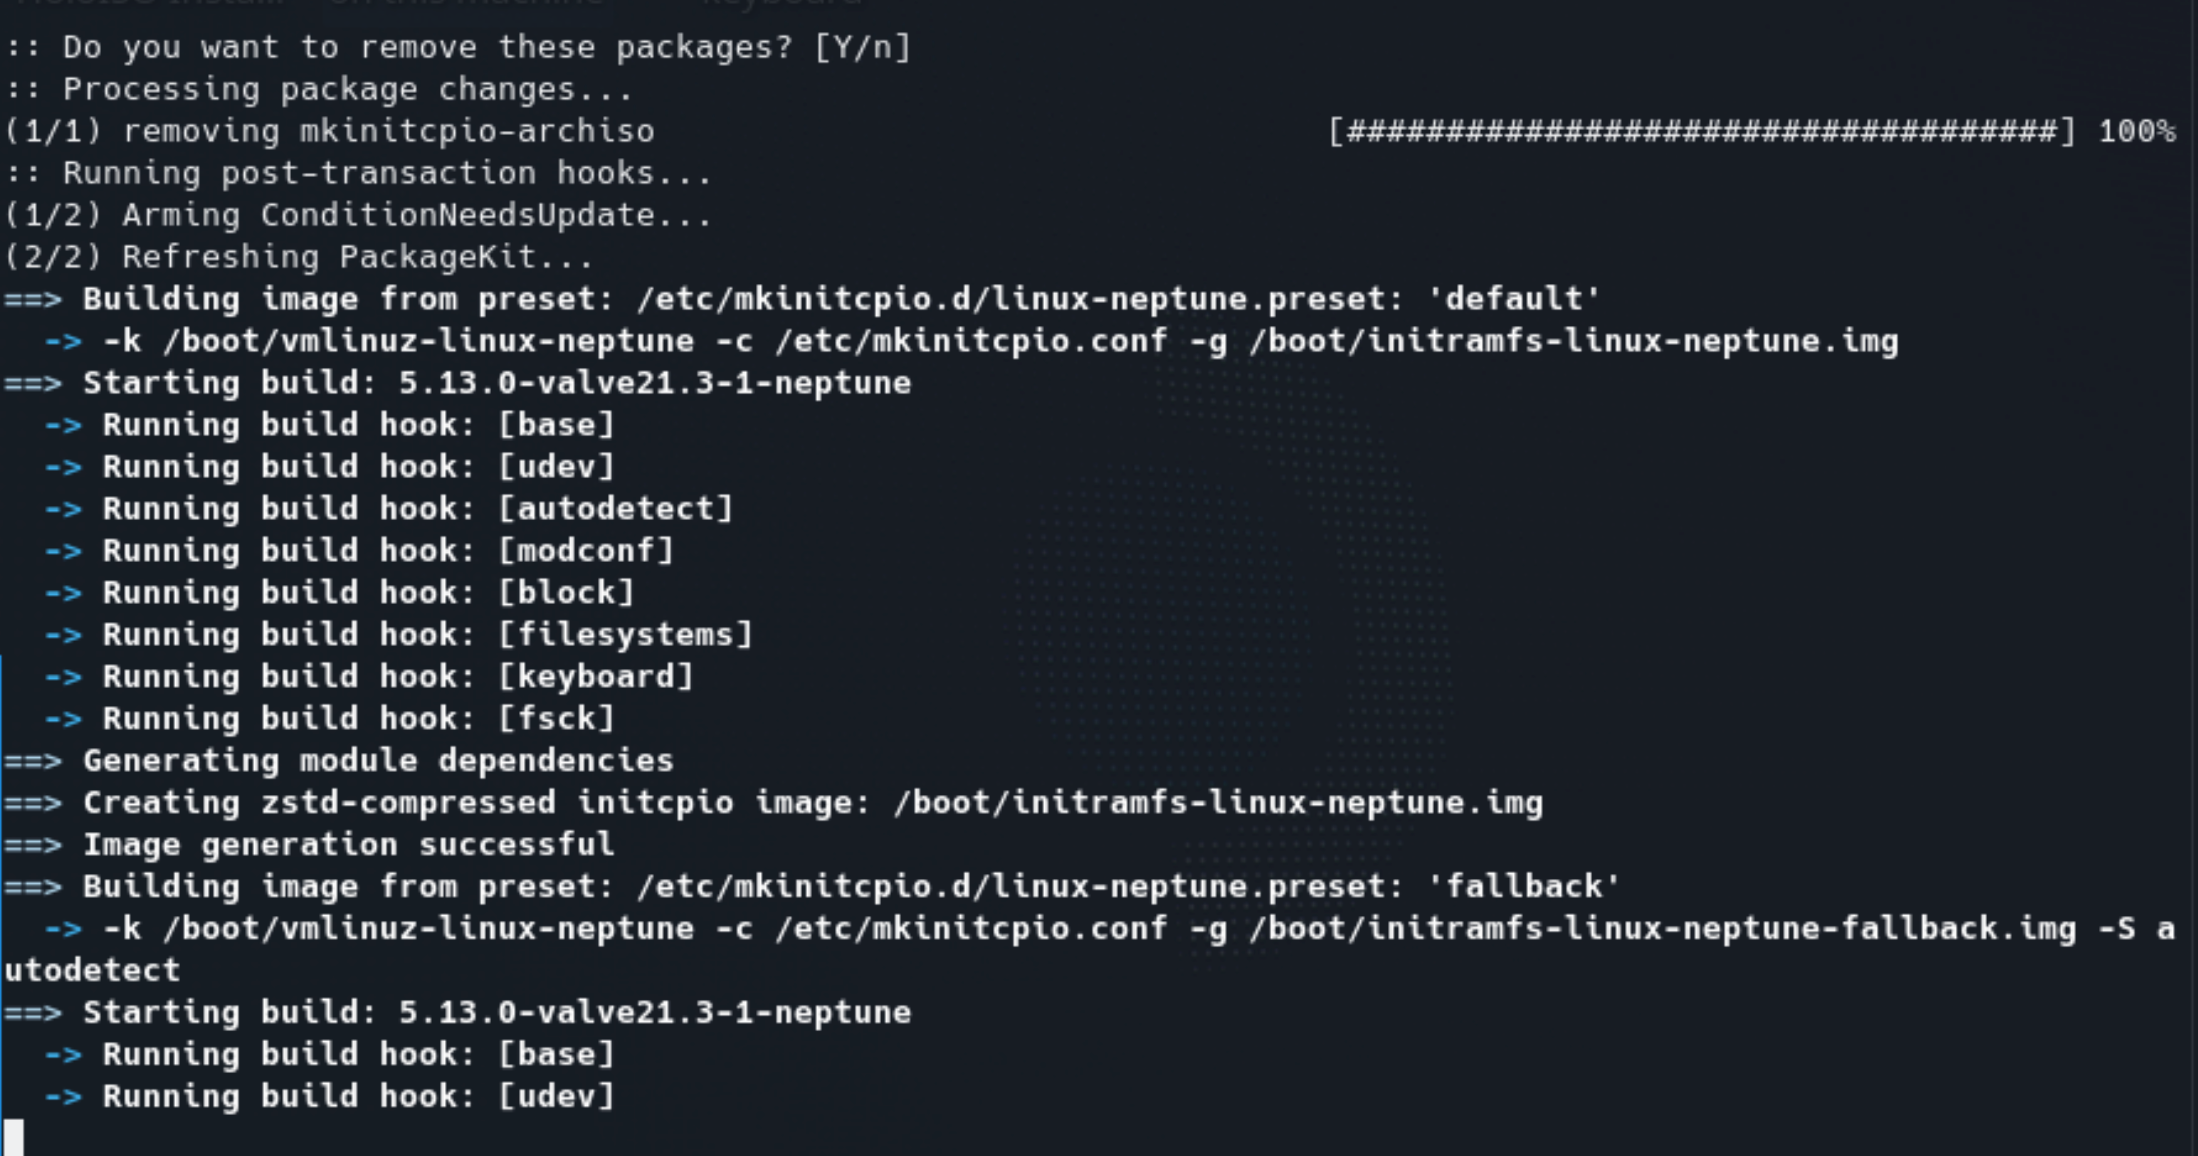
Installation will start…
We are done!! We can reboot now
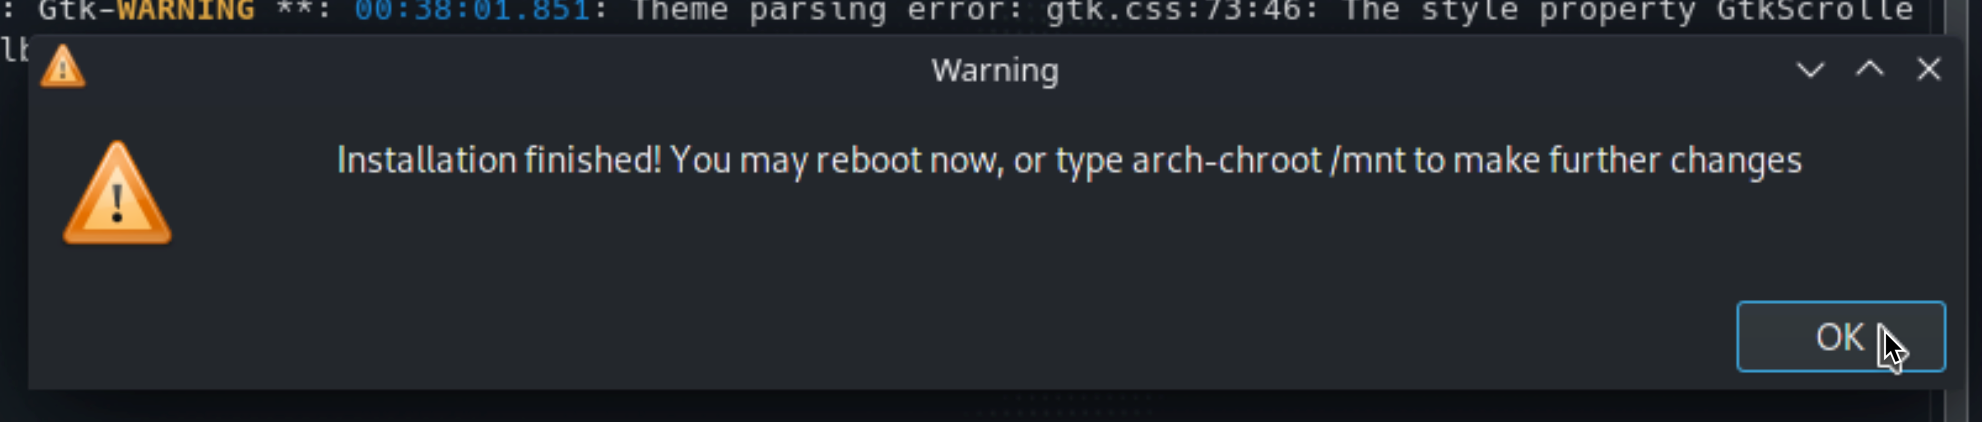
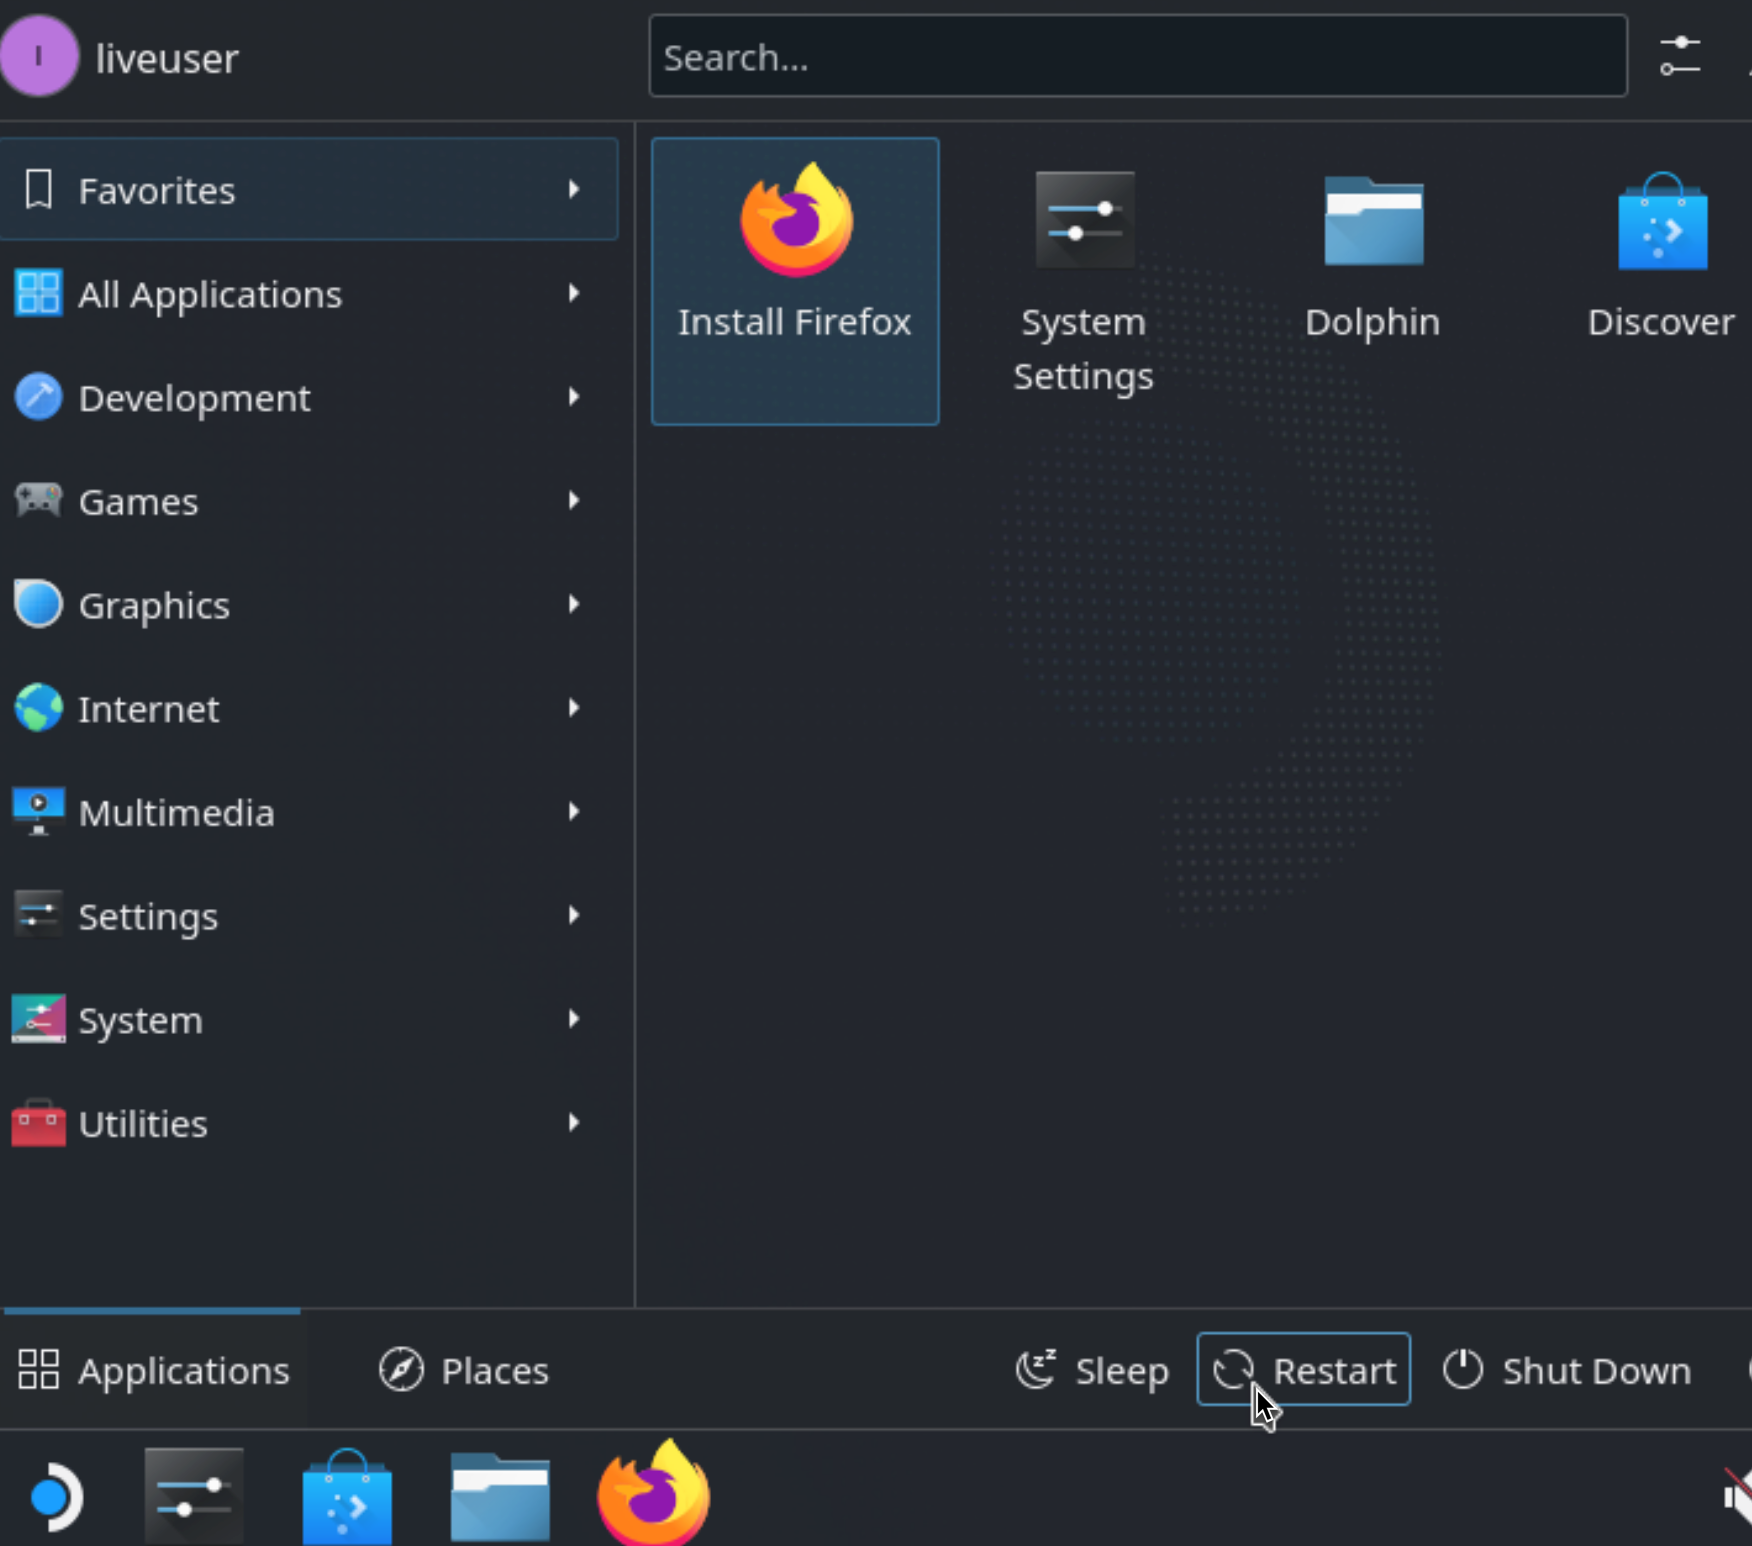
Select SteamOS logo at bottom left, and then select Restart. Confirm with OK
Make sure you remove USB installer after you are done.
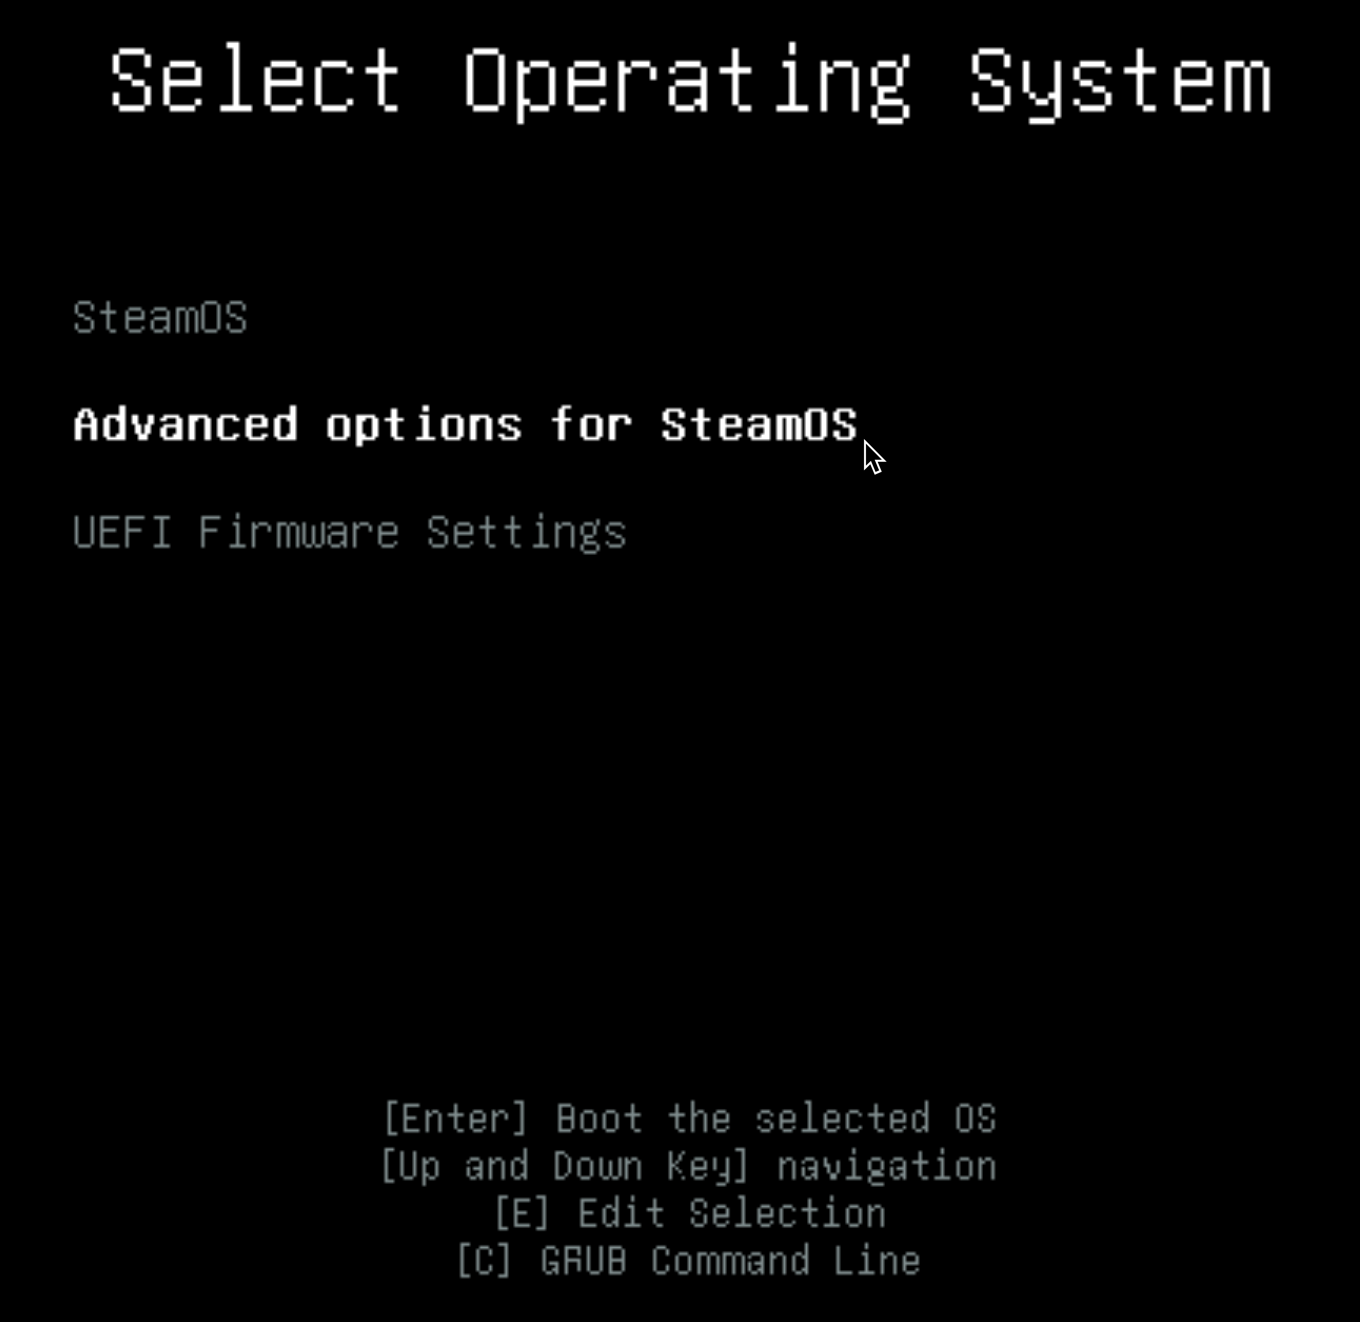
Now, after first boot, you will be greeted with menu like the one below. If you are confident that your configuration works out of the box (you have supported AMD GPU) go ahead and select SteamOS. If you get stuck, you can always go the route I’m going to write about. With supported AMD GPUs, there should be no problems.
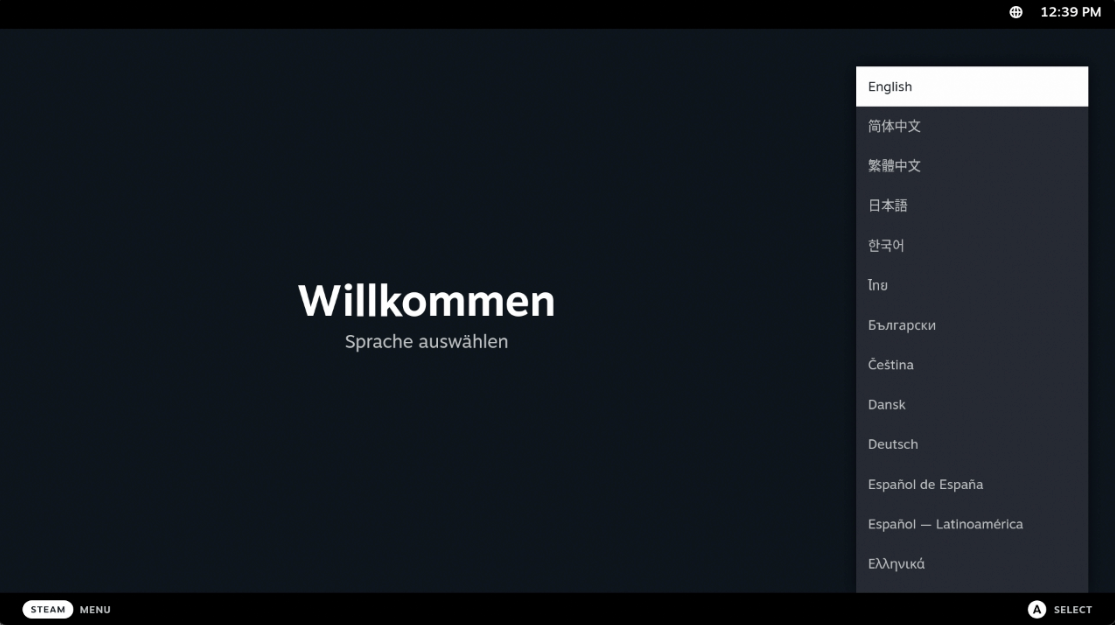
If you are greeted with Steam Start menu and initial setup screen after you select SteamOS – congratulations – this tutorial is done for you.
This is the screen you will get if everything is ok
If you get black screen, or you are stuck in any other way – try this below:
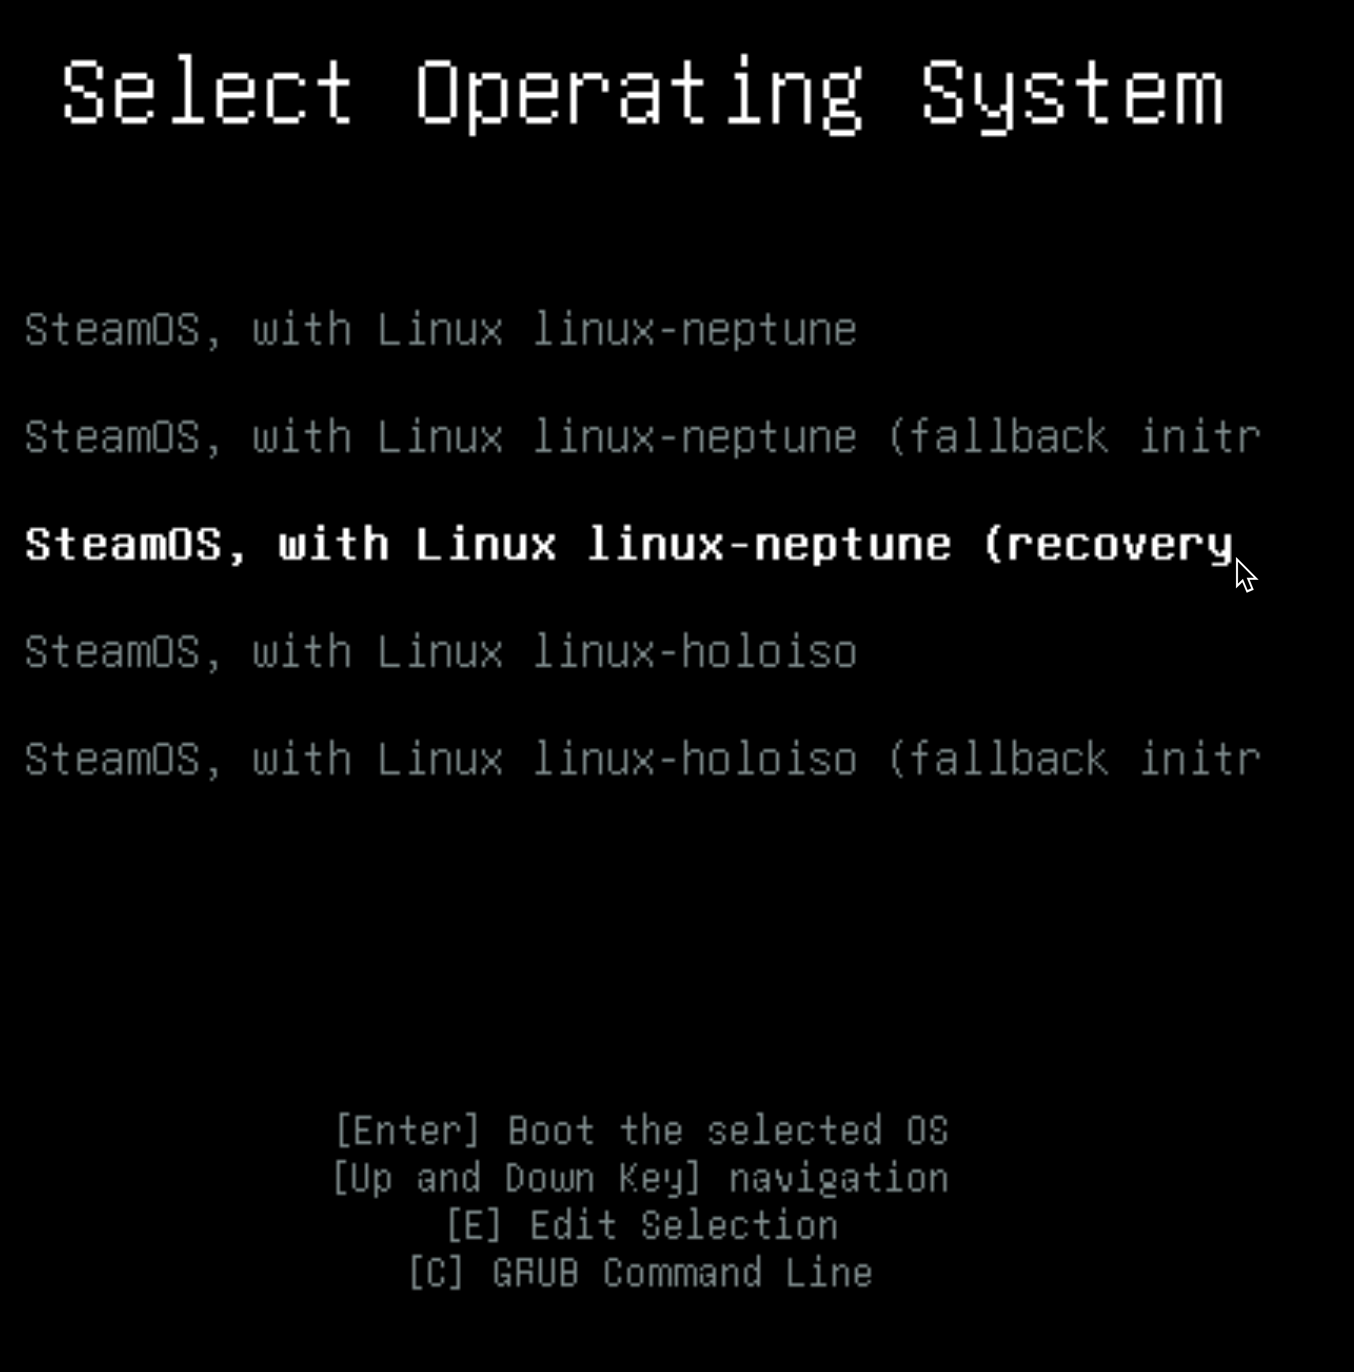
I will assume that you will get black screen (or stuck at Loading initial ramdisk…) after you select SteamOS – so, we will select “Advanced options for SteamOS”
I will select – SteamOS, with Linux linux-neptune (recovery mode)
You will be asked for root password you defined at the beginning of the installation
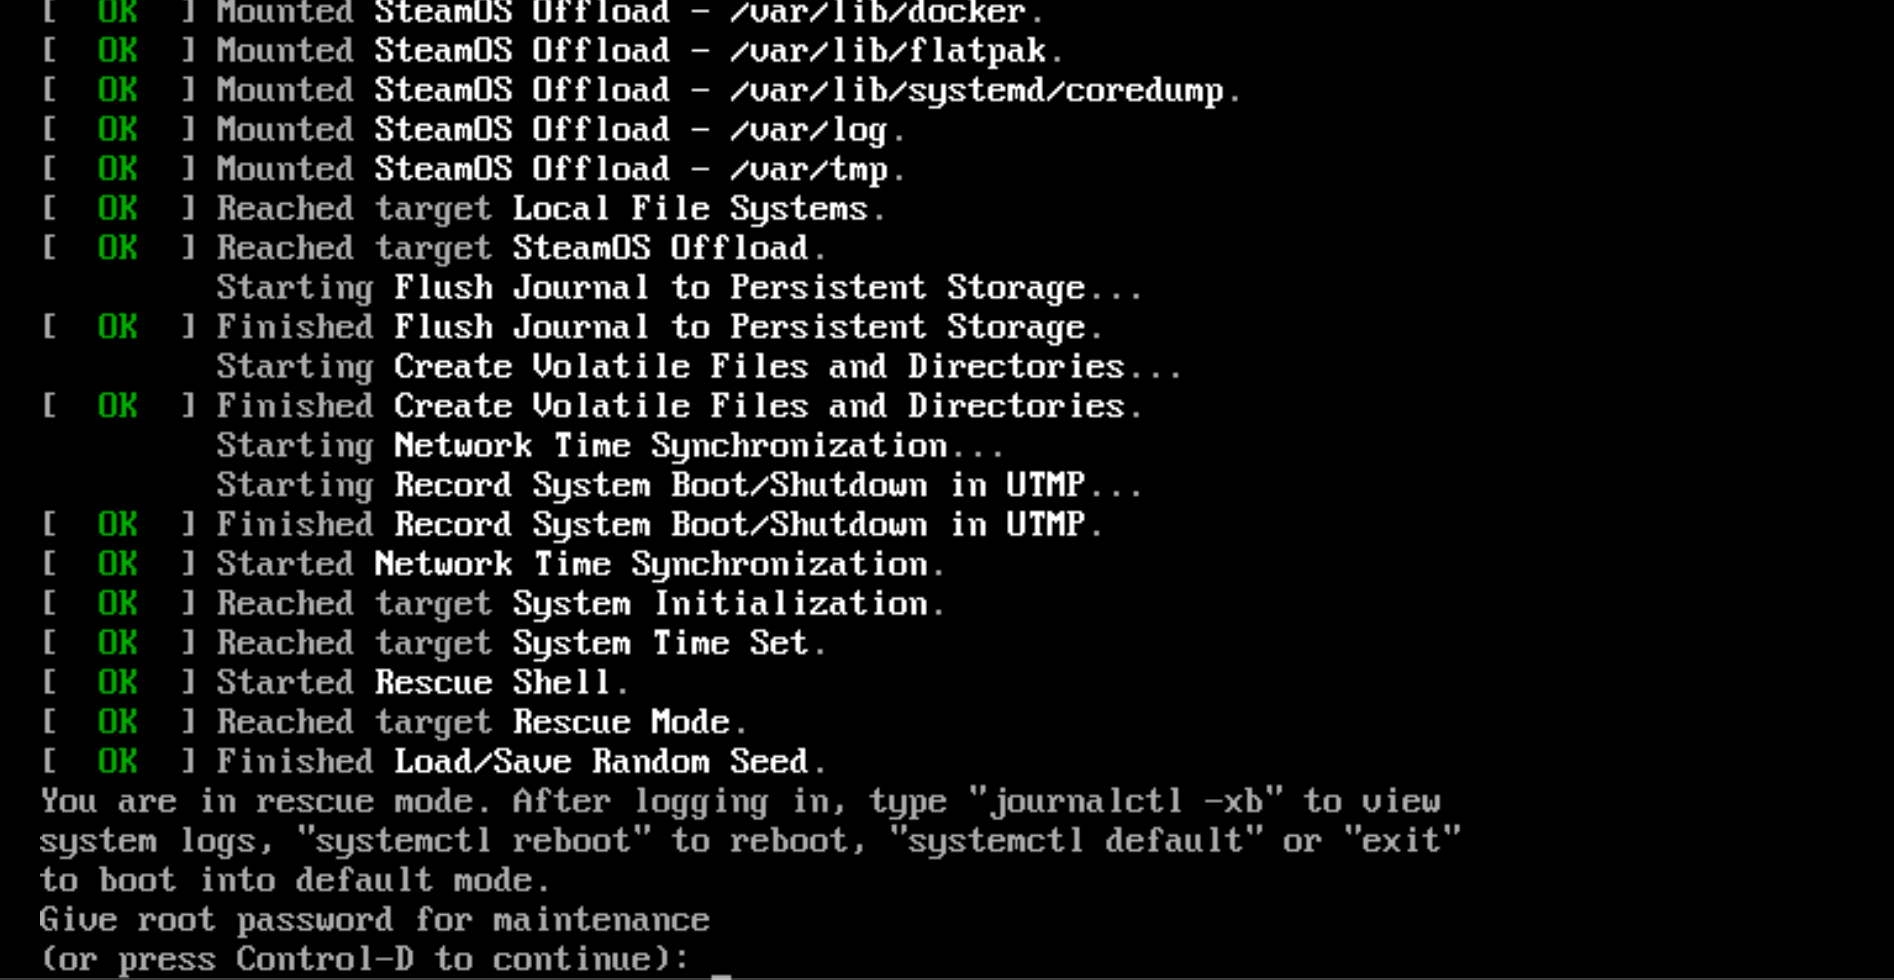
After you are logged in, type in following
holoiso-disable-sessionsConfirm with enter

Type “reboot” to reboot. You can always get back to “Advanced options for SteamOS” and select to boot holoiso, if neptune does not work for you.
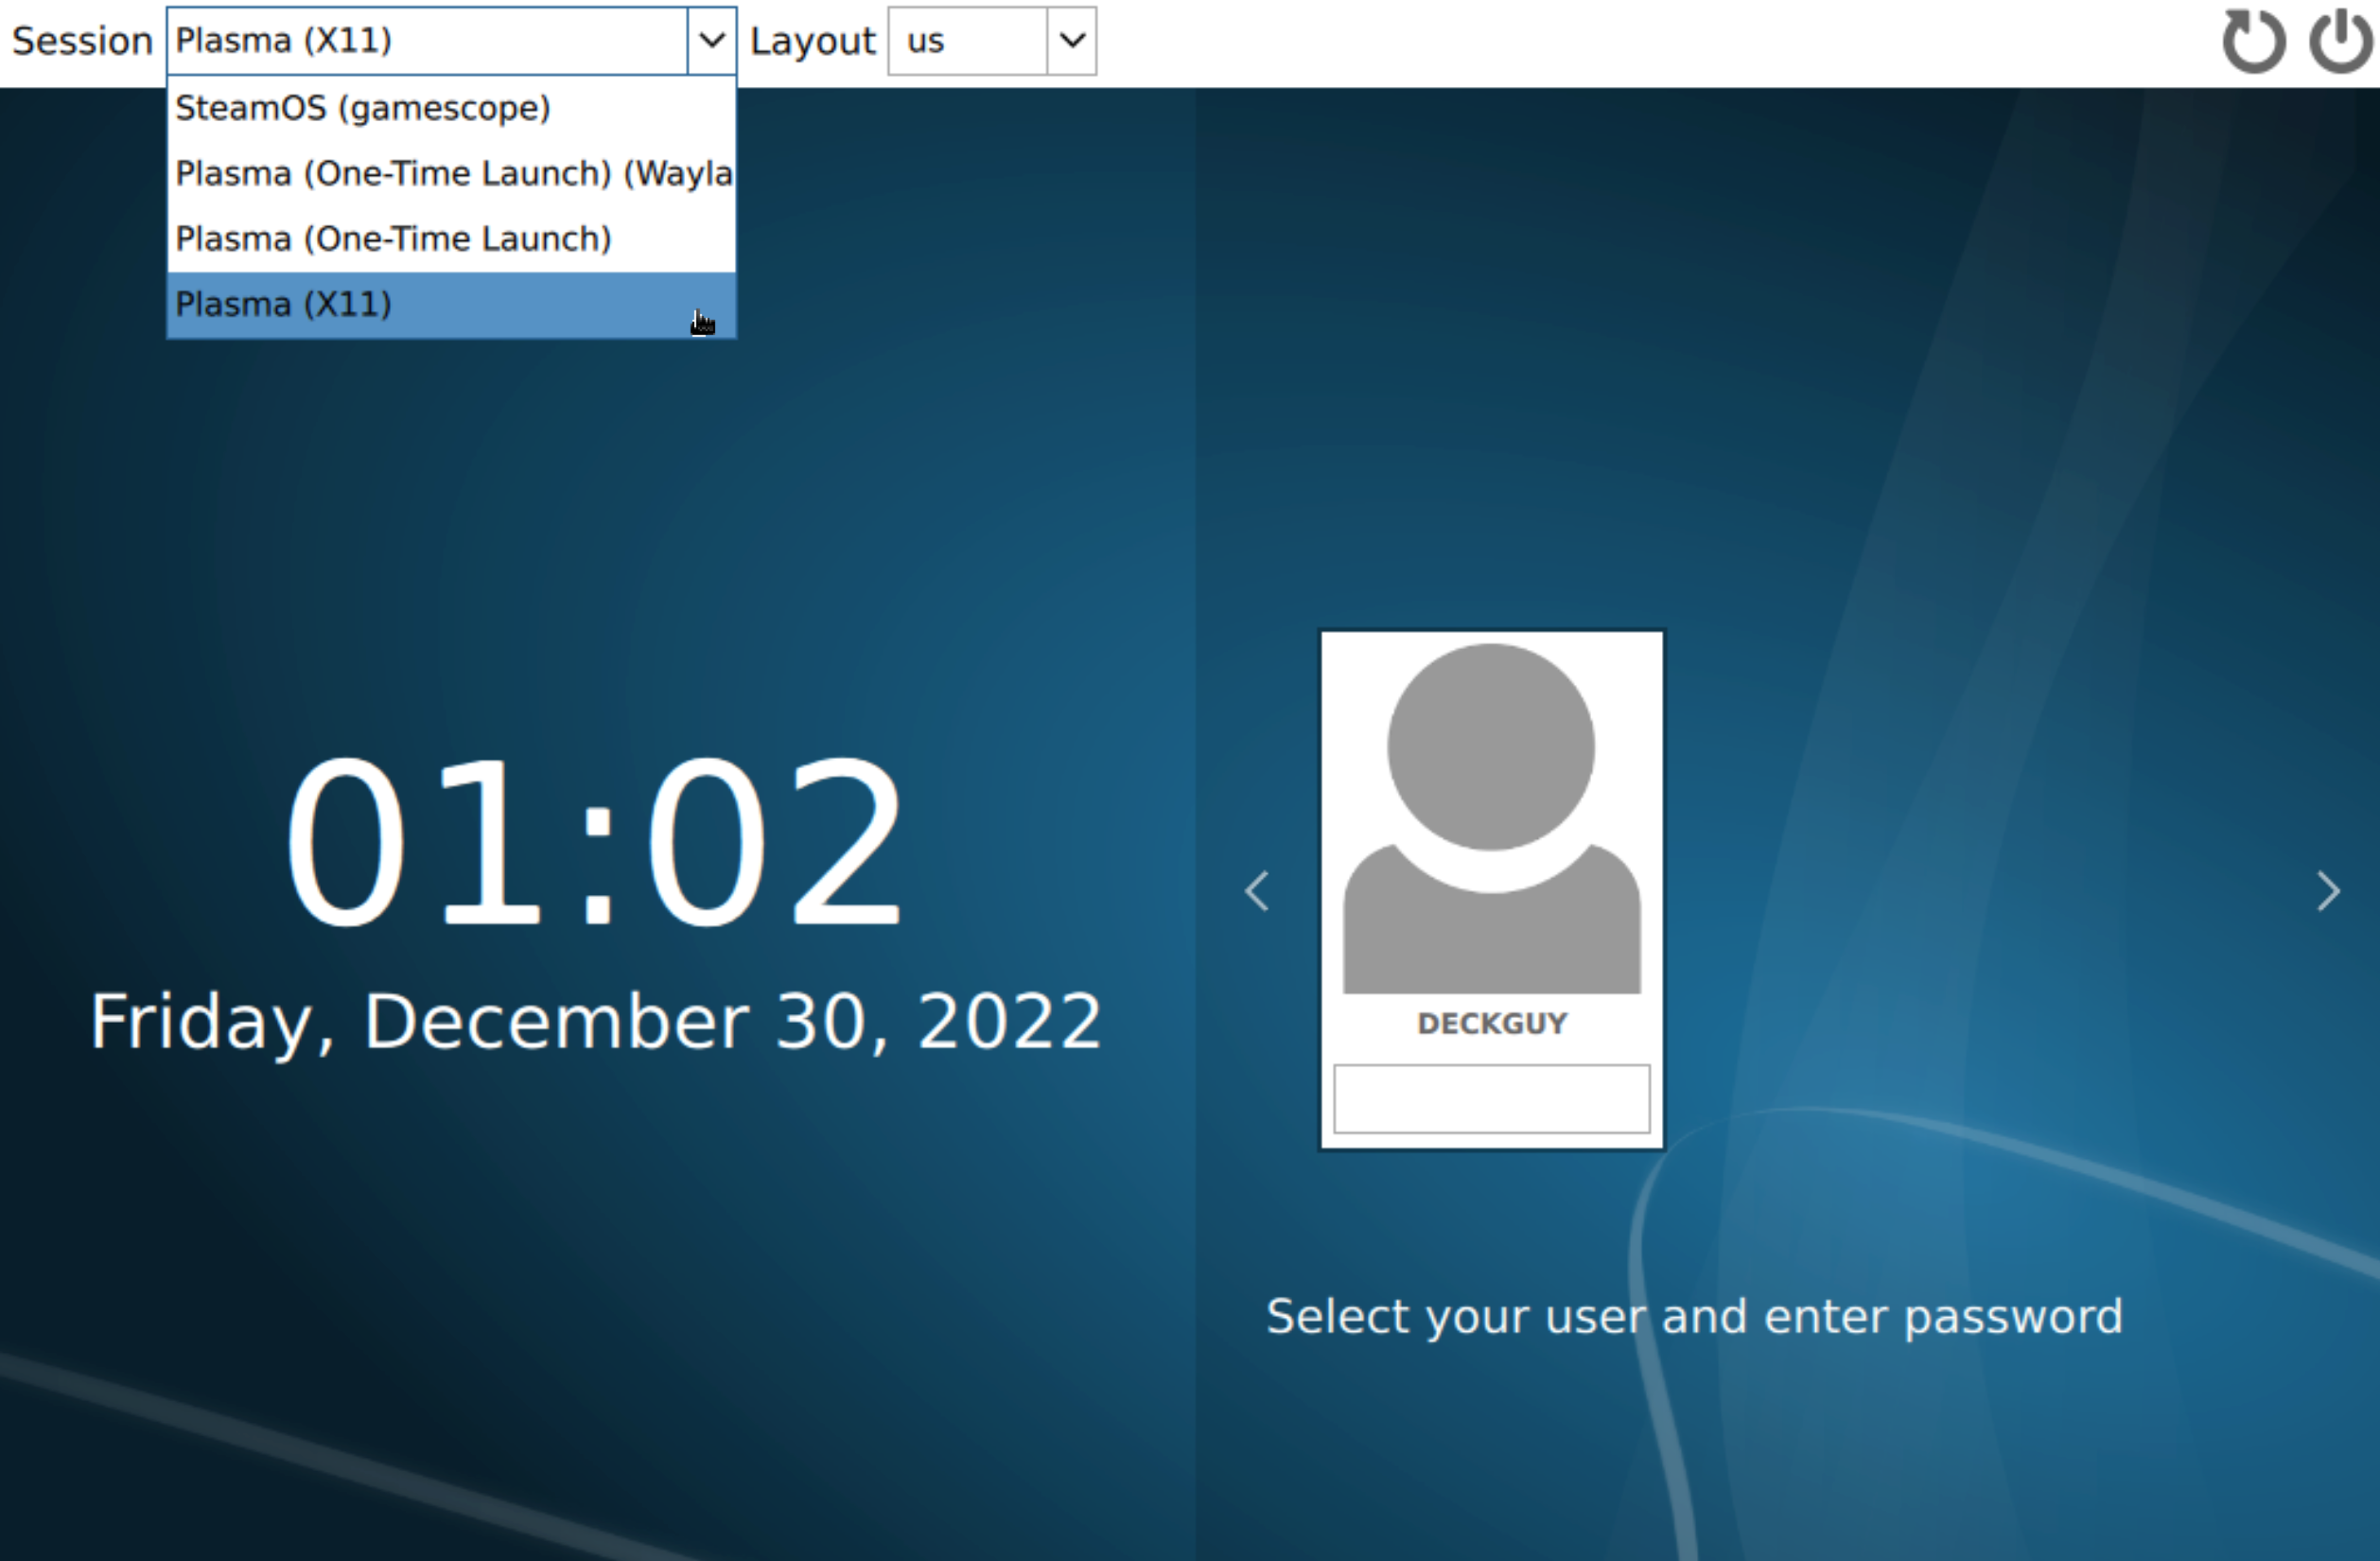
Now, try to boot SteamOS if you were not so lucky to get login screen first time.
Under Session you should select Plasma (X11) or any other Plasma if that does not work. SteamOS (gamescope) won’t probably work for you right now – Gamescope not working is the reason we went to recovery mode in the first place – because it is login screen.
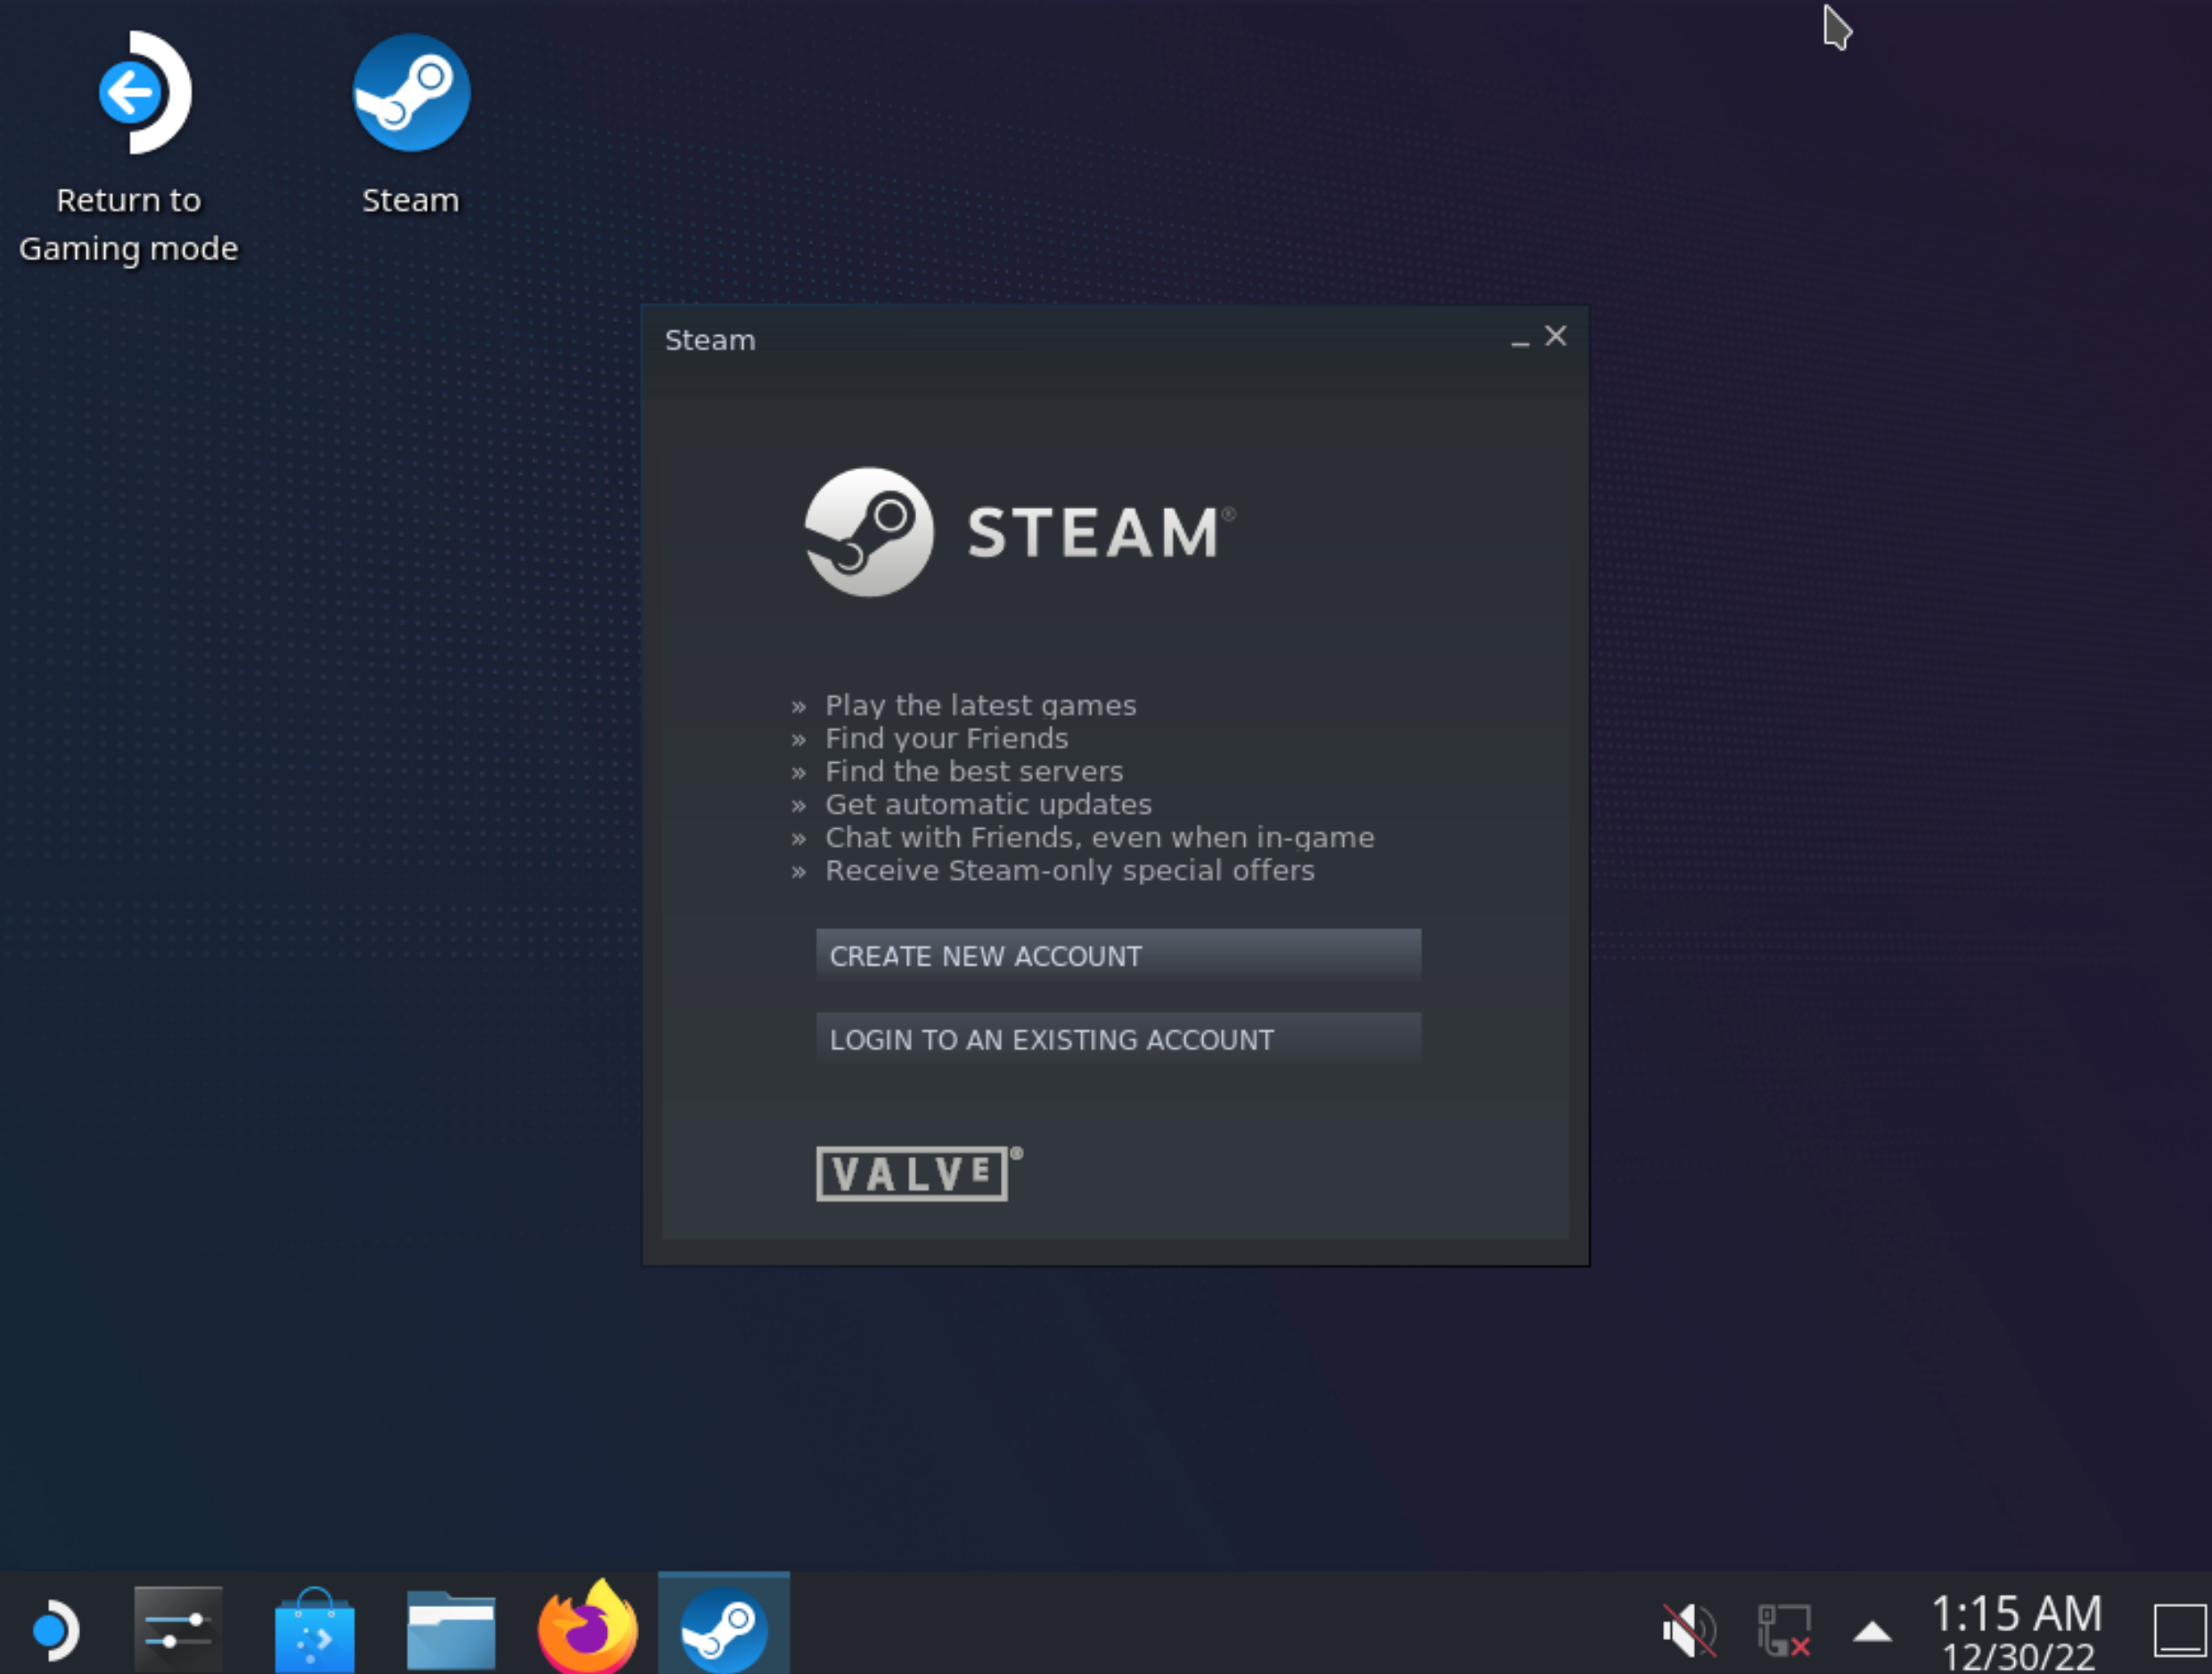
I selected Plasma (X11) and then entered password for the user I defined. If everything is ok, you should be greeted with desktop environment now. From desktop environment you can then troubleshoot and play with your GPU to get to the gamescope part of the desktop if you wish.
When you are sure you got your GPU sorted, and wish to go to “Gaming mode – Gamescope”, you can always switch back to the login screen, select SteamOS (gamescope) and then login to it. You can also select “Return to gaming mode” – it should be the same…
That should be it, you either reached Gamescope mode right away after initial installation, or you reached desktop mode after a bit of thinkering. Either way, you are now in SteamOS.
I managed to get this working even in VM (Desktop mode only), but it was too finicky – I managed to get SteamOS (HoloISO) to boot to desktop mode in VM.
Also, my Intel integrated graphics cards managed also just to Desktop mode. Machines with AMD graphics worked out of the box to the Gamescope interface and Desktop mode.