You got your hands on Steam Deck – congratulations, you did smart investment. Let’s quickly go through initial setup of the Steam Deck.
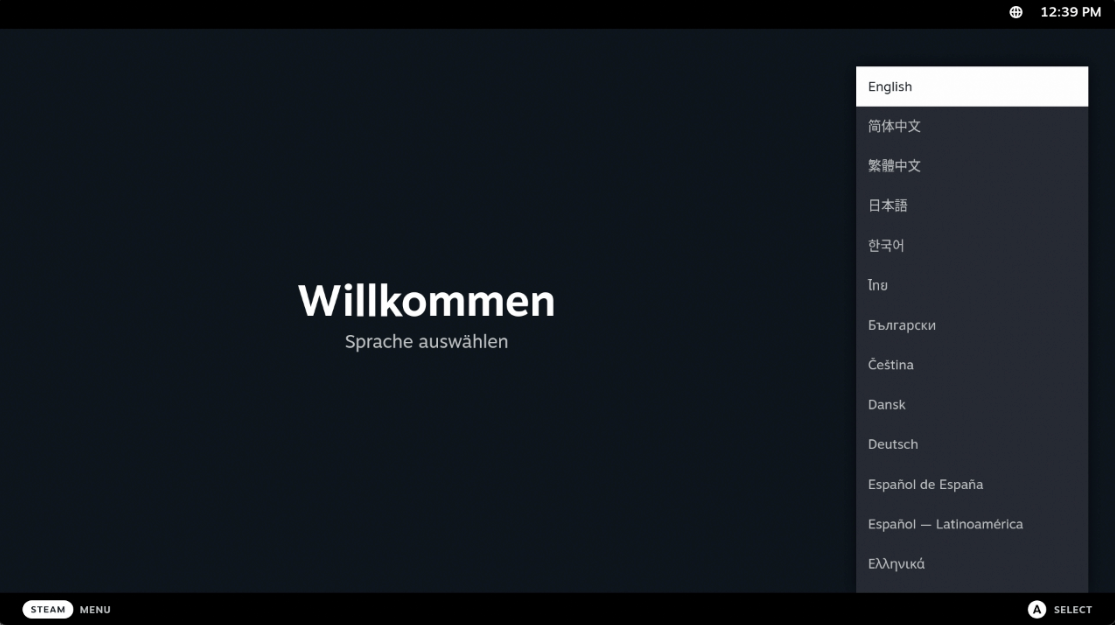
You will be greeted with screen like this one – for my language I will select English and press A

I’m in Europe, so I will select Central European TIme for my time zone, and again press A to select

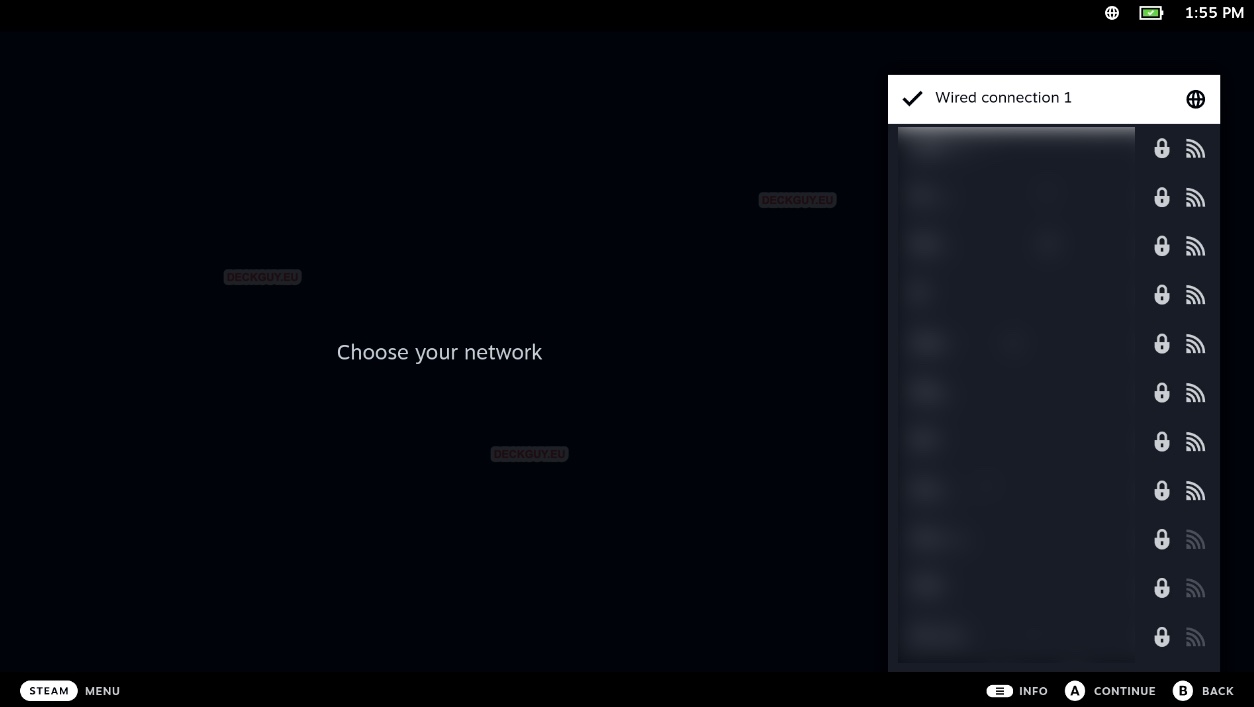
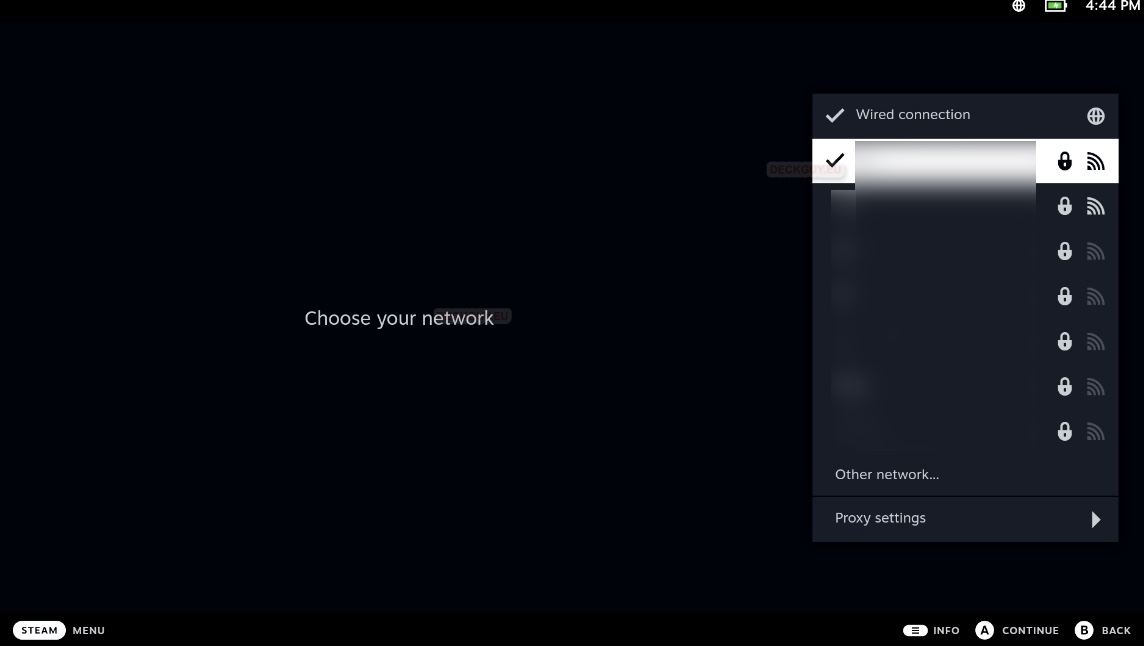
Next up is your network setup – I have my Deck on Docking Station, so I have even Wired Network as an option. But for this tutorial, we will also configure Wi-Fi.
Scroll down to your Wi-Fi network and select it.
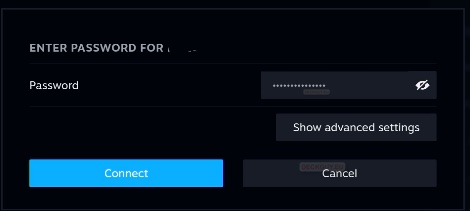
New screen will pop-up for you to enter your wi-fi password.
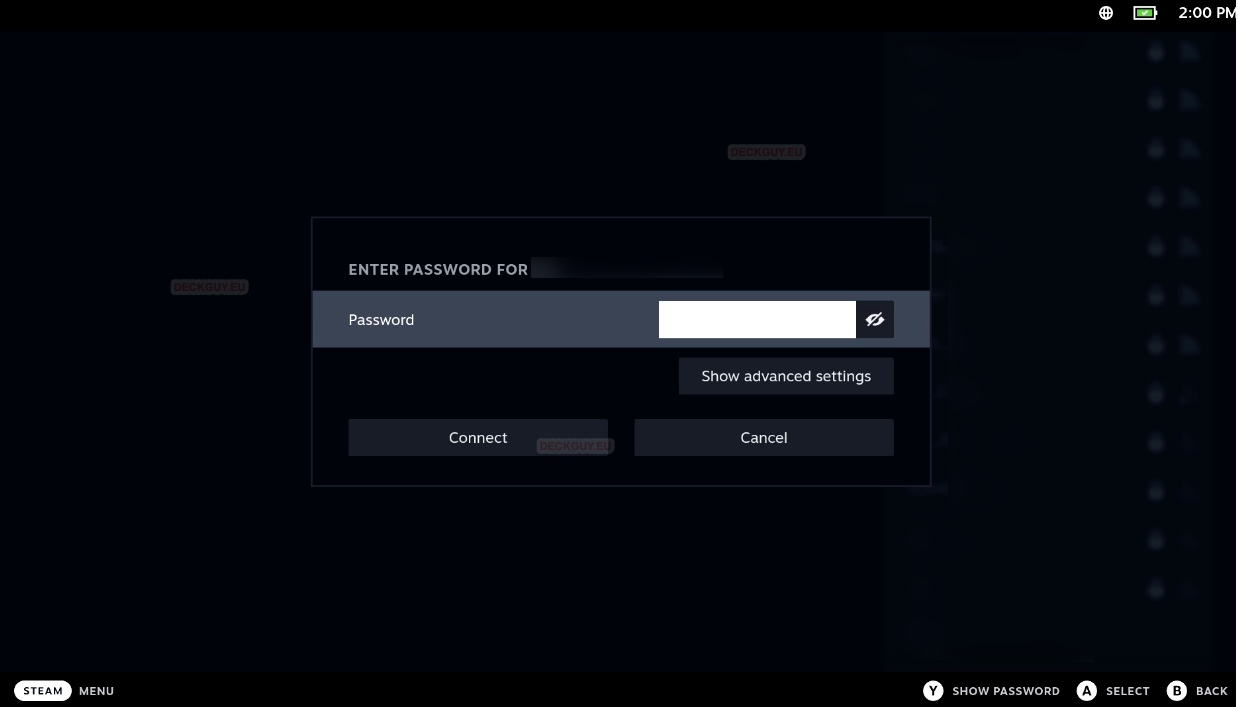
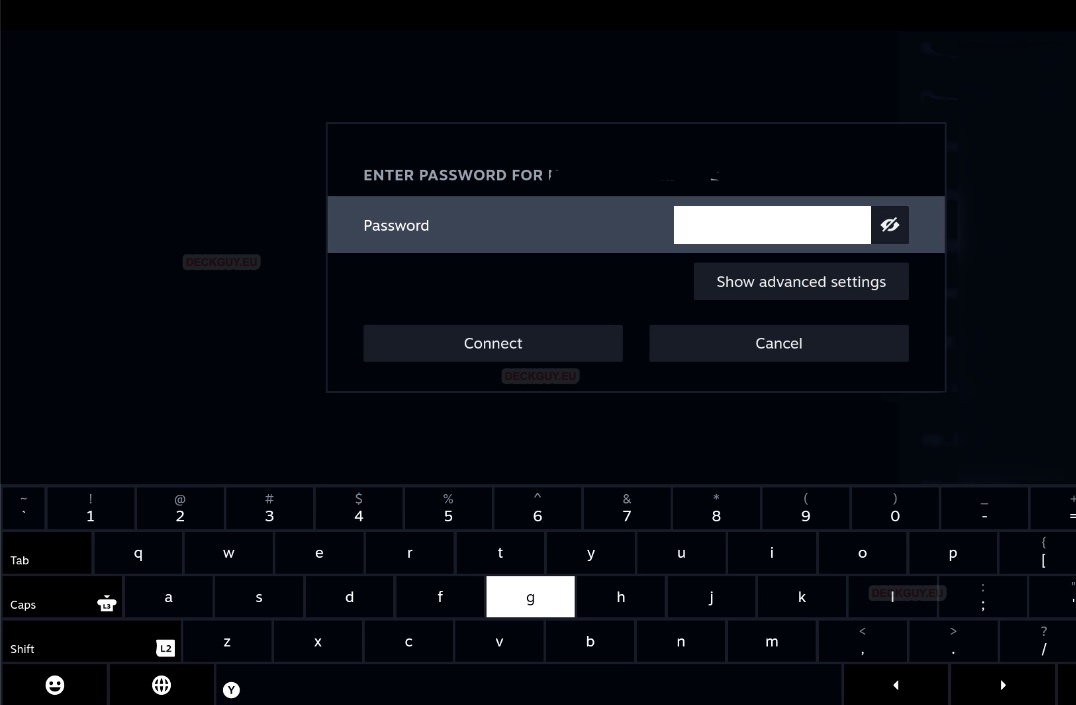
After you are done with password typing – press A on Connect
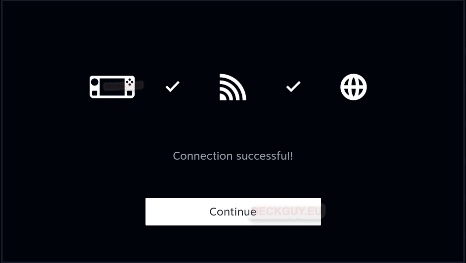
Connecting… If everything is ok, you should get status below
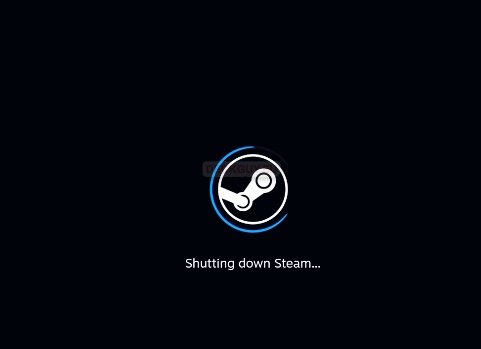
Updating is in order now…

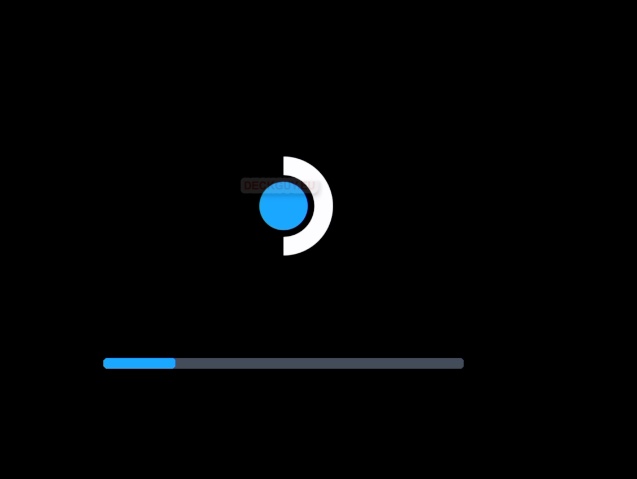
After update there will be a reboot
And after the reboot there will be installation/update and couple more reboots
And in the end, we will find ourselves back at the start screen… Select Language

and then Time Zone…

Your networks should be remembered, so just press A to Continue
Finally, the login screen for Steam account
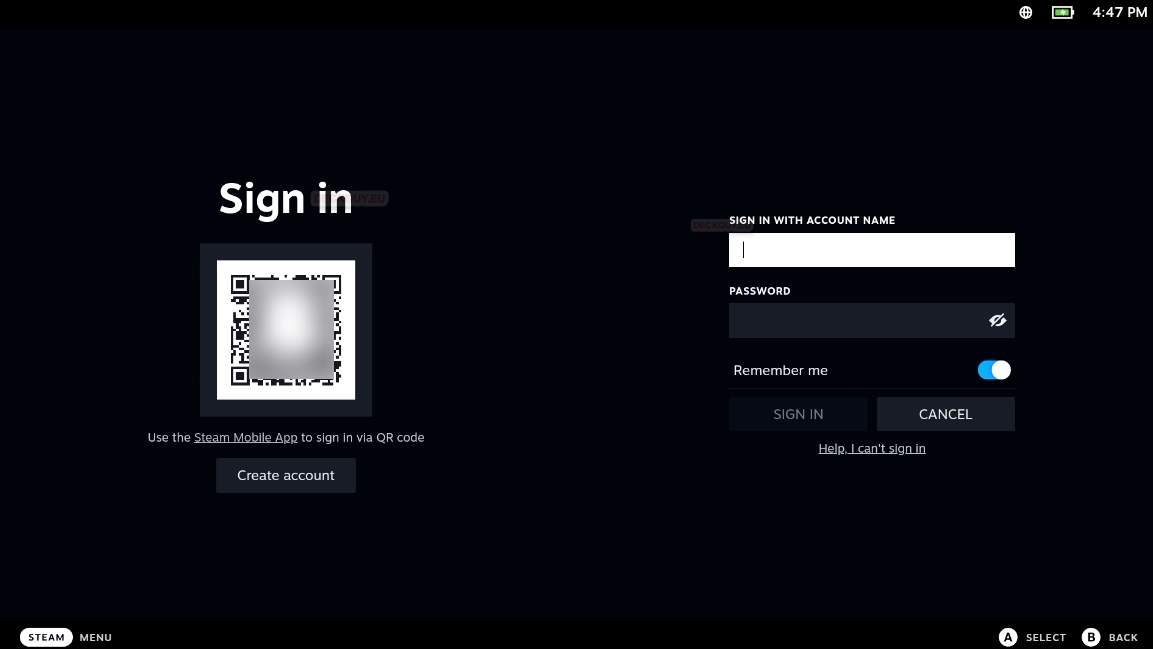
In case you don’t have Steam account you can also register one, but this guide assumes you are a Steam user already.
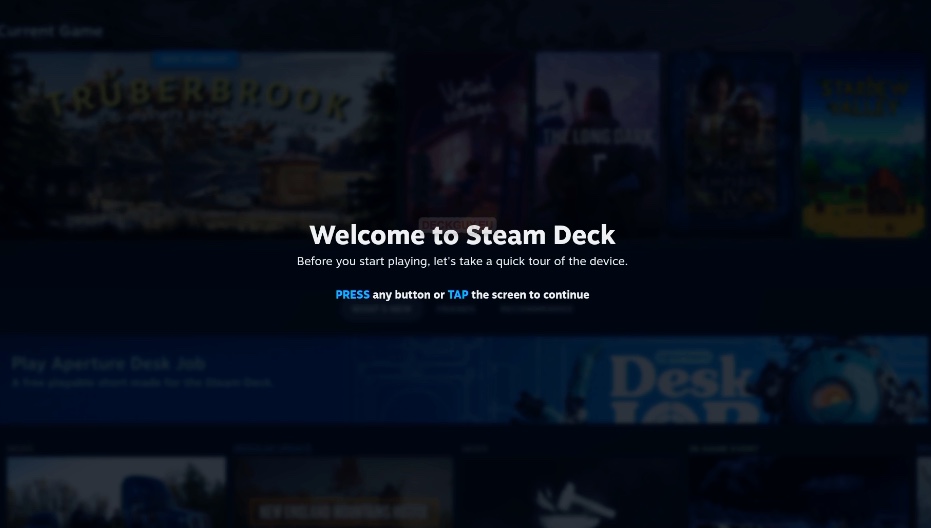
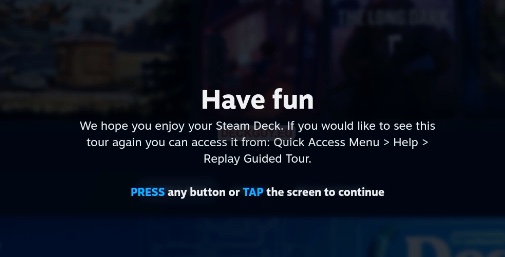
After you logged in, you will be greeted with quick tour of device. We will casually follow guide to learn about our Steam Deck
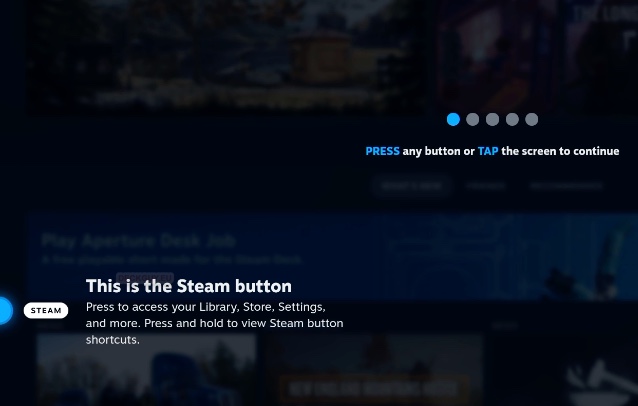
With Steam button we can access Library, Store, Settings… If we press and hold it – we will access our shortcuts.
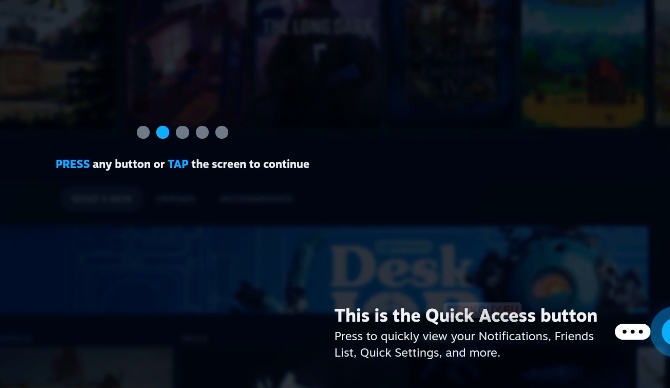
(…) Quick Access button – notifications, friend list, quick access…
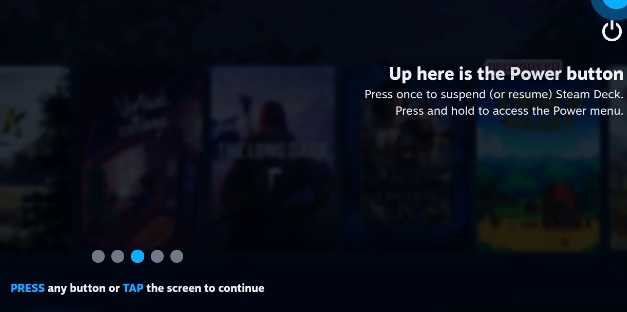
On the top of the Steam Deck, there is a power button with usual functions that the power button does…
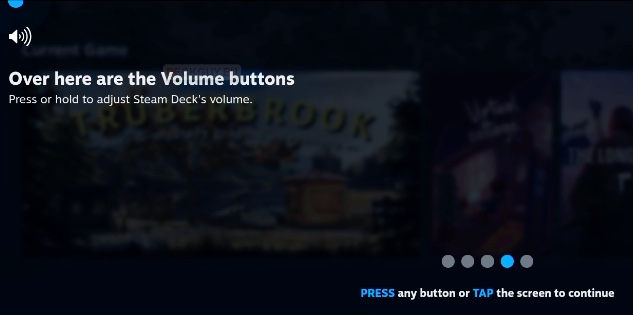
Volume buttons also don’t need a much of introduction I think
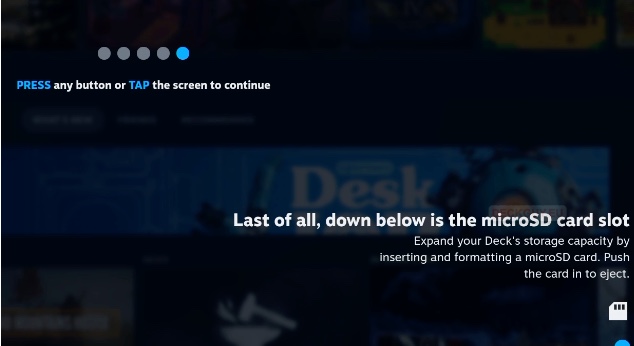
Below the console, there is SD card slot – very useful, especially if you have 64GB model. Although, you can upgrade internal storage of the Deck, this is also most welcome addition to this great piece of hardware.
Thanks, I will! This is great piece of hardware if you like tinkering with gadgets, but also great to play on.
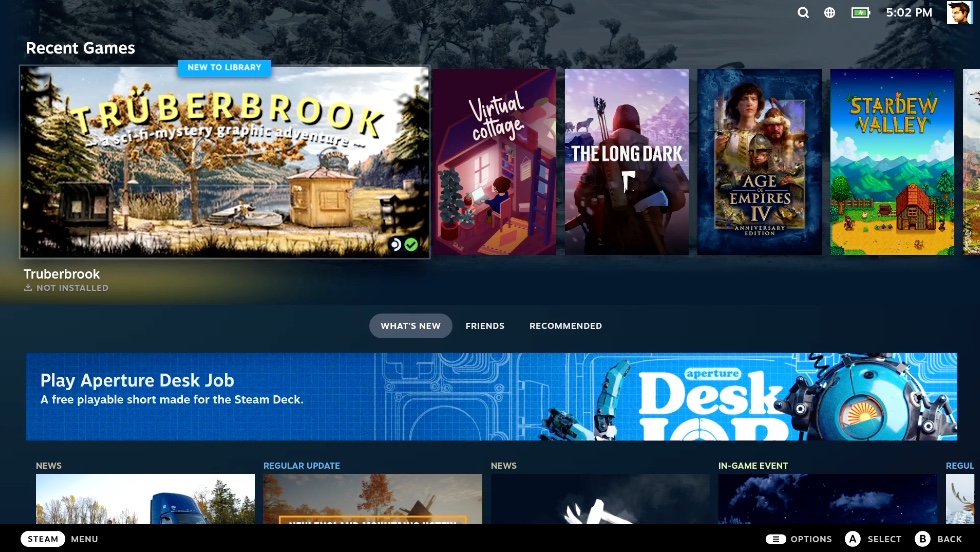
And finally, we are on our desktop
That is it with initial setup – we only scratched the surface of this beautiful hardware and software – there is much more to learn and to do with this console.